Editor’s Note: The following article was originally published in February 2015. It came to us from Scott Ervin, husband of Glenda Lehman Ervin (Lehman’s VP of Marketing) and son-in-law of Jay Lehman (Lehman’s founder). An avid outdoorsman, Scott tried his hand at maple syrup making and learned many valuable lessons in the process. Enjoy!
by Scott Ervin
There is an abundance of sources for information on how to tap trees and make maple syrup. How-to guides are readily available online and in books. I picked up a great book at Lehman’s that was very helpful. I recommend that anyone interested in making maple syrup for the first time study this readily available information carefully before embarking on your quest for delicious homemade syrup.
However, while the book and websites gave me enough info to get the job done, there were still a few things I had to learn the hard way. It is my hope that the following tips will help you to avoid the pit-falls that I stepped into during my rookie season.
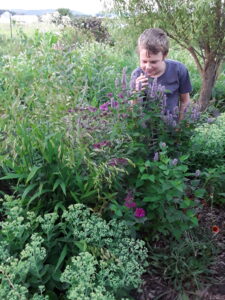
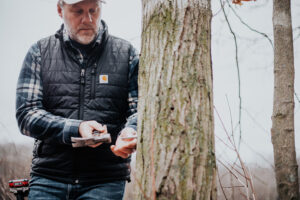
#1–Mark the trees you wish to tap in the summer, when the trees still have leaves. Trying to determine which trees are maples from the bark or from memory will almost certainly lead to tapping non-maples, which will produce a small fraction of the sap the maples will provide.
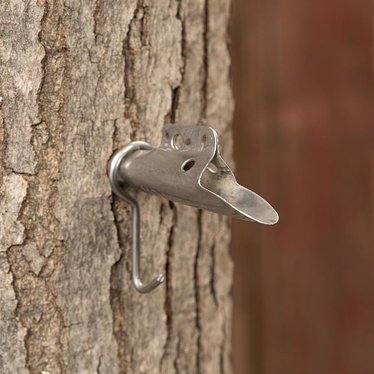
#2–You want to tap the south face of the tree, however, be willing to vary from due south. Tapping beneath a large branch or above a large root will typically provide the best flow.
#3–If you have a tap that is producing less sap than other taps, re-tap it right away. Don’t leave the slow producing tap, hoping that it will improve its flow; it won’t. Tap a new hole, no closer than 6” from other holes, then you are likely to improve your results.
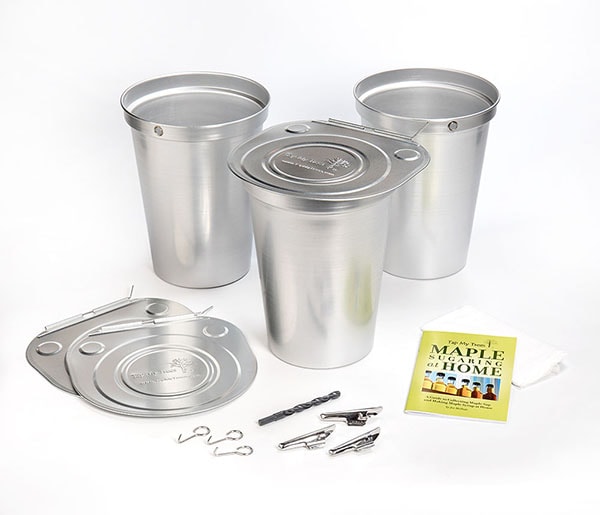
#4–I recommend using large buckets that sit on the ground and have a sealed lid for collecting the sap. I found that during peak flow times, smaller buckets filled faster than I had time to collect the sap, resulting in wasted sap. Also, when I didn’t use a sealed lid, curious or hungry critters knocked over the buckets and ants got in the buckets.
#5–When using a bucket that sets on the ground you should connect a rubber hose from the spile to the bucket. Make sure to drill a hole in the top of the bucket that is not too large, allowing the hose to fit snugly; otherwise ants will get in through the hole.
#6–I was amazed how long it takes to boil off the water. It was hard for me to find the time to boil it down before the sap had a chance to spoil. Luckily I piled snow on the north face of my house where it is out of the sun this time of year. I stored the sap in the snow bank until I had time to boil it down. I suppose you could use coolers with ice or a refrigerator if you have them available.
#7–As noted above, it takes a lot of time to boil off the water, probably more than you are anticipating. This in turn means it takes a lot of fuel. Whether you are using wood, propane, natural gas or other, make sure you have plenty on hand. I ran out of propane twice which delayed the process and the trees were producing faster than I could keep up.
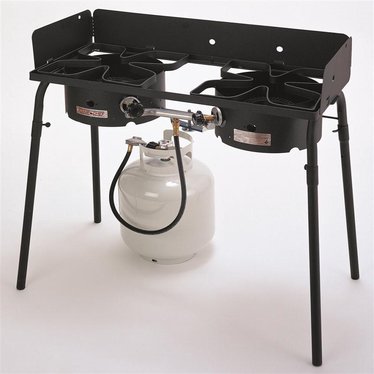
#8–Boiling the sap creates a tremendous amount of steam. Far too much to boil indoors. If conditions are adequate, boiling outdoors is obviously preferred. I tried this but the wind kept the flames from heating the pot properly, the cold temperatures slowed the boil and of course it snowed or rained. I used a large propane camp stove. I tried boiling in the garage but the steam made everything in the garage dripping wet. I moved the set-up to a doorway of the garage, but the wind and rain still made it ineffective. I then draped a tarp across the door opening from the ground up to about three feet below the top of the opening and clamped the tarp to the door rails. The tarp kept the wind off the flames and the great majority of the steam rolled above the tarp and out of my garage.
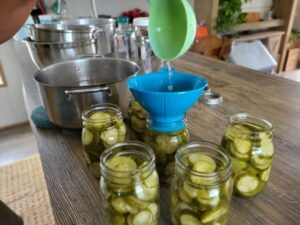
#9–Another pitfall I encountered was underestimating the time it takes to filter the syrup. I started with canning jars and 4” x 4” cloth patches. This or coffee filters will work fine if you have a small amount, but if you have more, you’ll want to do something different. You need to increase the surface area of the cloth that the syrup can pass through. I switched to buckets and much larger cloth patches that I clamped to the bucket, that way I was able to speed up the process dramatically.
#10–Make sure you get to enjoy all the fruits of your labor. Freeze what you won’t consume in about three months. Your syrup will only stay fresh in the refrigerator for about three months. Don’t do what I did and store it all in a refrigerator. Throwing out syrup that I made with my own hands brought tears to my eyes. Next year, move over popsicles! I’m going to enjoy fresh syrup all year long.
TIPS IN A NUTSHELL:
- Mark the trees you want to tap in the summer.
- Locate your taps for optimum flow.
- Don’t be afraid to relocate a dud tap.
- Use large enough buckets and lids that seal tight.
- Rubber hoses work great; make sure they fit snugly into the buckets.
- Boiling off the water takes a long time; protect your sap so it doesn’t spoil.
- Don’t underestimate the amount of fuel required to boil off the water.
- Don’t get drenched by the tremendous amount of steam created while boiling.
- You can speed-up the final step of filtering the syrup.
- Keep it fresh all year long.


[…] knowing that you made it yourself! Before you start, we suggest you read our tips for beginners here. (It might save you from a sticky situation, […]