 Welcome to the first post in Lehman’s food preservation series!
The year 2020 brought a bumper crop of new gardeners to the scene, and now, we’re watching for the food preservation trend to gain speed. Both of these skills are tasks many of our great-grandmas were very familiar with, and in reality, we are simply returning to the “old ways” but with the advantage of modern tools and information to get the job done. Lehman’s is committed to helping your revive these valuable skills in your home so that your family is well fed and prepared for whatever may come.
Today’s topic is fermenting. So, pull up a chair and get ready to learn about this age-old food preservation method.
Fermented Favorites
Every food preservation method has its advantages and disadvantages so let me take a moment to praise the virtues of lacto-fermentation and then share the basics so you can start fermenting with confidence this season.
Many food preservation options involve heating foods, which causes various levels of nutrient loss. The beauty of fermenting is that the process actually increases the nutrition of the food and has the added health benefit of being probiotic. No hot stoves in mid-summer are needed for this method, and storage can happen with minimal or no electricity. I also love the convenience of making small batches as you have produce available, but you can certainly go for the “giant crock of kraut” option too.
Convinced that fermenting is worth a try? Let’s start with a definition of lacto-fermentation. It is a process using vegetables and salt where naturally occurring lactic aced bacteria do the work of preserving the food plus make the vegetables more digestible and nutritious for us. These bacteria are anaerobic which means they thrive in an oxygen-free environment. Ideal temperature for them to work is about 65-75 degrees Fahrenheit, and they are hampered by light. The most common example of lacto-fermentation is transforming cabbage into sauerkraut, but fermentation can be done with a host of vegetables from the garden. A wise plan is to master a few of the basic vegetables before venturing into the world of combinations and specialty recipes.
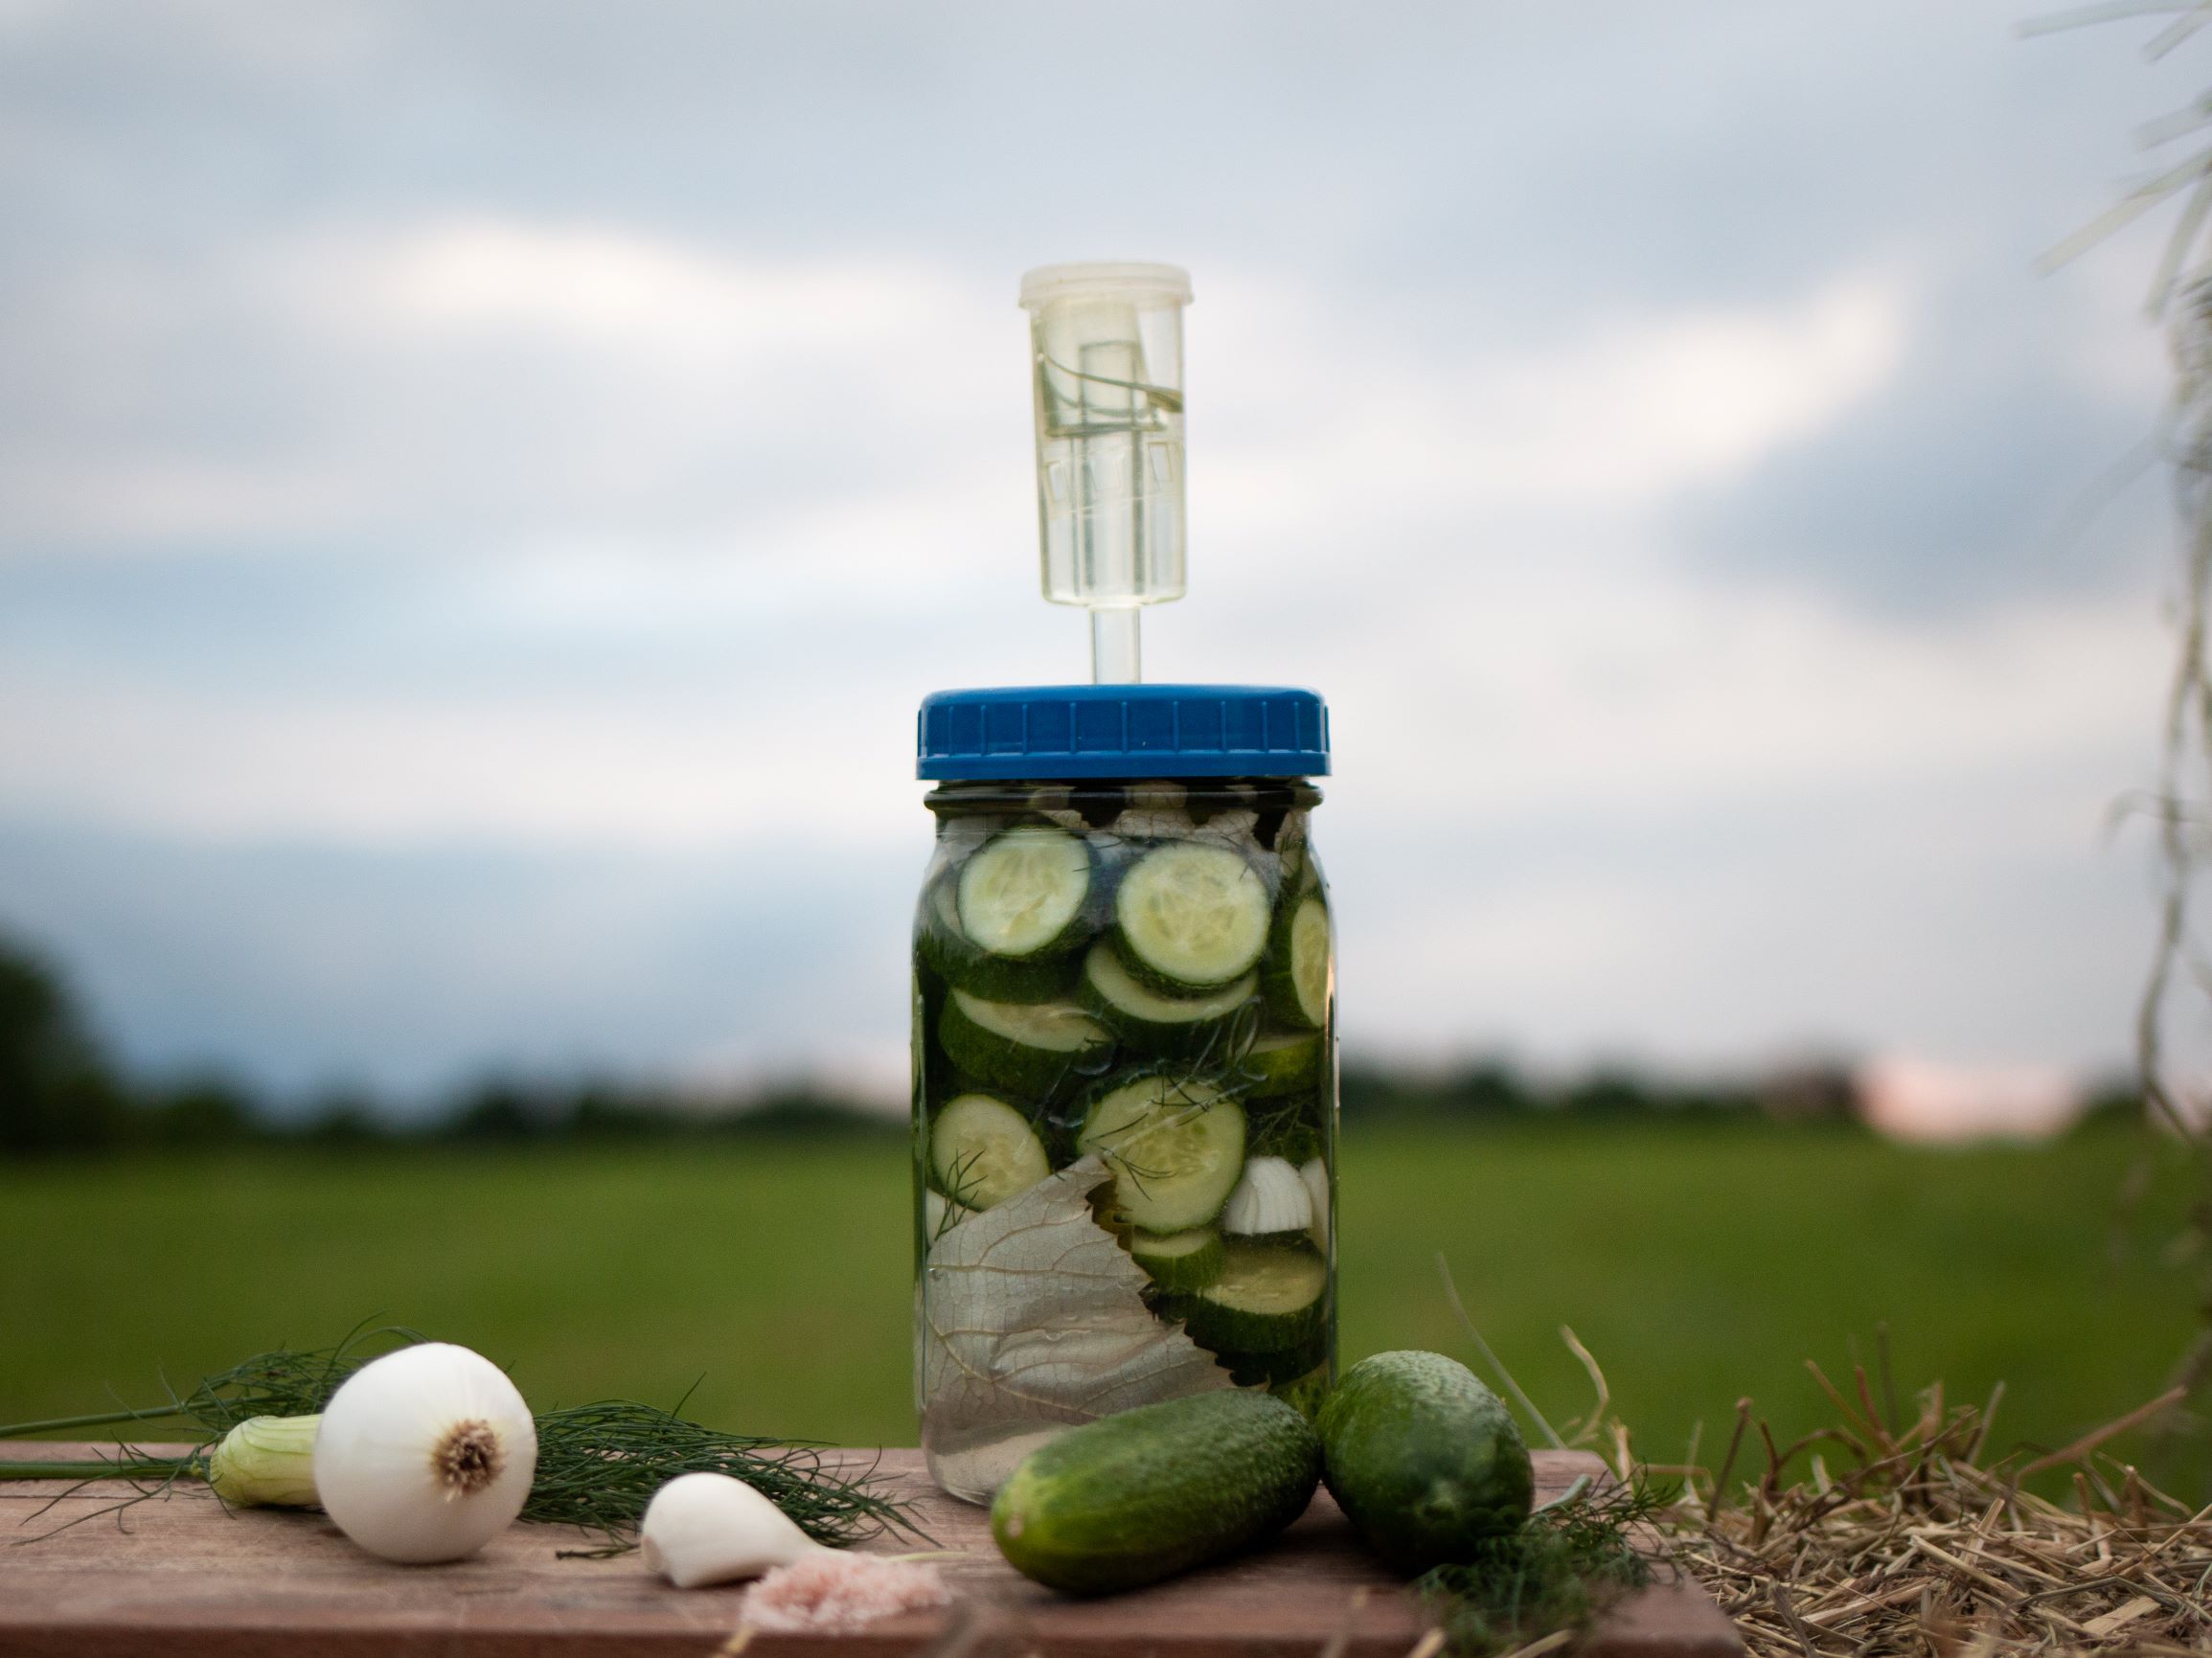
A common fear for beginners is not wanting to poison their families with their ferments. Since the pH for fermentation goes below 4.5, botulism spores can’t survive (use pH strips if you need peace of mind.) White sediment in the brine is a normal byproduct of fermentation. Kahm yeast sometimes causes a white film on top and can be skimmed off, it is not harmful but can affect flavor. There are other situations where you can skim things off the top and the rest is fine to consume. Of course, if your product smells completely “off”, that is a good sign that it belongs in the compost pile.
Ingredients:
- Produce – High quality, chemical free produce will give the best results.
- Salt – Use non-iodized, good quality salt. I use Himalayan pink salt.
- Water – Pure water free of chlorine and fluoride is needed for vegetables that are not self-brining. Some people use distilled water but I have had good results using our well water.
Containers for Fermenting
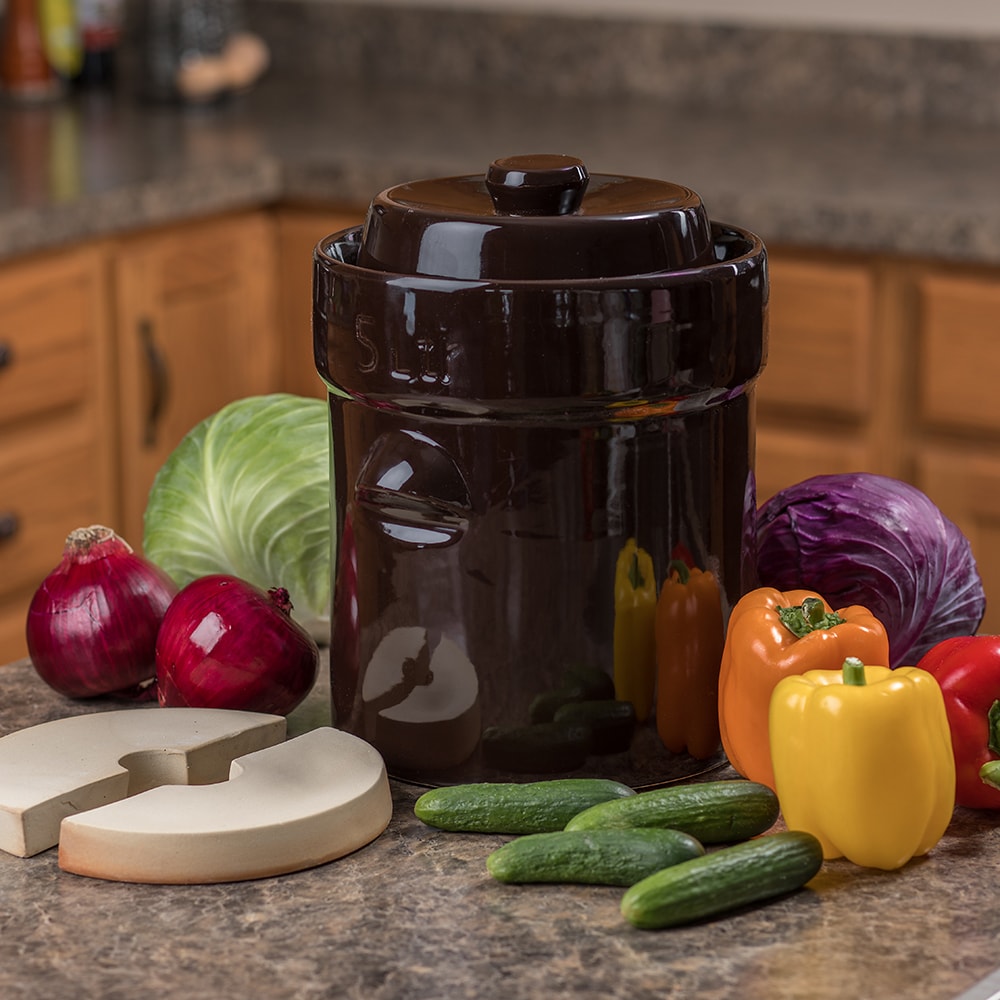
Glass or ceramic are the best choices. Due to the high acid concentration of the fermentation, a plastic or metal container may leach undesirable components into your product.
For best results, a system to keep out oxygen using an air lock or European-style crock with a water moat will provide anaerobic conditions.
Sauerkraut Recipe
Let’s start with a basic batch of sauerkraut for a quart size jar. The only ingredients are a small head of cabbage and 1 Tbsp of salt.
Start by shredding your cabbage into a mixing bowl but save a sturdy outer leaf. My favorite shredding tool is my vintage Bluffton slaw cutter, but you can use a knife, mandolin or a food processor on a coarse setting. Sprinkle on the salt and mix. Pound with a wooden kraut stomper to start releasing juices.
Place cabbage in your jar and press down with stomper till brine covers the cabbage, leaving about 2 inches headspace. Add the reserved cabbage leaf on top, and I often cut the core of the cabbage to act as a wedge between the leaf and the lid. Put on lid with airlock or a lid that you plan to “burp” occasionally.
Allow to ferment in dark place at room temperature for at least 4-5 days or until bubbling subsides. At this point you can remove the airlock and use a plastic lid for storage. If the liquid has gone below the cabbage leaf, add a bit of water to make sure everything is covered. Store in the refrigerator or a root cellar that is at 50 degrees or less. Best flavor develops after 6 weeks and sauerkraut will keep for 6 months or longer.
Our family enjoys it raw as a condiment on our supper plate or a salad addition. Canning or cooking your kraut loses the probiotic content, but it still is yummy.
Lacto-Fermented Pickles Recipe
Another great beginner fermenting project and a family favorite for us is lacto-fermented pickles. This easy project is ready to eat in just 3 days. Cucumbers are a vegetable that requires a brine to ferment and best results happen when your cukes are less that 24 hours from “vine to brine” so make sure they are fresh from your garden or the farmers market and are young and not over ripe. Let’s gather ingredients for a quart jar batch of pickles.
PrintLacto-Fermented Pickles in a Quart Jar
This easy project is ready to eat in just 3 days.
Ingredients
- 4–5 pickling cucumbers, fresh and not over ripe
- 2 Tablespoons fresh dill snipped
- 1/2 cup sliced onions
- 2–3 cloves garlic
- 1Tablespoon sea salt
- About 2 cups water or enough to cover vegetables
- Grape leaves, optional but they contain tannins to help keep cukes crisp
Instructions
- Cucumbers can be left whole or sliced into fat coins and placed in jar with a grape leaf in the bottom. Add dill and garlic clove slivers to jar, leaving about 1 inch headspace.
- Combine water and salt and pour over cucumbers, adding more water if necessary to cover the cucumbers.
- Add another grape leaf (or cabbage leaf) on top to keep floaters down. Add lid with an airlock or regular lid that you plan to “burp” occasionally.
- Leave jar at room temperature for 2-3 days till bubbling subsides. Put on a regular lid and transfer to cold storage. These are ready to eat right away and very delicious!
- Author: Karen Geiser
Keywords: pickles, fermenting pickles
Happy Fermenting!
Editor’s Note: Originally posted in January 2021.













Karen, thanks for such a helpful article on fermentation. I do a lot of canning and dehydrating, but haven’t yet tried fermenting. It’s on my list of things to learn this year. I really appreciate the clear instructions, as well as the recipe. I’m adding cabbage to my grocery list this week! Can other types of cucumbers be used for the pickles, or are pickling cucumbers the only option?
Great article to refresh after your class last week!! I really enjoyed it!! I didn’t receive the recipes if you get a minute.
I would love an article on your kimchi!
Thanks so much!!!
I found this article just in time for my first fermenting project. Sauerkraut! Thanks so much.
Recipe for cabbage – sauer kraut, does not say how much water is used.