 Editor’s Note: Hannah started building her yurt last spring where she now lives. She recorded the beginning of her adventure during the process and is now sharing it with us. Enjoy!
These days are very exciting, because I’m starting to build a yurt to live in. I’ve never built a semi-permanent dwelling before, and to be totally honest I don’t have a lot of construction experience. For this project, I get to learn as I go, taking the advice of neighbors, and, luckily, there’s some room for fudging.
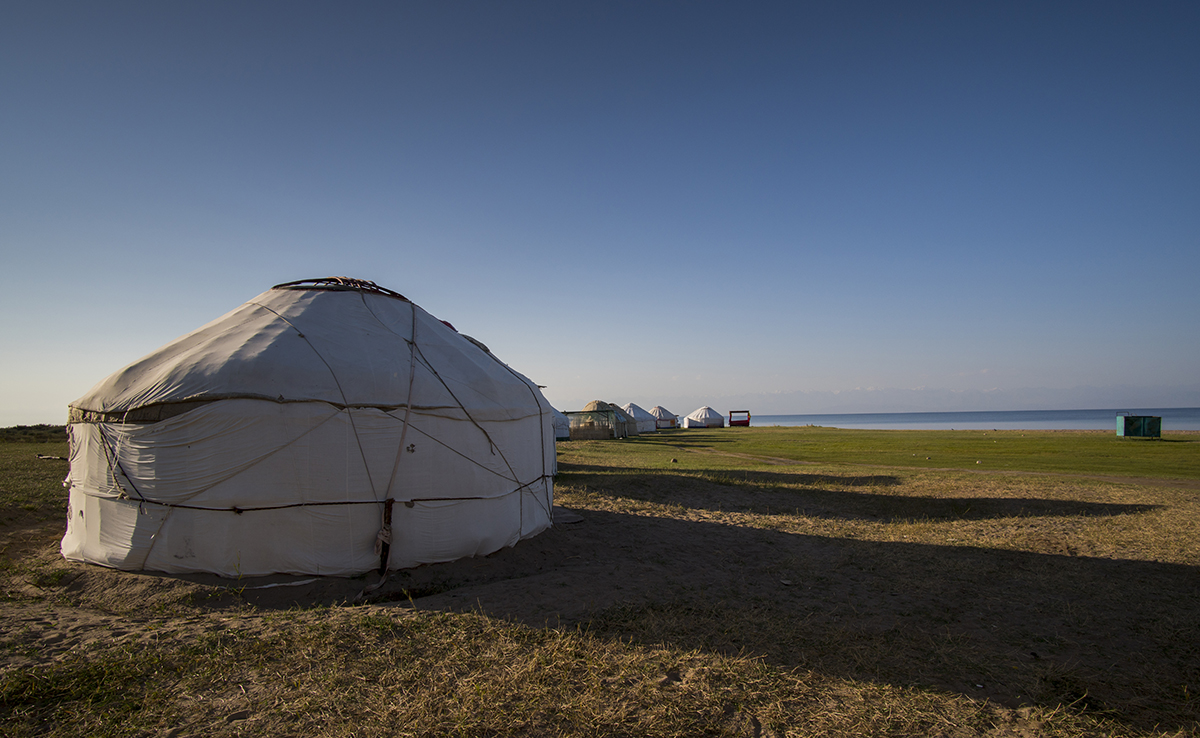
Yurts are portable dwellings that come from the nomads of Mongolia. They’re basically a large round tent with a skylight in the center. I’ll build mine on an insulated platform, and add a layer of insulation between canvas walls, and put a wood stove inside, so that I can live in it year-round in Iowa.
I happened upon this 24-foot diameter yurt because friends of mine had lived in it several years ago. When their family grew, they moved into a house, but they have fond memories of their year in the yurt. At the moment, their platform, ceiling, and walls are a pile of lumber in their garage. Within a couple weeks, it’ll all be assembled into a sweet little home for me!
I just bought bare land for my vegetable and sheep farm. There’s plenty of work to do to get the farm going: we’re bringing in the electric grid, drilling a well, putting together a greenhouse, and erecting a fence this spring. And while I’ve enjoyed the comforts of a home this winter, I’m excited to be able to give my full self to the farm as it becomes itself. In order to live on the land where I work, I need a dwelling, and in order live there this year, I need a dwelling that I can put up with a few days’ work, before the vegetables start demanding all of my time!
So, in the past couple days I’ve started digging post holes for the “foundation” of the platform, measured out painstakingly to fit the plan so that I can use the lumber from before. I filled the bottoms of the holes with gravel–a “floating foundation” above frost level–and then put cedar 4x4s into the ground. I’ll level the posts, fill the holes back with gravel to solidify them, and then I’ll start laying the beams upon which I’ll put the 2×6 tongue-in-groove decking that makes the floor.


