I guess you could say that my passion to bring old family recipes to life happened while rescuing old English tea cups from garage sales and flea markets. I have always enjoyed having tea with friends and collecting unique and beautiful tea cups. Over the past few years, I found myself stopping at various markets in search of my favorite tea cup patterns. It was during one of these tea cup hunts that I started noticing old recipe boxes being sold; complete family recipe boxes; old tins and boxes filled with handwritten recipes; recipes clipped from old magazines and even cut from product boxes. I suddenly started to wonder about the person who may have made these recipes. I wondered about the hands that kneaded the dough and the origin of the various recipes in each box. I wondered how far the recipe may had traveled. Some recipes even had stars on the top or a note that said favorite. Then I started wondering why a family would want to get rid of family recipes. When I would ask the sellers, many would reply, “I should have spent more time in the kitchen with my mother” or “I just can’t seem to figure out the recipe(s).”
Like the tea cups, I felt I needed to rescue these pieces of a family history. If I did not save mom’s favorite recipe who would?
So began my journey to help bring those old-stained recipe cards with stars on top to life. Over the last three to four years, I have made various breads, cakes, pies, cookies, and pastries. The hardest recipes have been those that had no pictures. Did the baked item look and taste like theirs? It is hard to say. I sure hope so.
After sharing my love for old recipes with my friends, my friends started to approach me with some of their old family recipes that they could not figure out. Like the garage sale recipes, many do not remember where the recipe initially came from; maybe from one of the hundreds of magazines their mother would have received or the church bulletin where members would share recipes. No matter where, each recipe they have shared is attached to a childhood memory. My goal has been to try to help recreate that memory for my friends; A taste of home; A memory of mom. Below you will find my most recent recipe request.
ICE BOX BUTTER RING
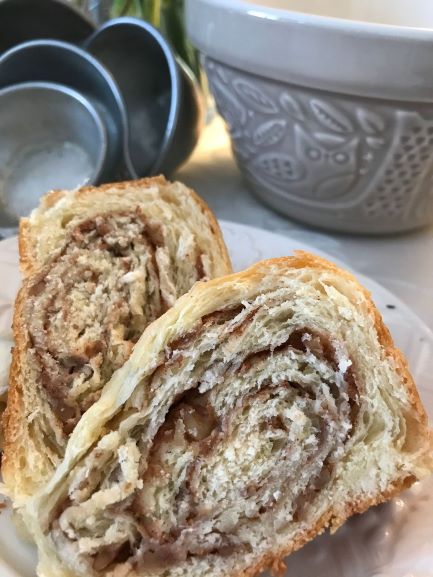
History: From what I learned Ms. Charlotte’s mother made it all the time. As a child she remembered the specific nutty cinnamon taste and what she calls the buttery goodness. Spending time in the kitchen with her mother and brother while pulling the buttery layers apart. She tried to make it once, but the yeast dough never seemed to rise for her. She could not remember where her mother got the recipe, she believes the recipe may have come from a church bulletin. Her mother kept all the recipes.
I was happy to take on the challenge. On my second attempt, I finally figured out the correct ratio of walnuts, cinnamon, and sugar for the filling. Ms. Charlotte says the butter ring I made for her takes her back to her family kitchen and memories of her mother. She could not have said anything sweeter. This country girl feels so blessed to have been able to recreate her mother’s ice ring.
If you would like to honor Ms. Charlotte’s mother and recreate this simple butter ring, you will find the recipe and step by step instructions below. I just need to warn you. You are going to be glad you made two. And do not be afraid to break out the butter to smother on a slice.
RECIPE
Makes: 2 rings
Difficulty – Easy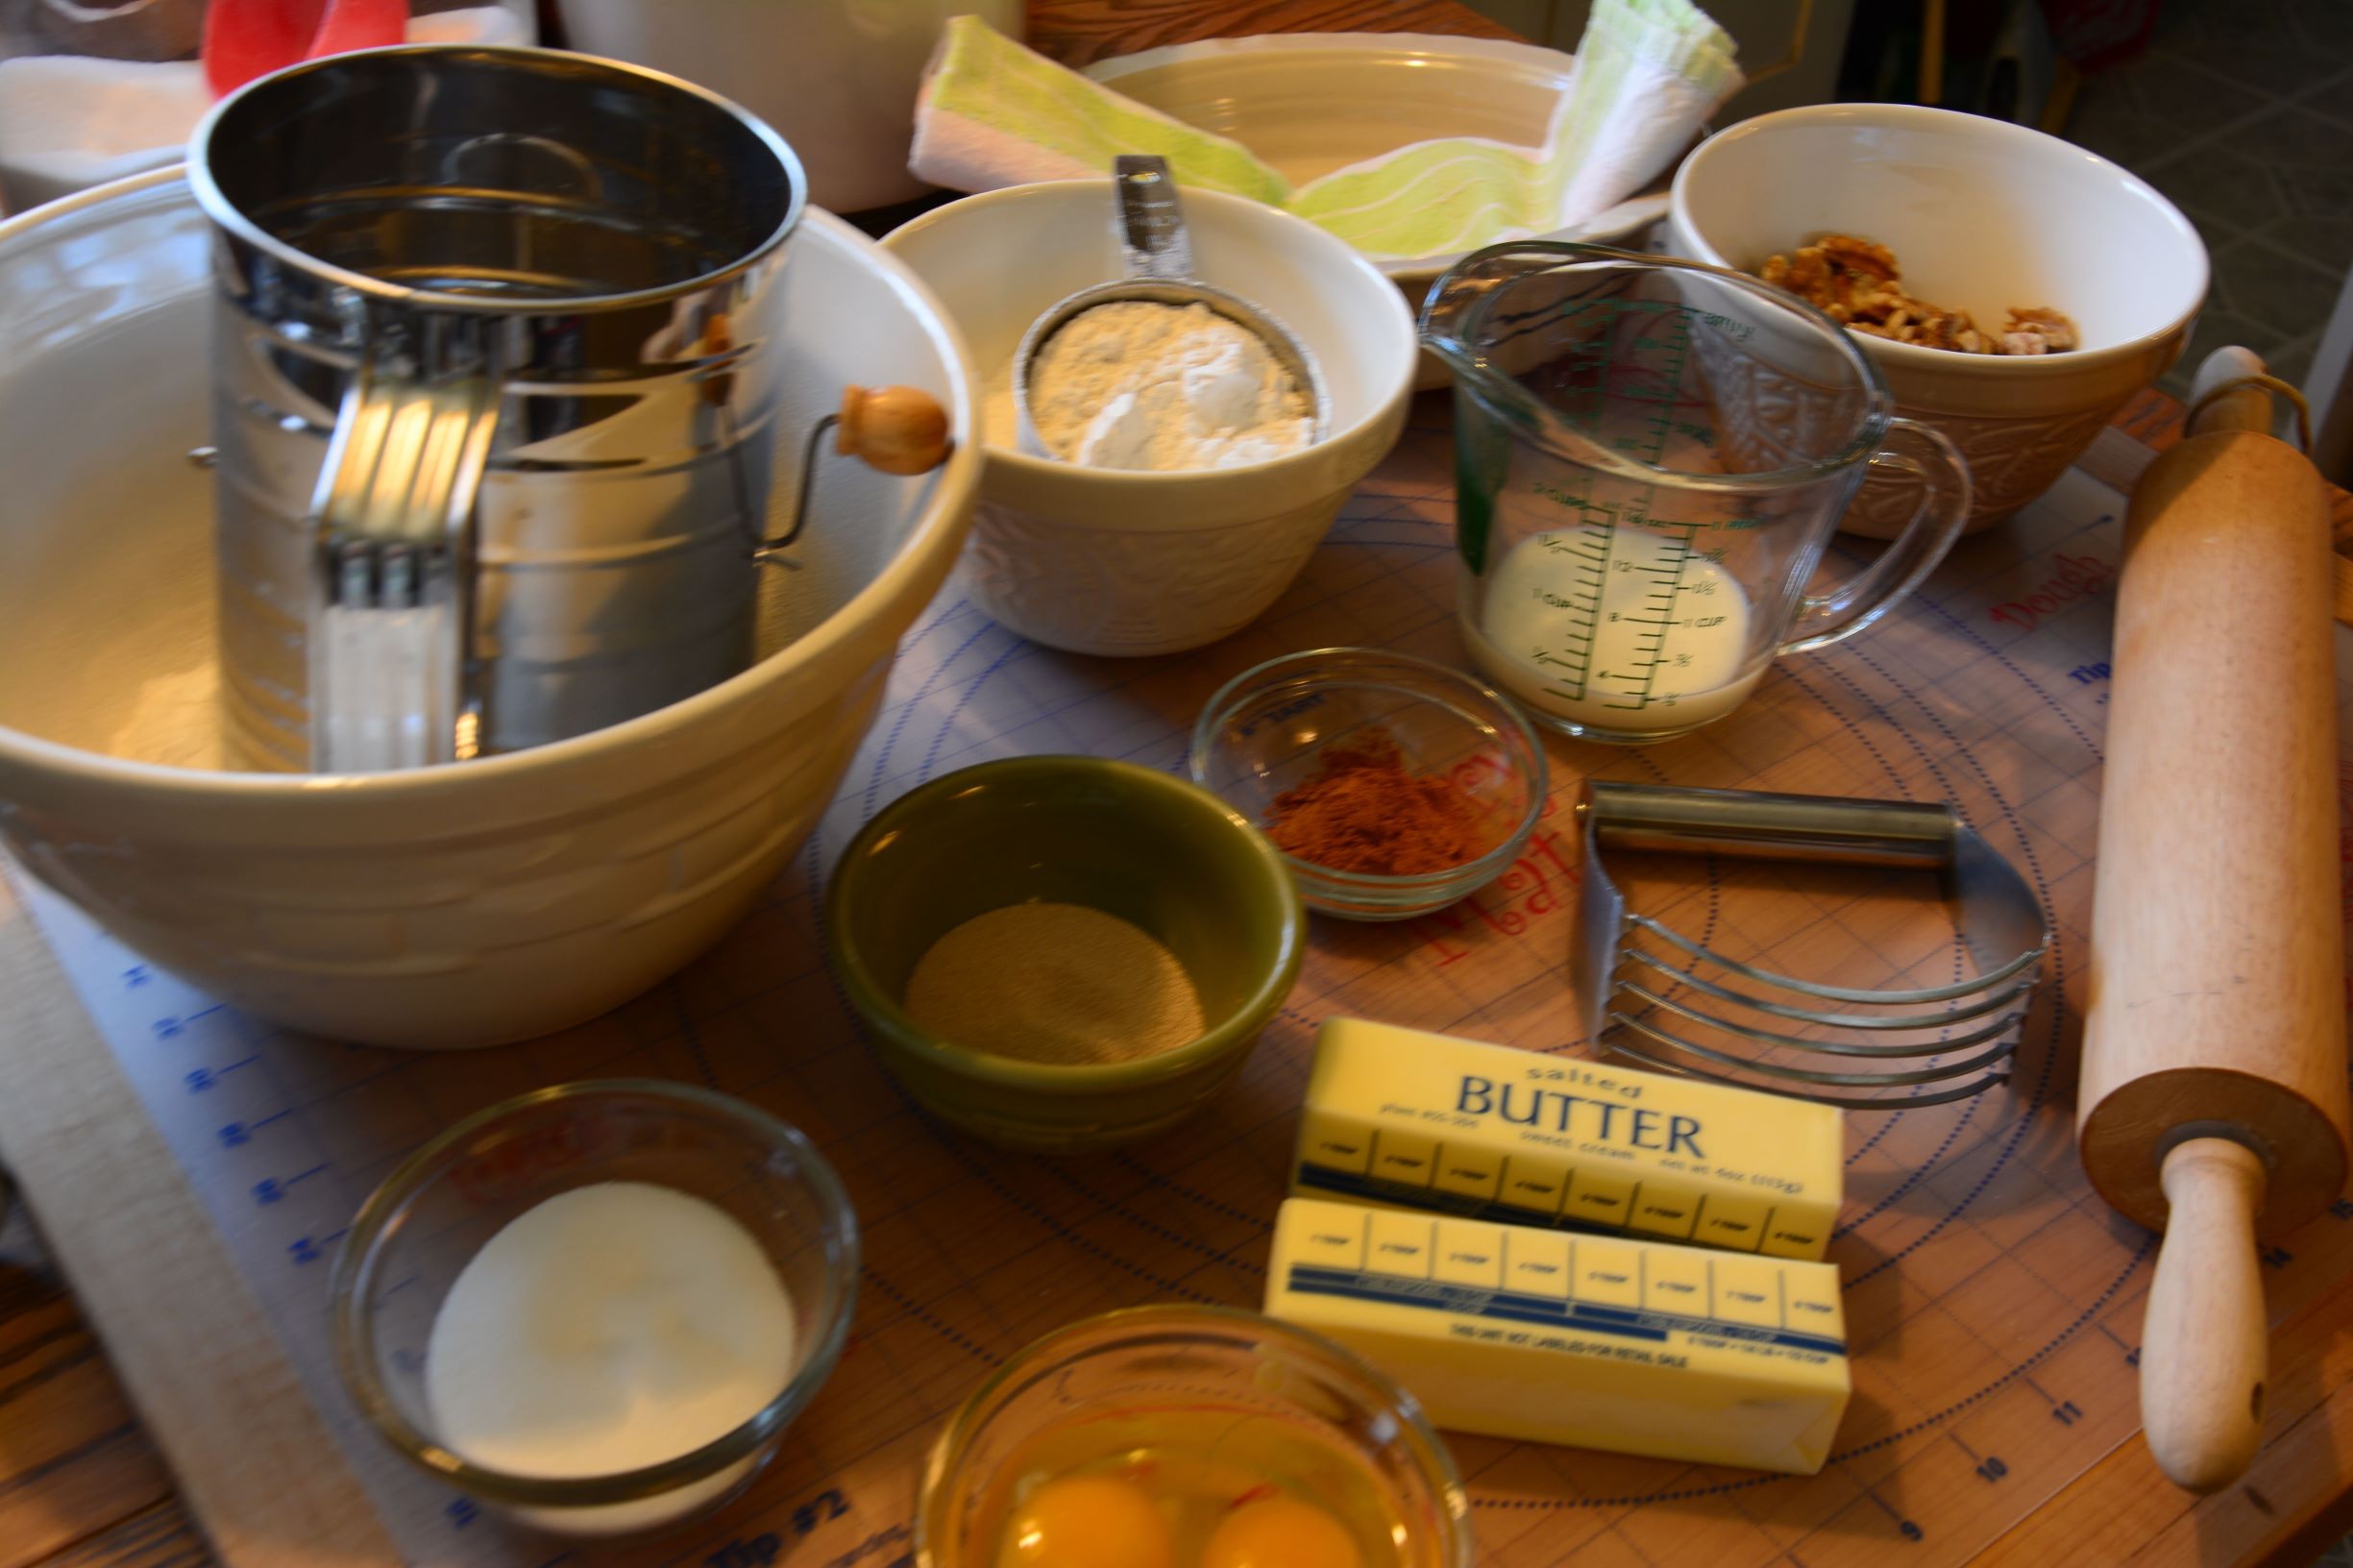
GETTING STARTED
Measure out all your ingredients ahead of time. This makes the mixing of the dough go a lot smoother. I also like to cut up my butter into chunks and store in the refrigerator to keep cold until needed.
Ingredients
DOUGH:
4 c. flour
¼ c. sugar
1 tsp. salt
1 c. cold butter (cut into chunks)
2 eggs
1 c. sour cream (do not use light or fat-free)
1 cake loose yeast or 2 ¼ tsp. dry yeast dissolved in ¼ c. milk (110° to 115°) I used the dry yeast. Allow yeast to sit for about 5-10 minutes. The top should be slightly foamy.
FILLING:
½ c. sugar
I T. cinnamon
1 c. walnuts – chopped
4 T. melted butter
Directions
STEP 1:
Sift all the dry ingredients into a large mixing bowl.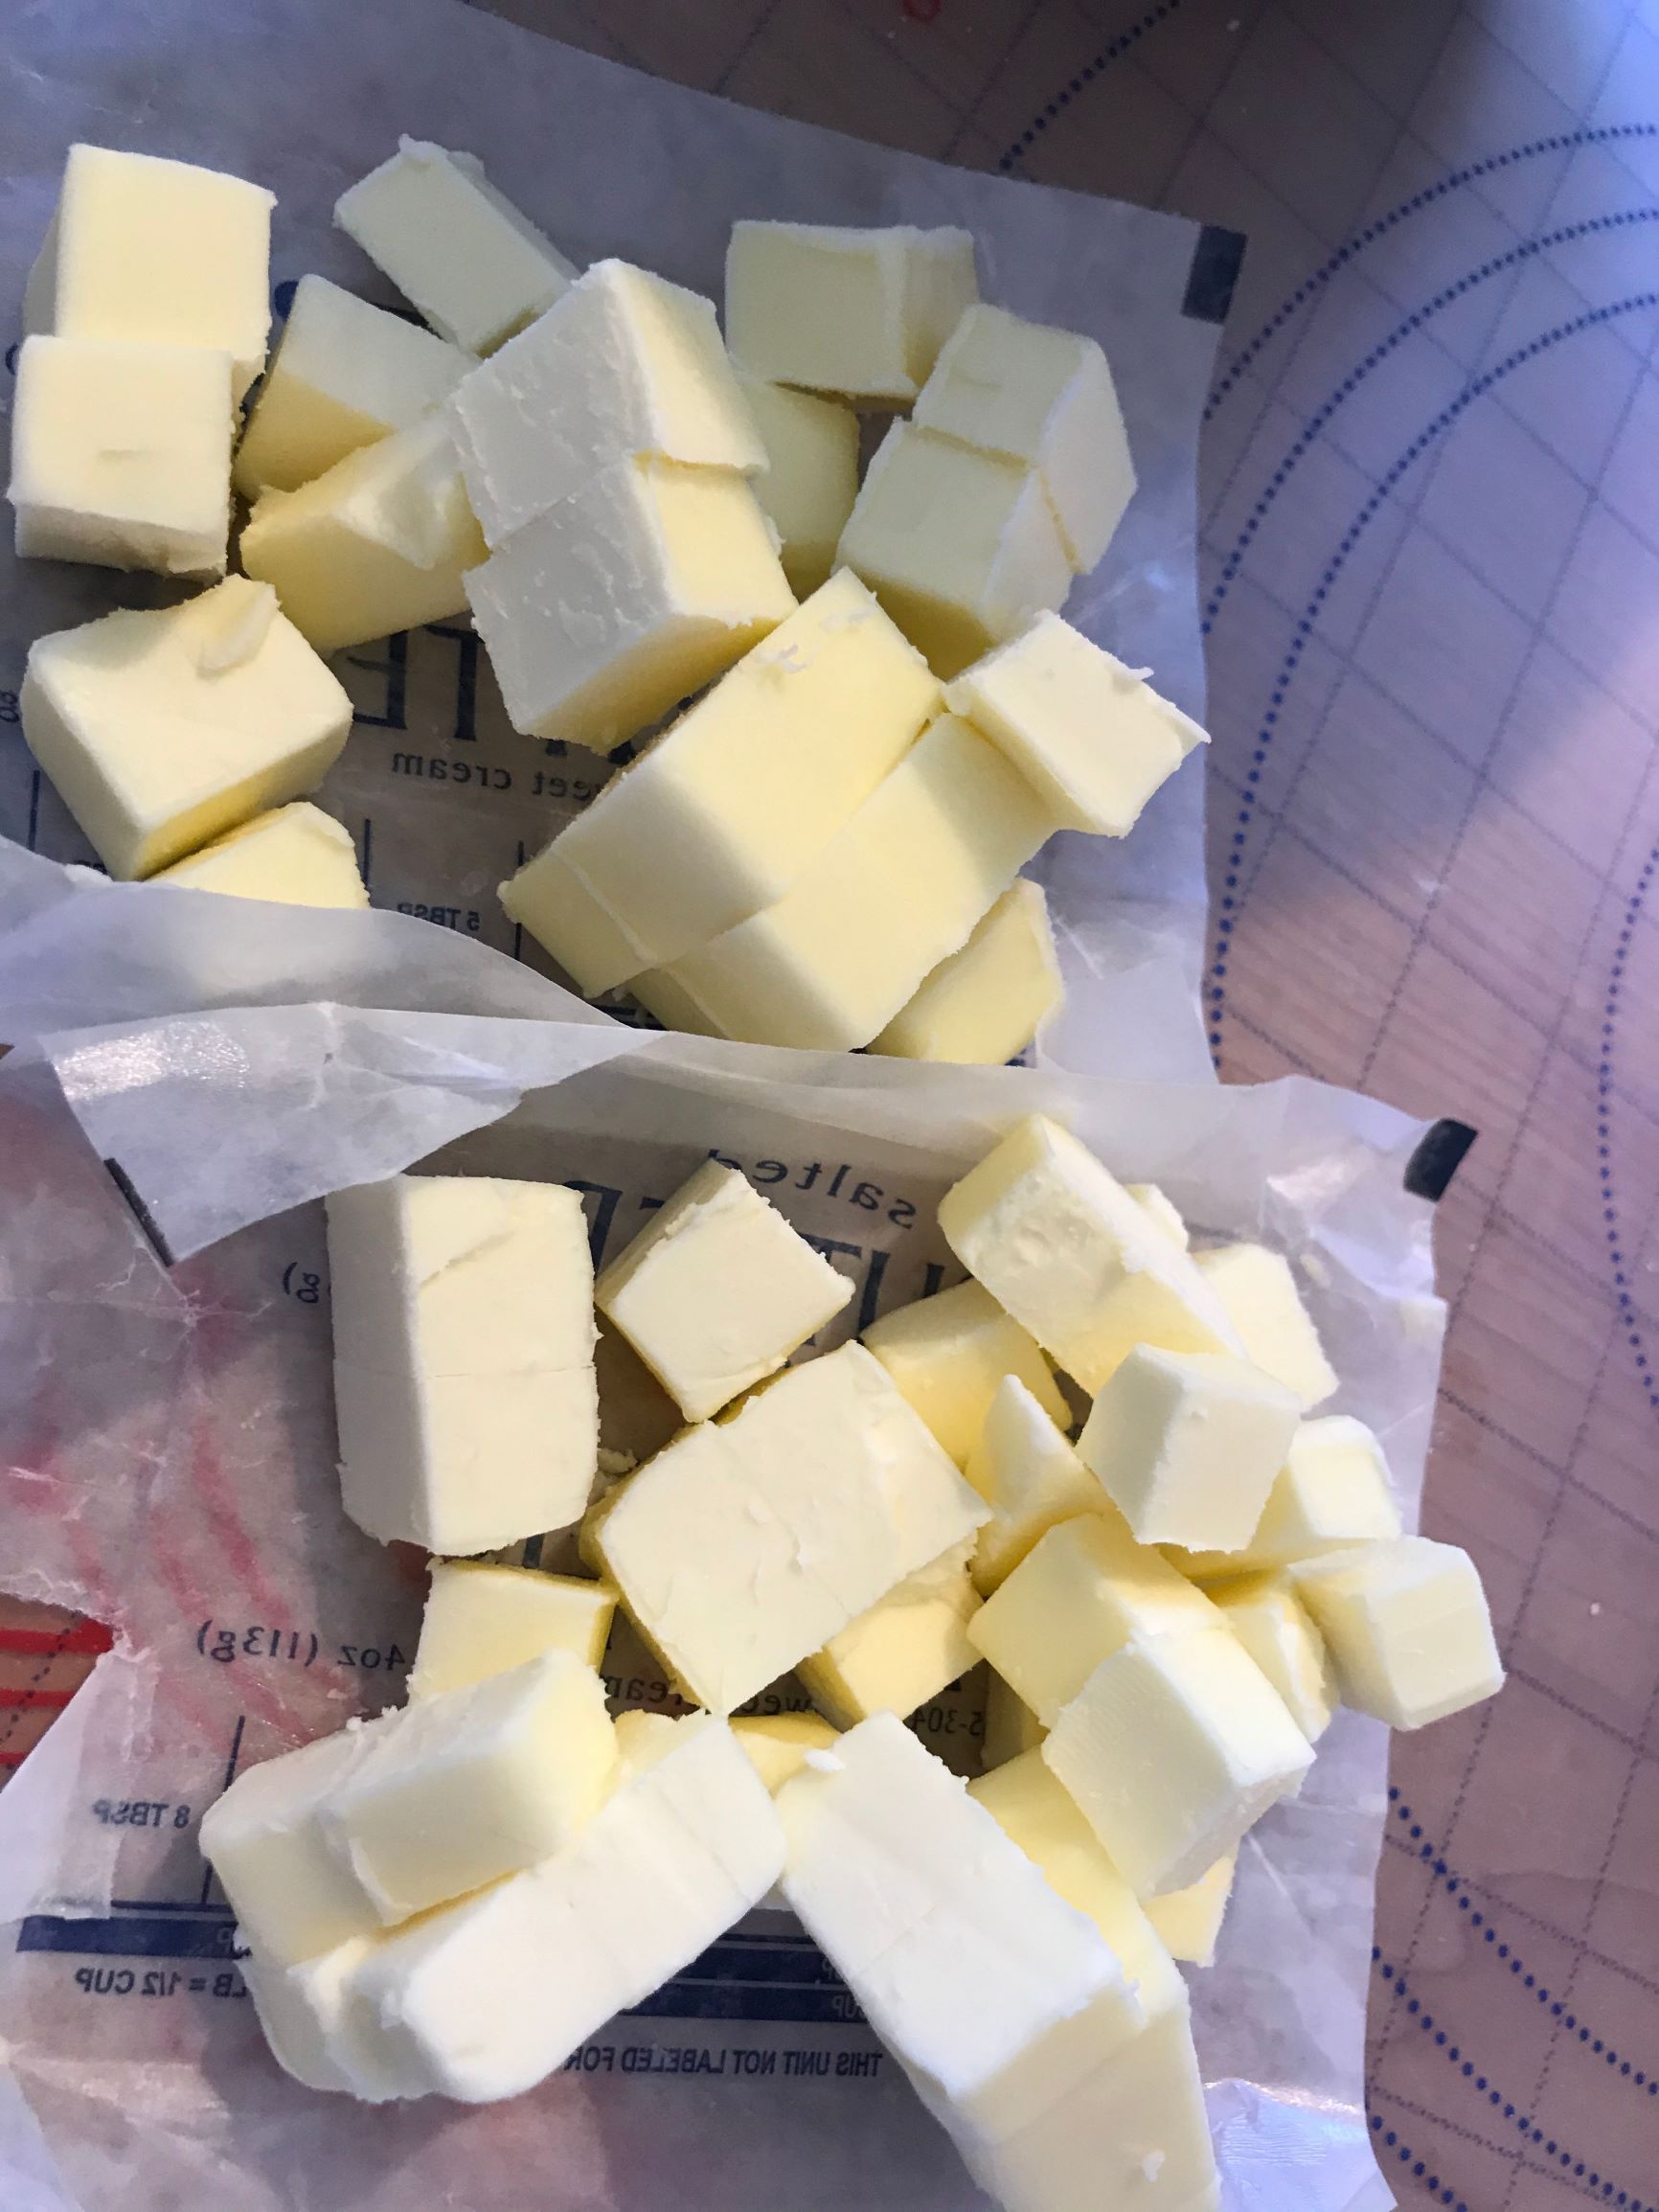
STEP 2:
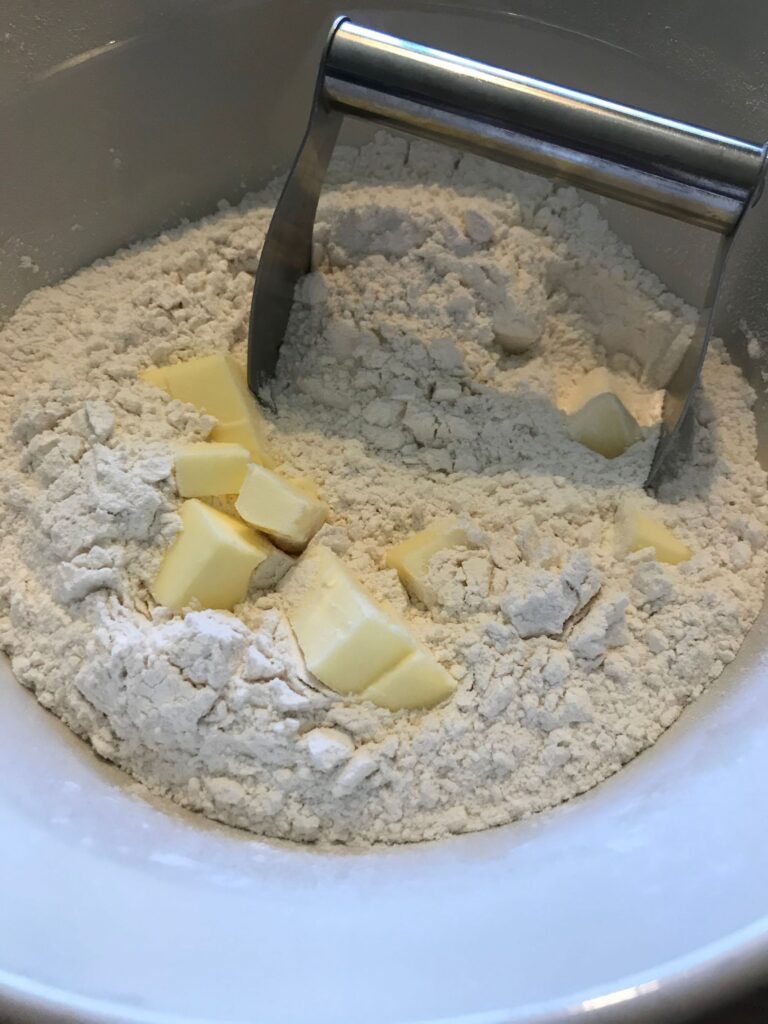
Cut butter into the dough. Same as if you were making a pie crust. You will know when all the butter has been cut in when you see only small pieces mixed in the dough. The butter pieces help create the buttery goodness.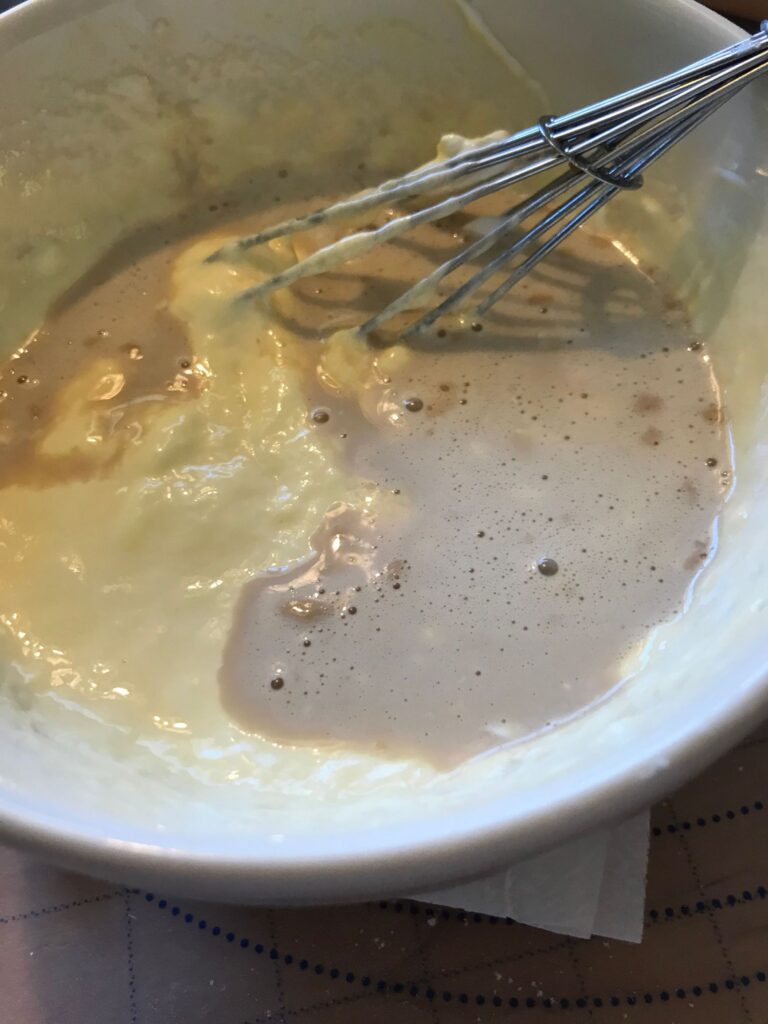
STEP 3:
Beat the eggs and combine with the sour cream and prepared yeast/milk mixture. Then add to flour.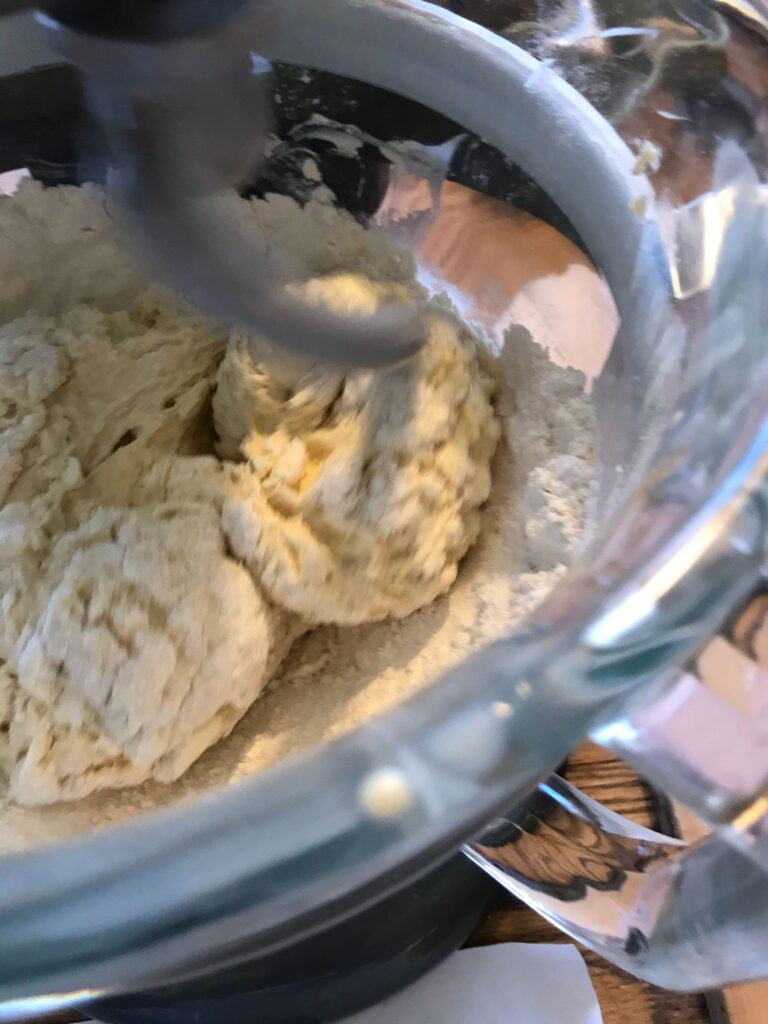
STEP 4:
Mix all the ingredients together. If you have a dough hook attachment that works best. You can also mix by hand with a large wooden spoon and muscle power. Remove from mixer and place on a floured board. Shape into a ball. Place dough in a large mixing bowl. Cover with plastic wrap and let the dough rest in the refrigerate for 2 hrs. or overnight.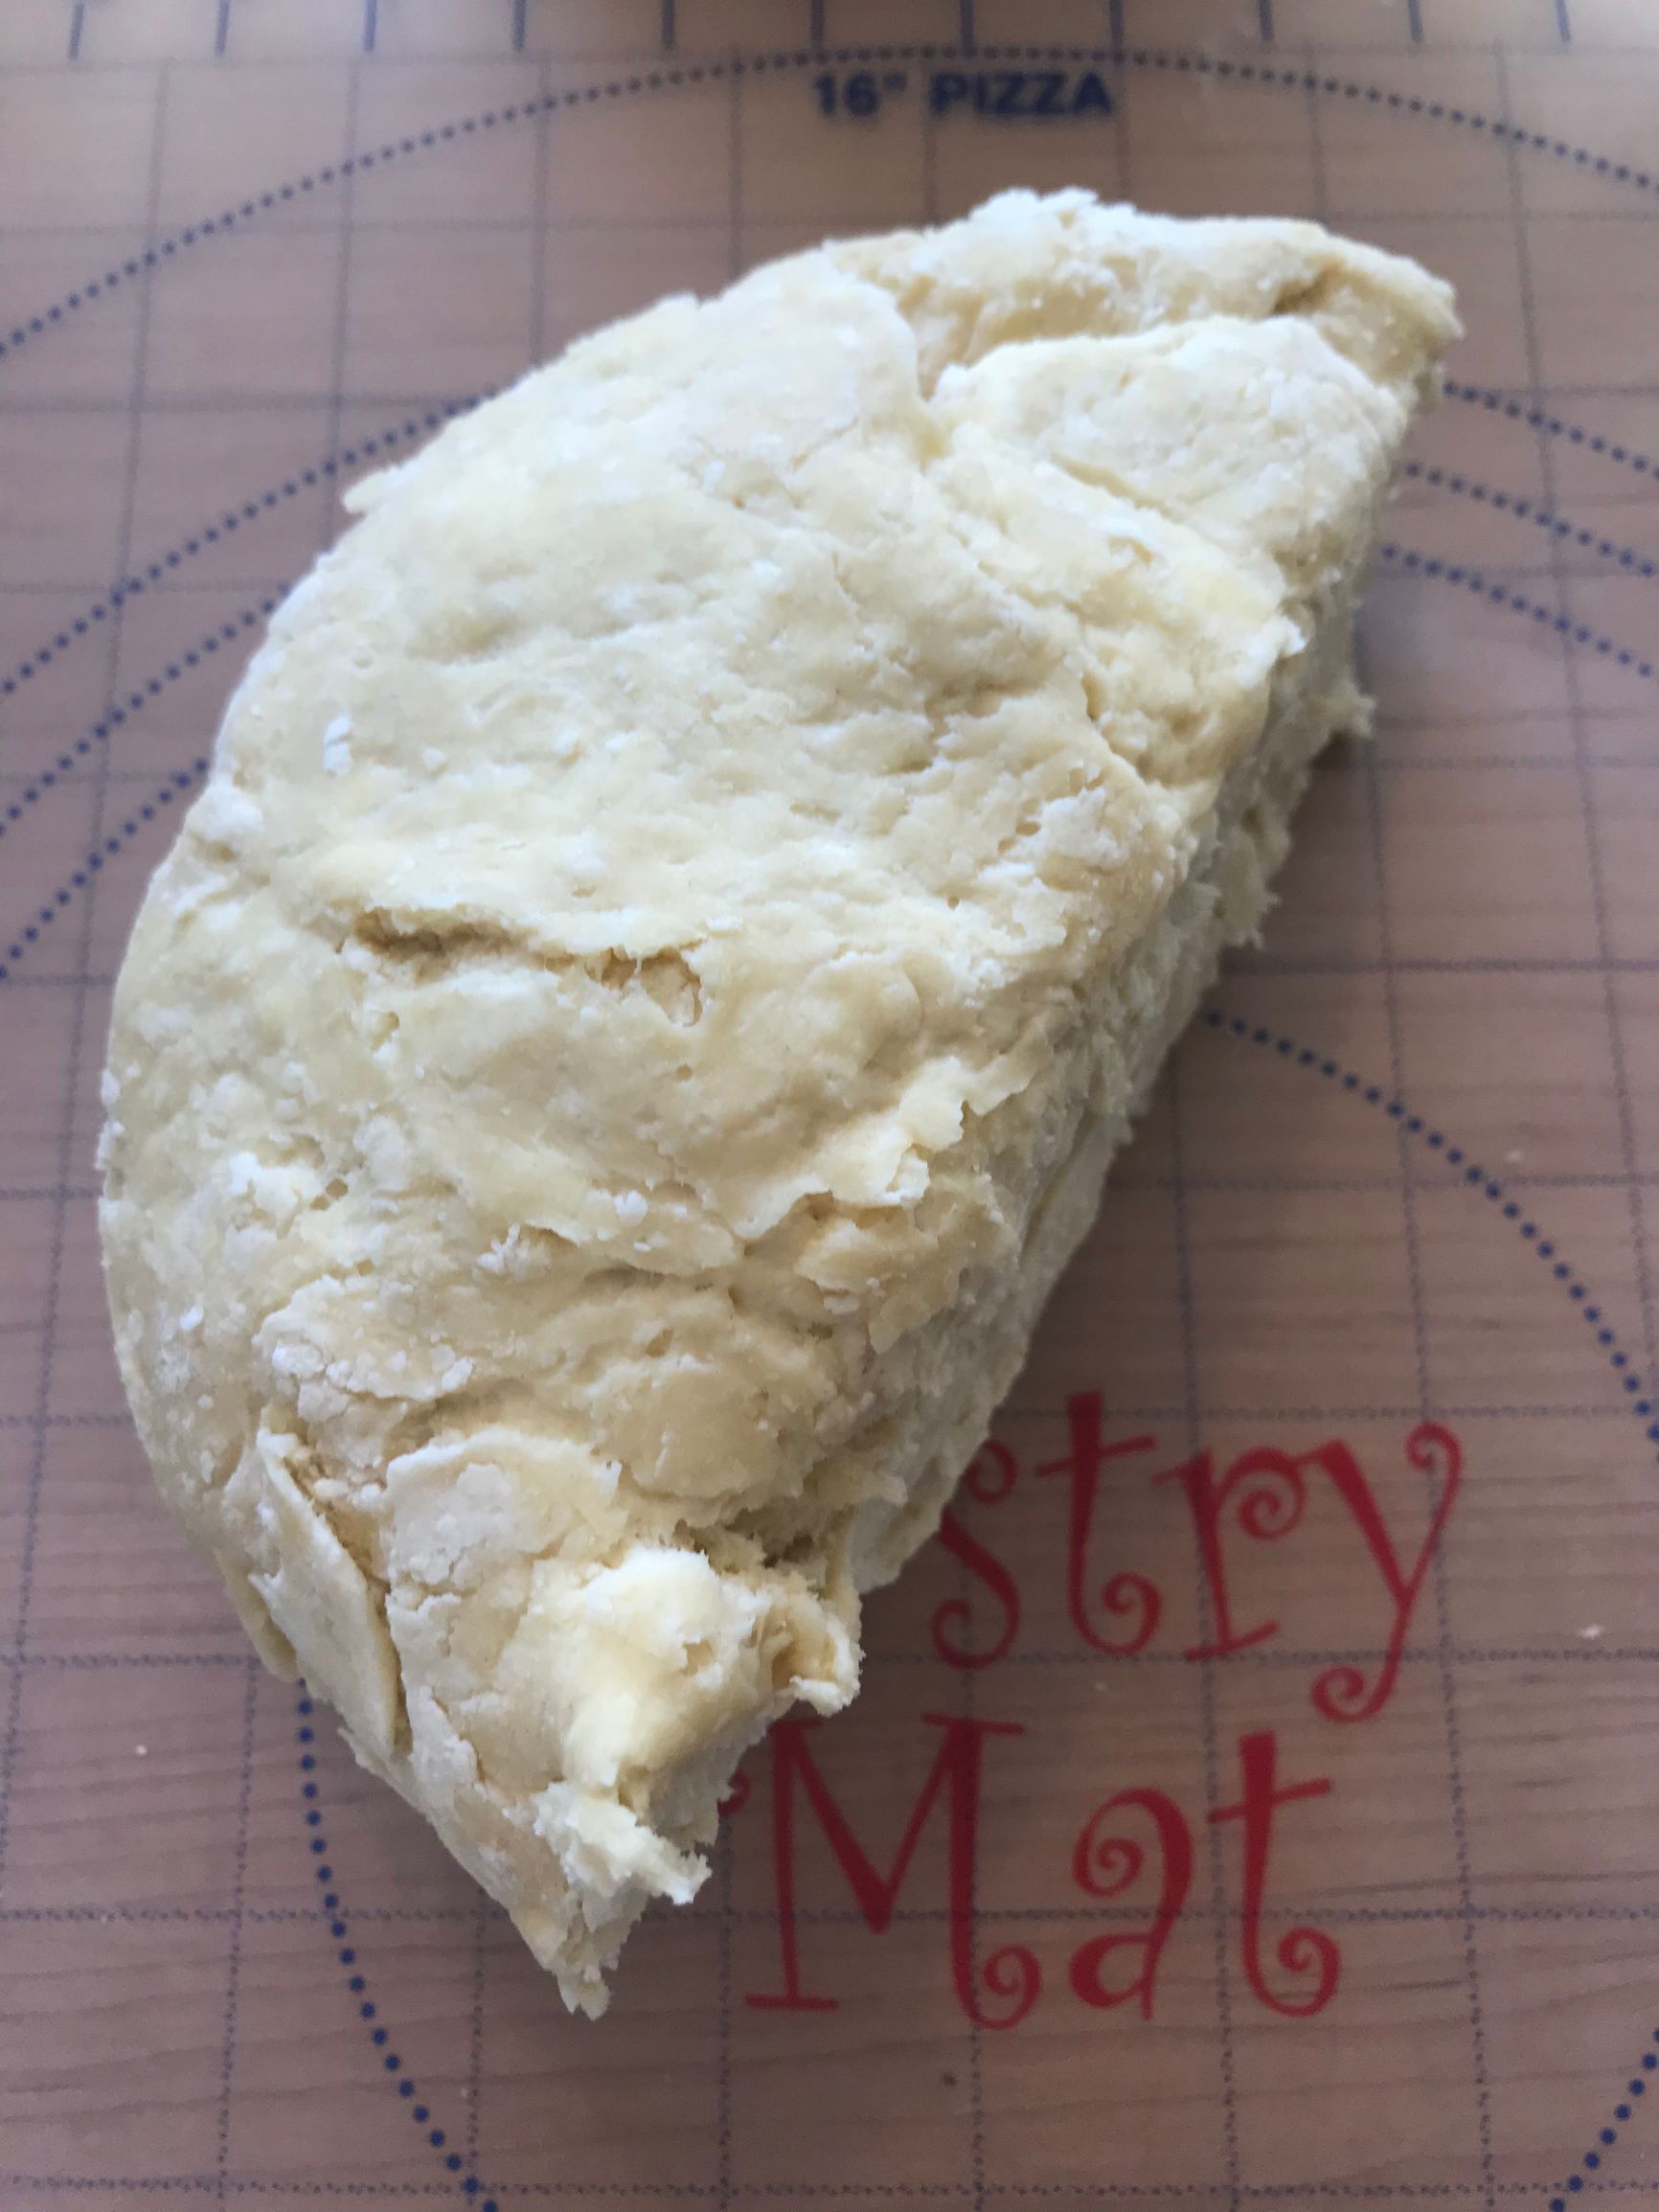
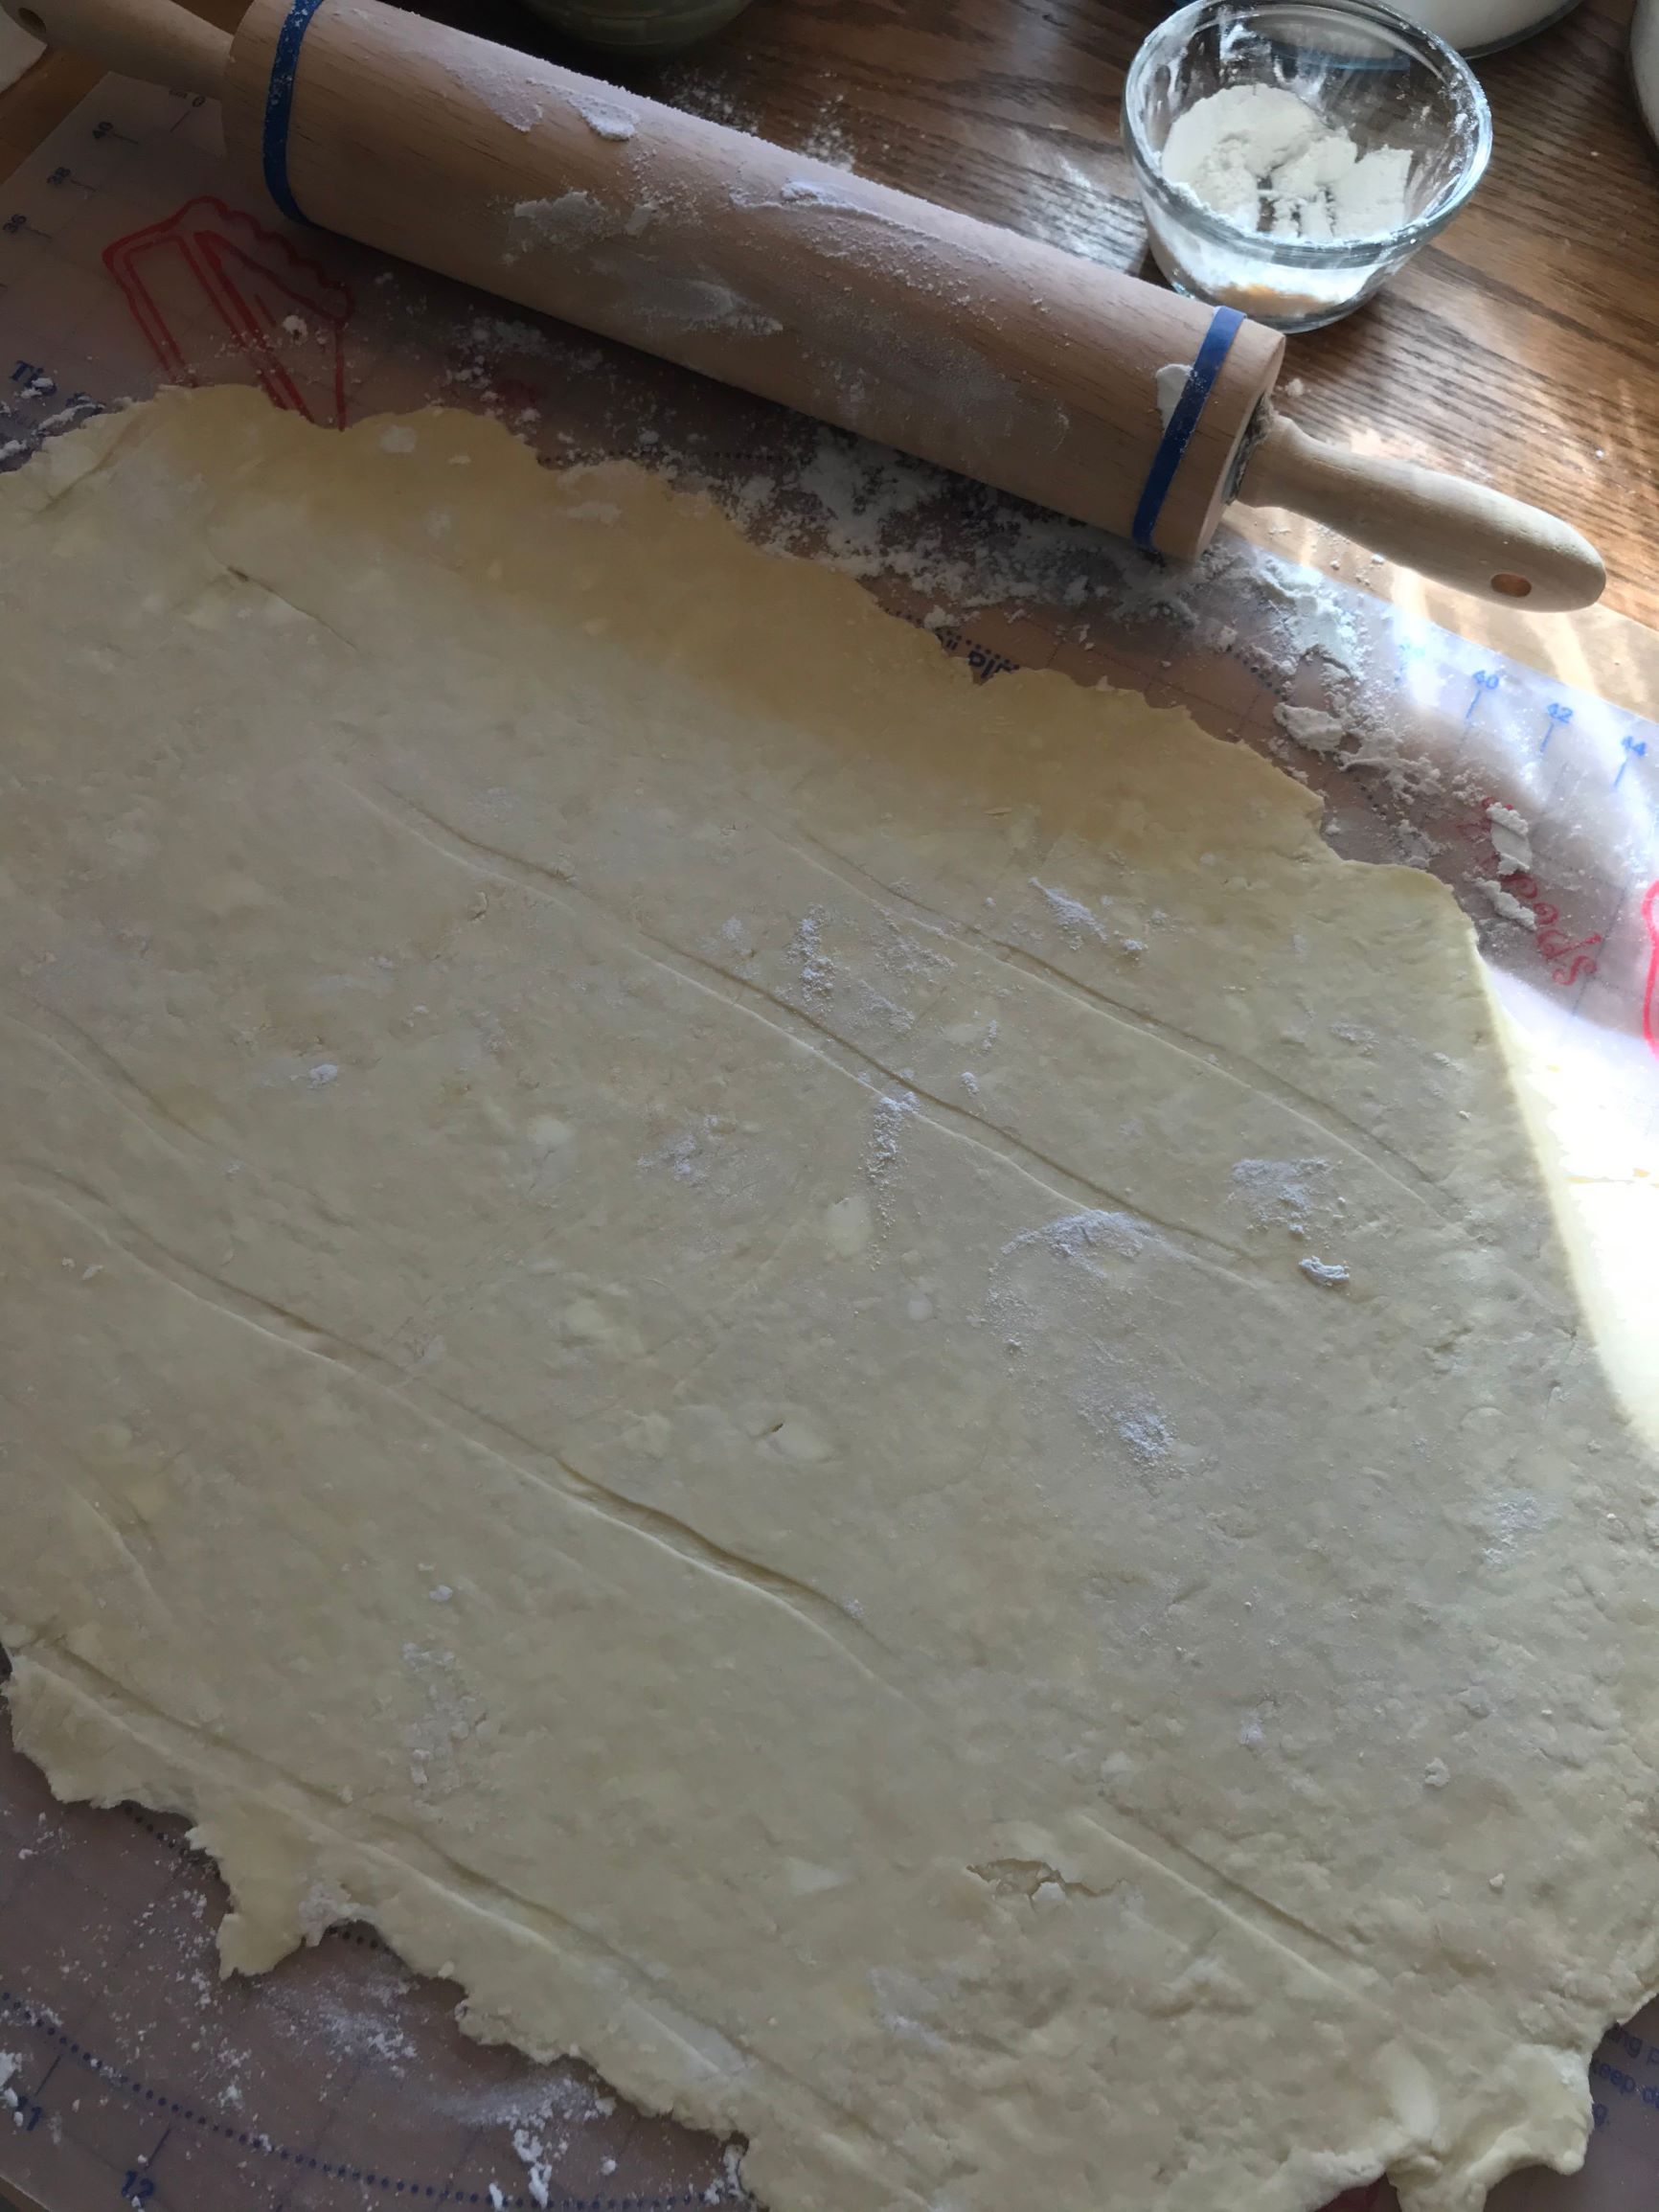
STEP 5:
Divide dough in half. Take half the dough and roll out in a rectangular shape on a floured board or pastry mat. Approximate 18×12-in rectangle.
STEP 6:
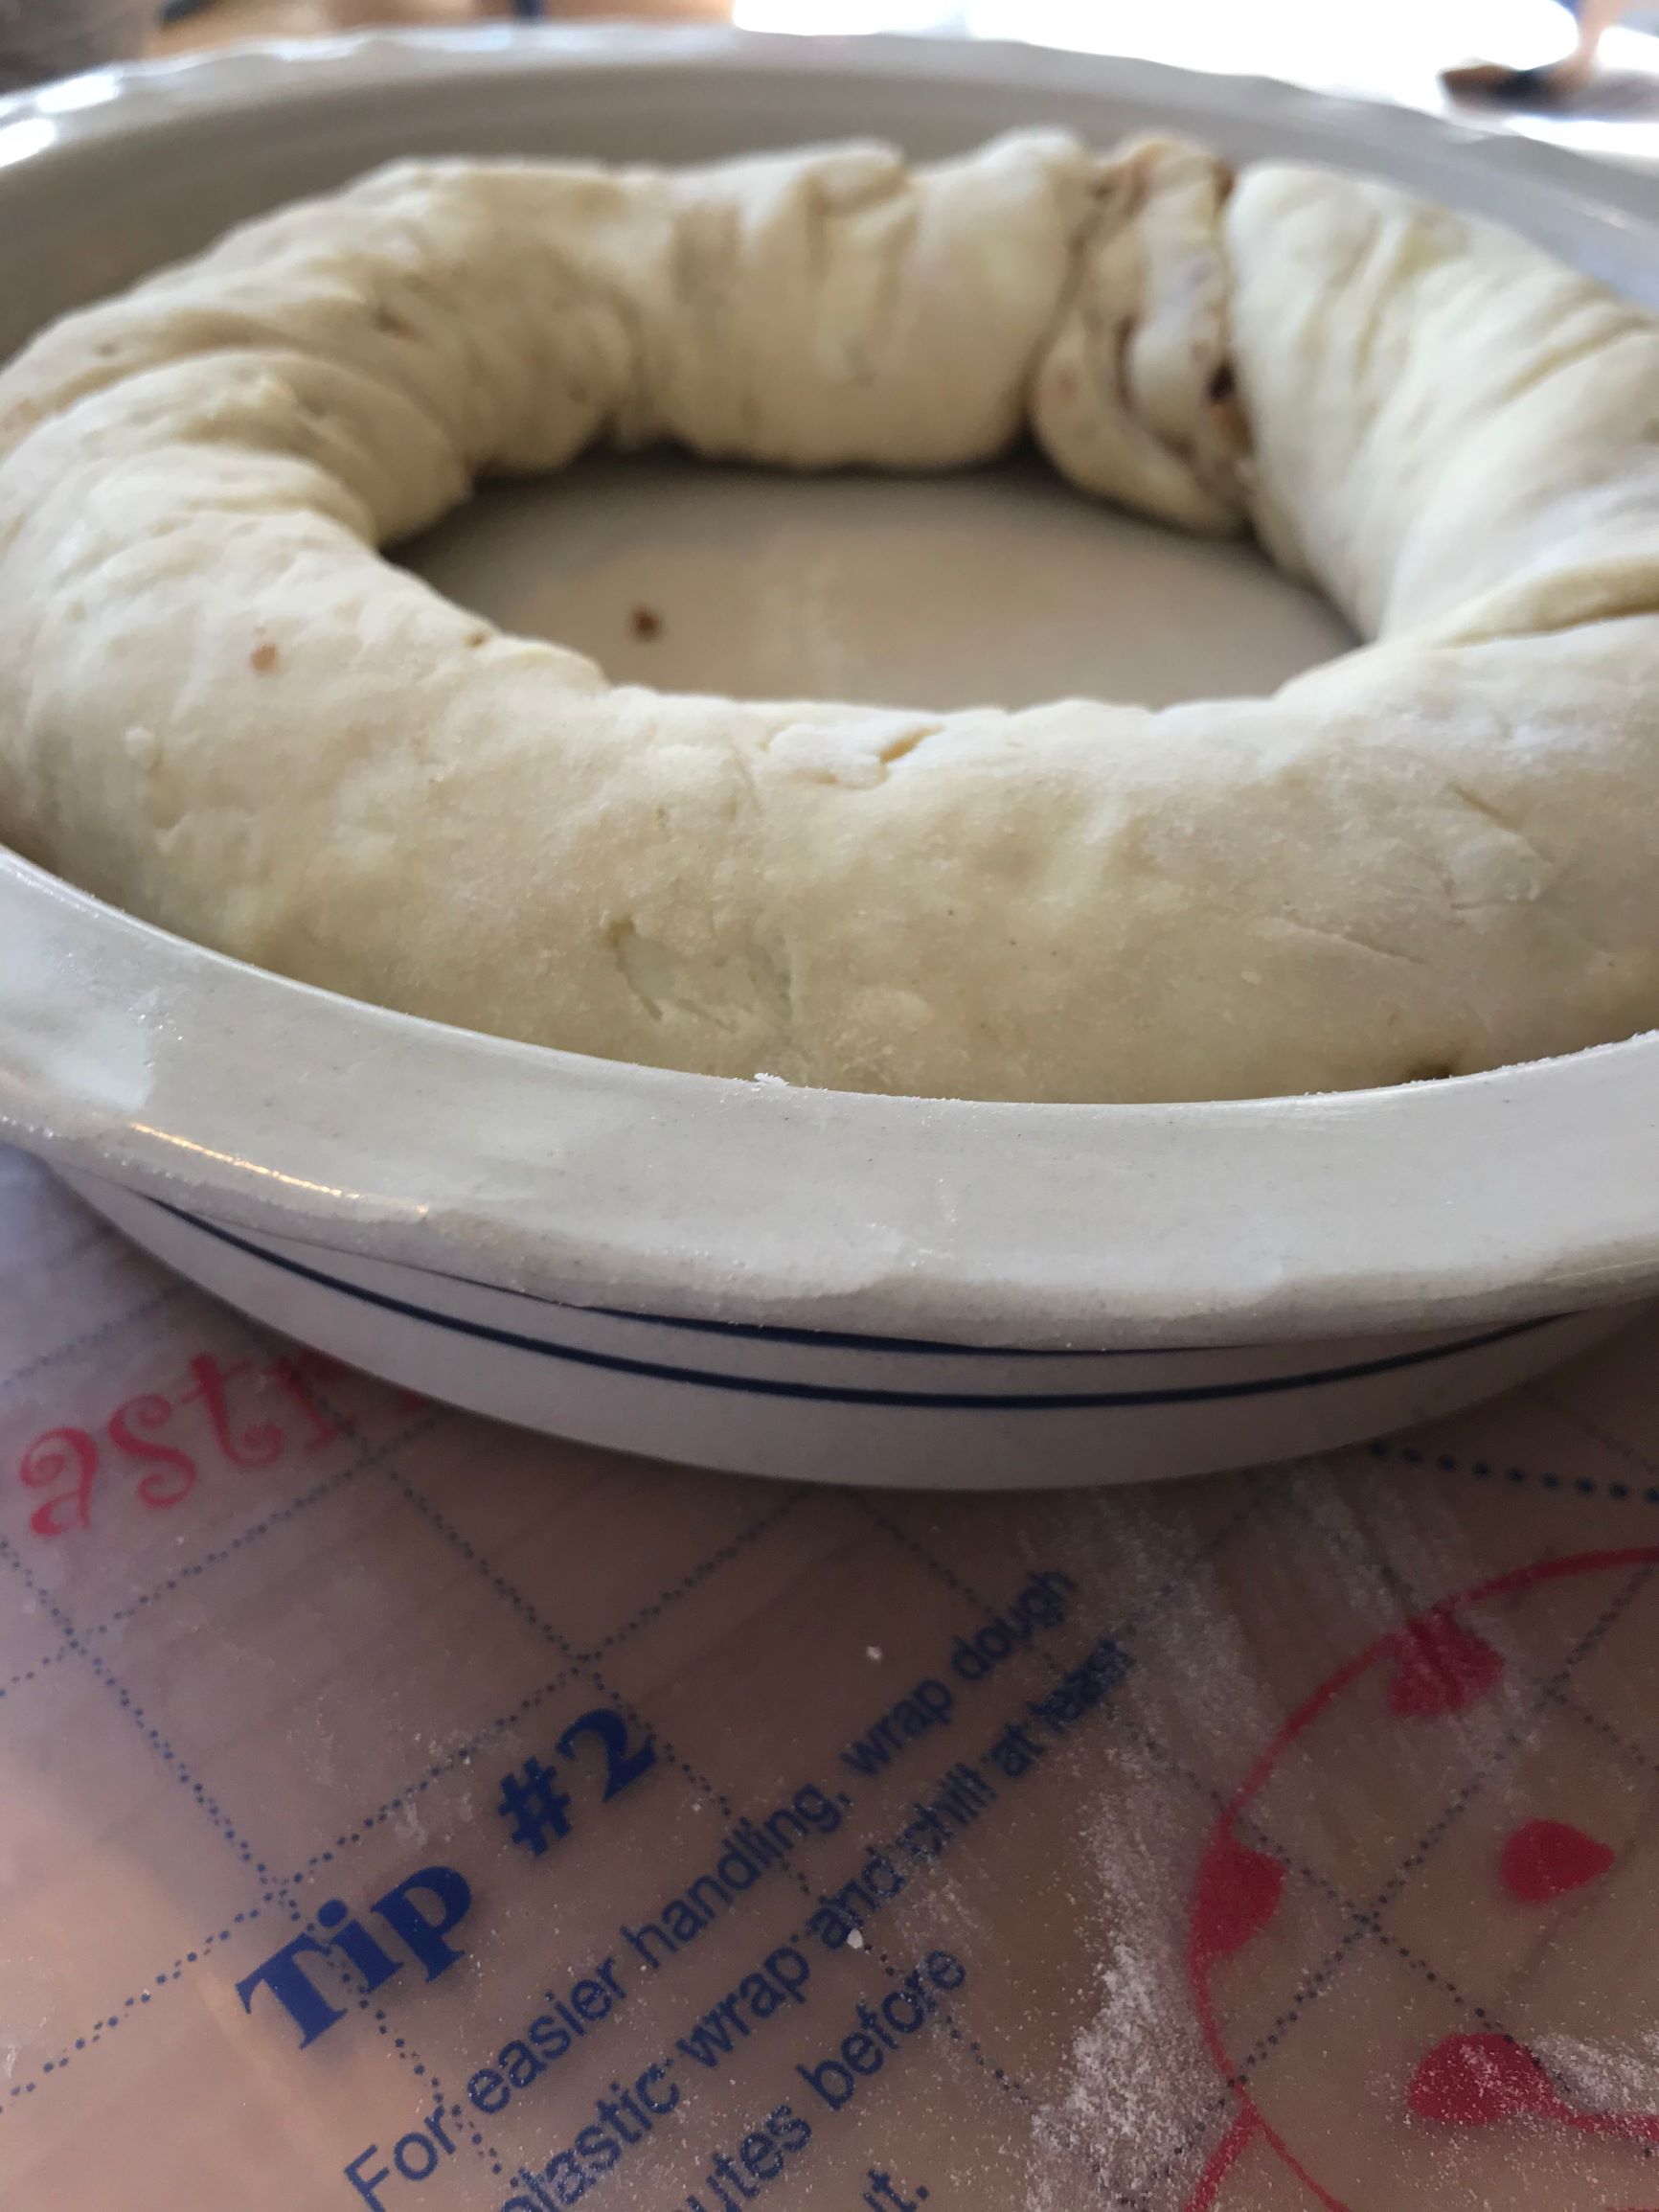
Brush the top with melted butter; sprinkle with the cinnamon & chopped nuts mixture to about a 1/2” from the edges. Roll up in jelly-roll style. Then give ring several twists before placing in bakeware.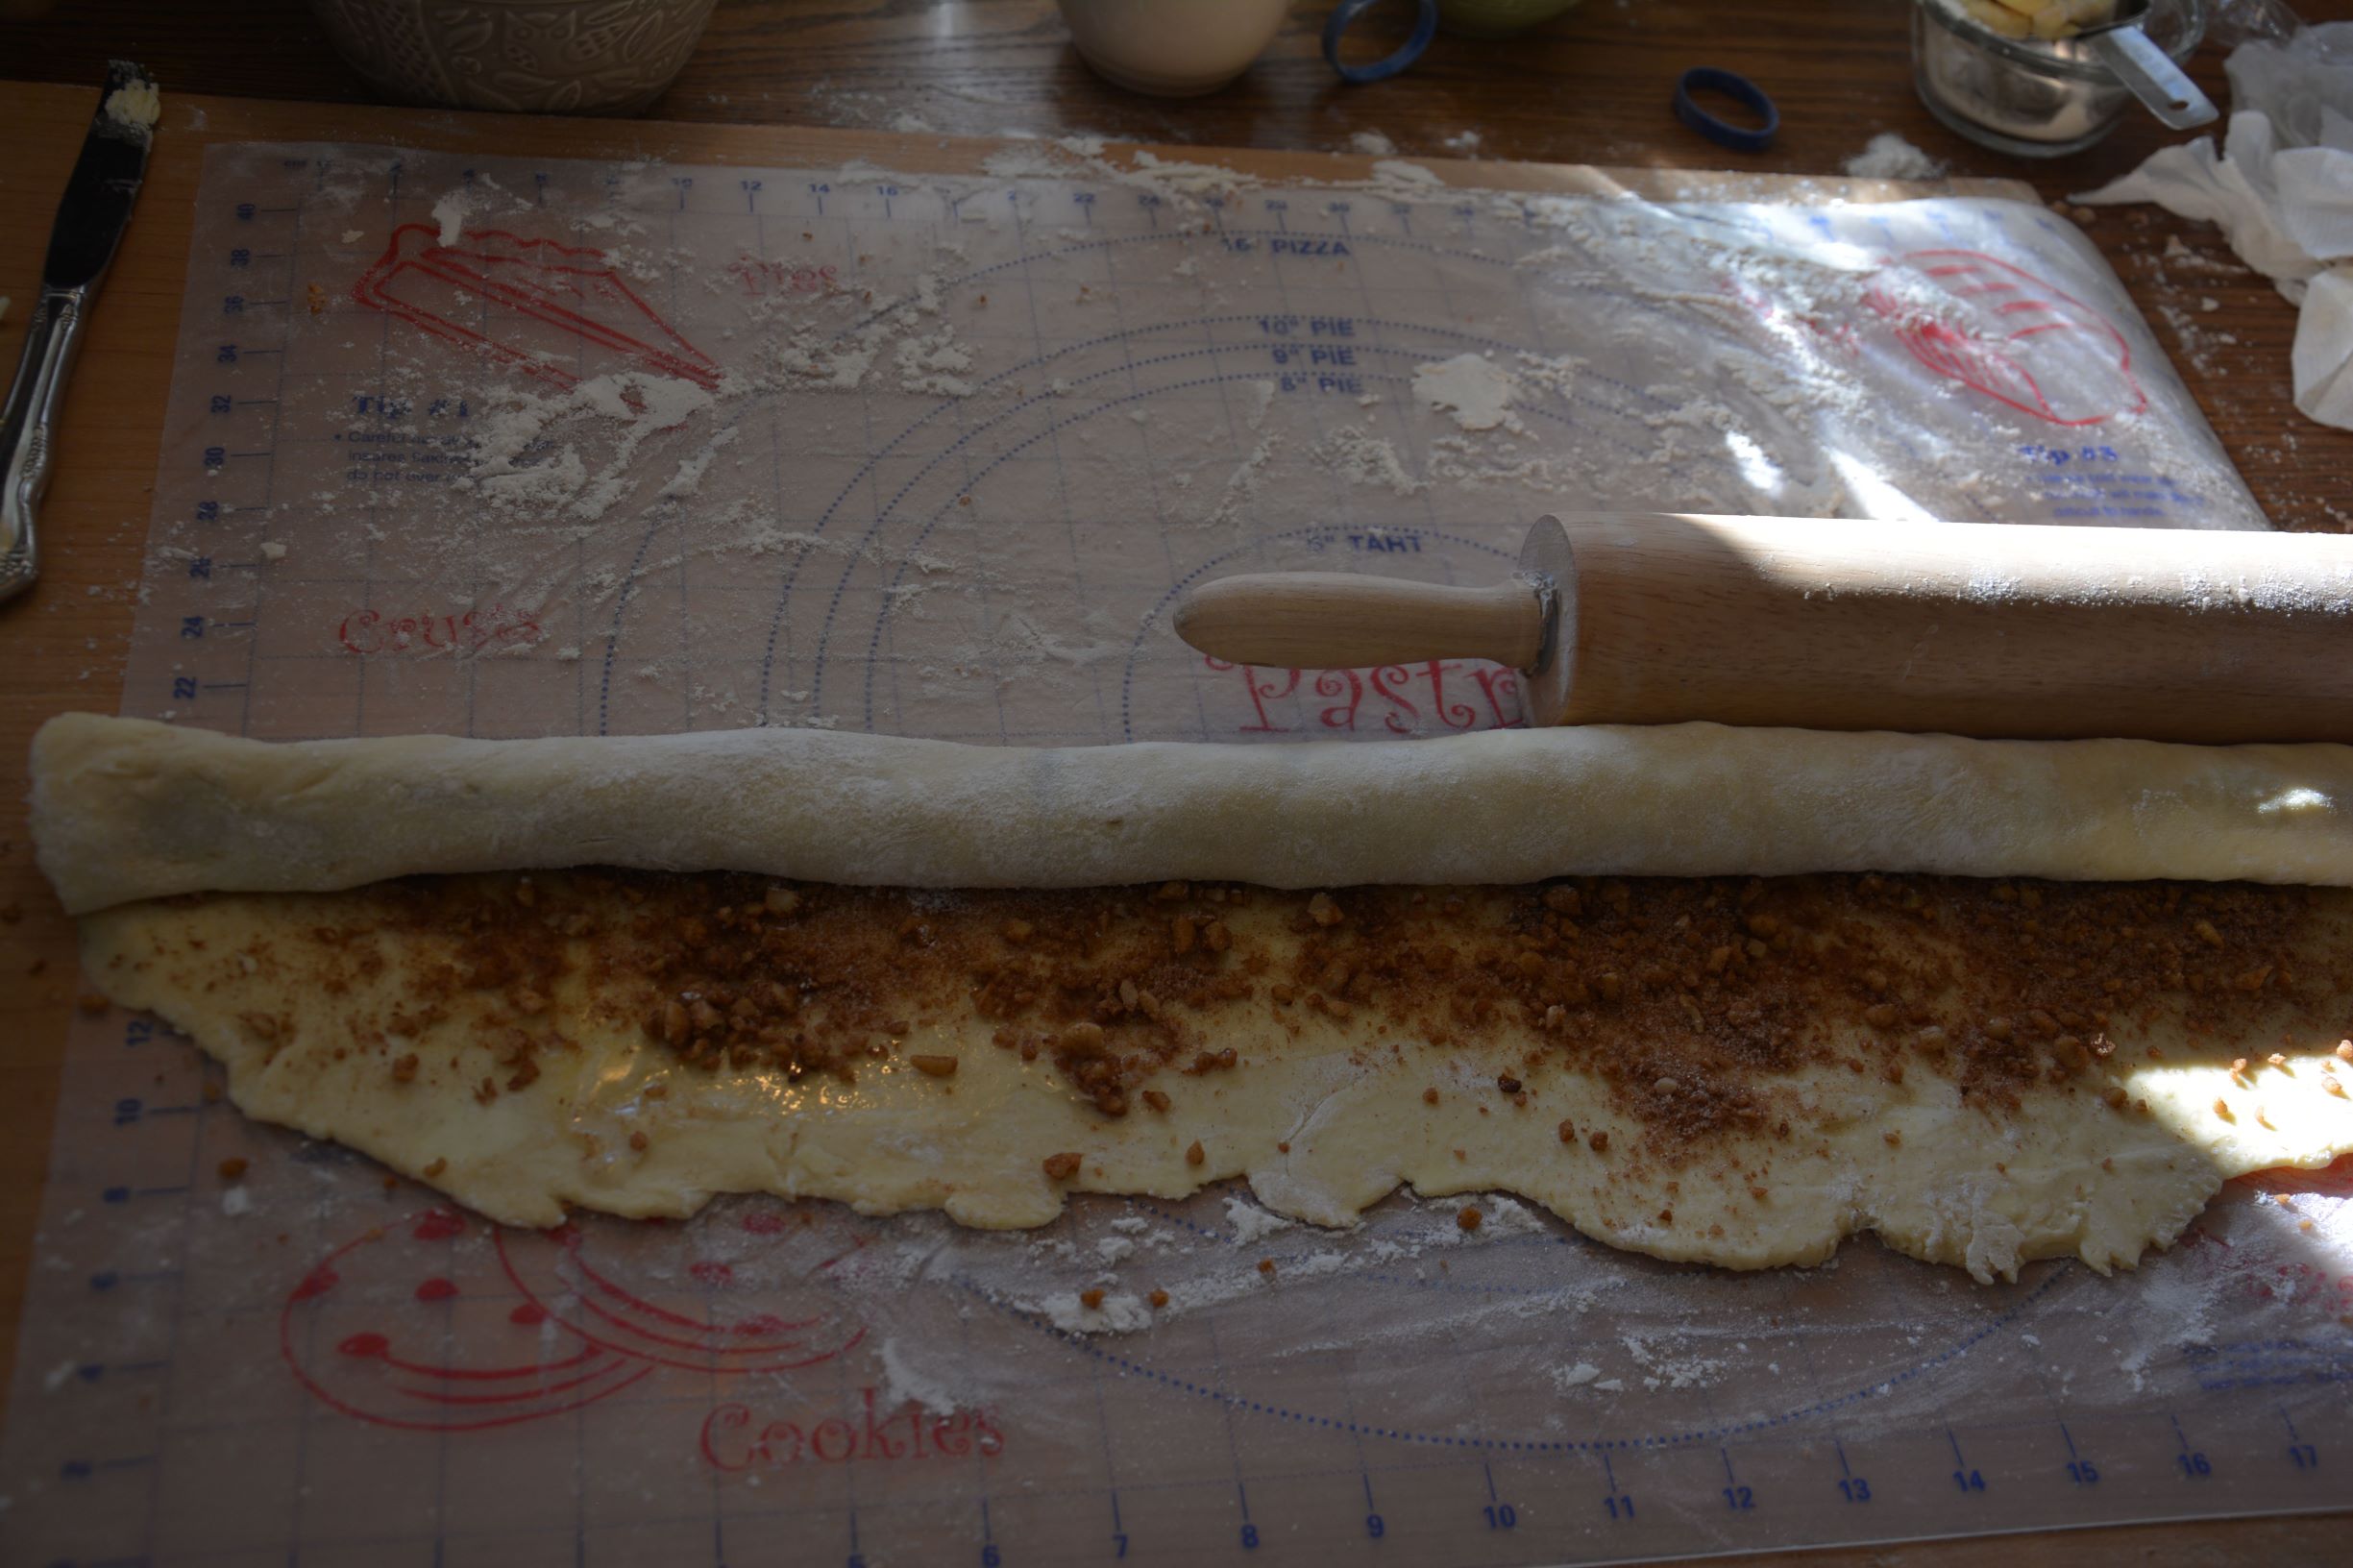
STEP 7:
Place each ring, seam side down, in a lightly greased deep dish pie pan or cake pan. Pinch the ends together. Cover both pans with a towel and place in a warm area. Let rise for 2 hours.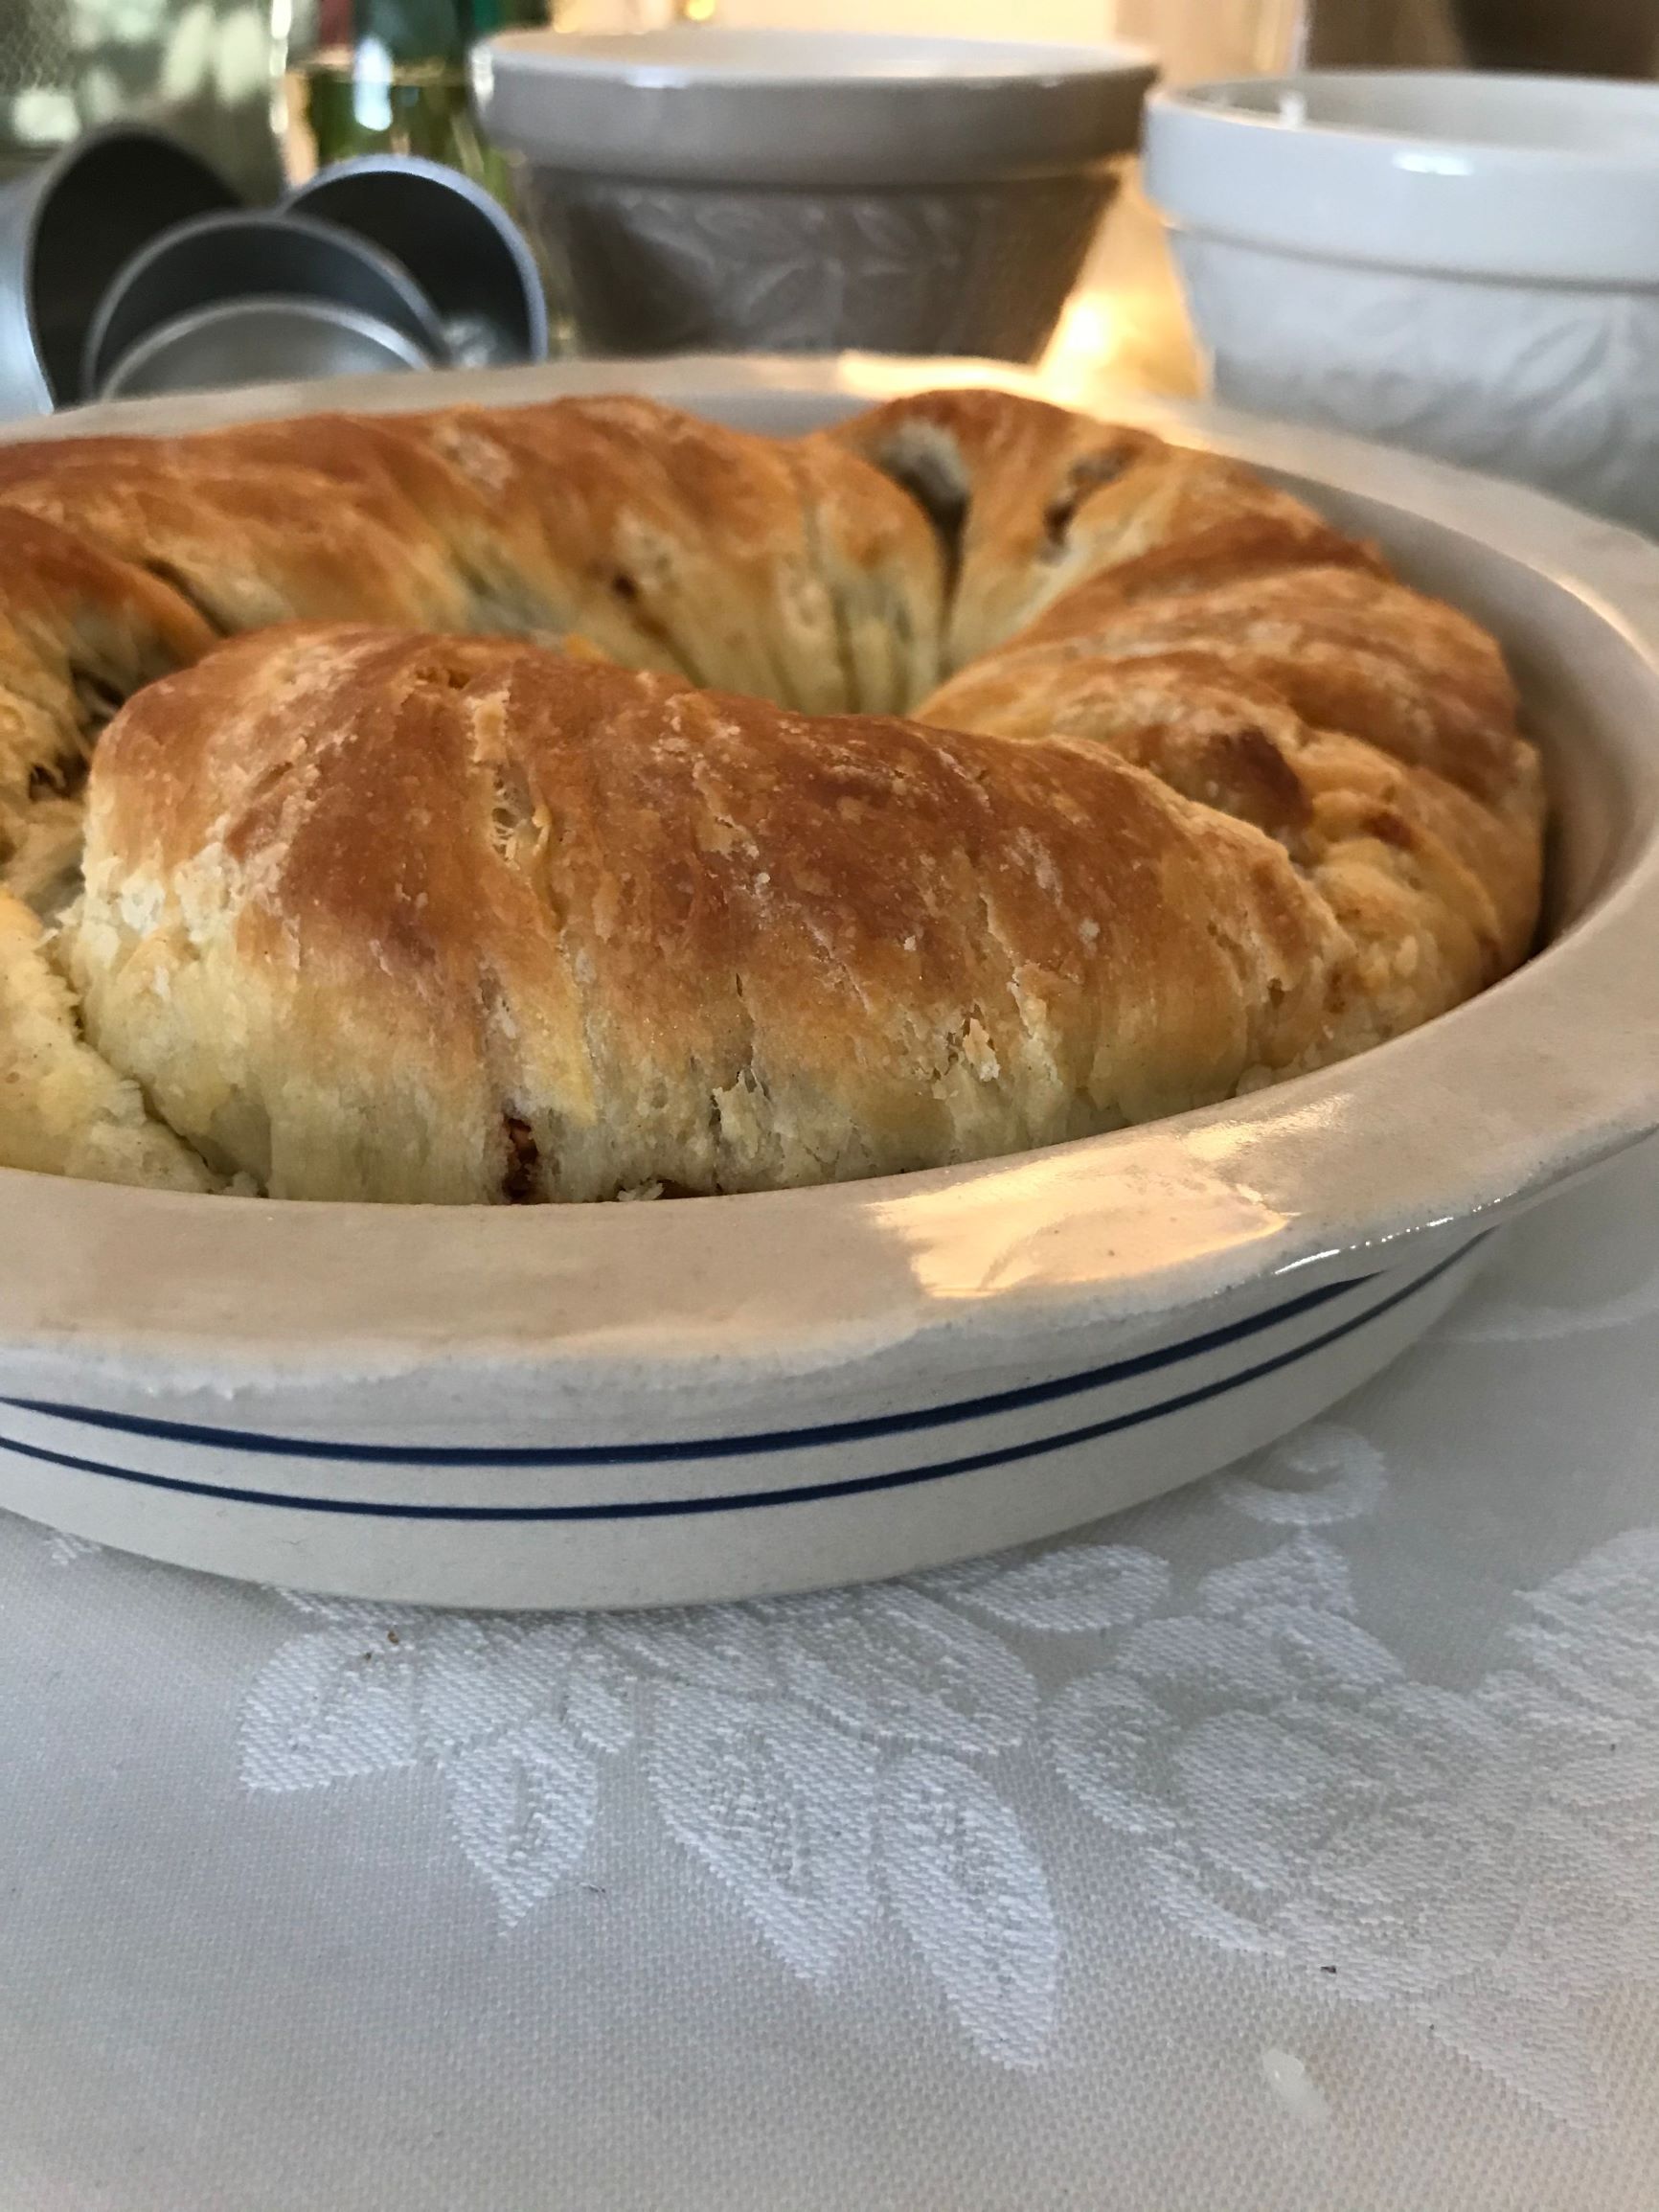
STEP 8:
Preheat oven to 350 deg. Bake for 25-35 minutes, until light brown and a toothpick comes out clean. Remove from pans and cool on wire rack.
Optional: In a small bowl, combine confectioners’ sugar and just enough water or milk to achieve a consistency to drizzle over the top. Sprinkle top with additional nuts.
Freezes well.
A Few of My Favorite Lehman’s Baking Items
In the making of this recipe, I used items that I found at Lehman’s in Kidron. These items can be purchased at the store or on the online store.
Heritage Blue Strip Stoneware 8″ Pie Pan
I really love this made by hand pie pan. One it is made in USA and second it is microwave, oven and dishwasher safe. It also bakes items beautifully and is perfect for this recipe.
Rolling Pin Rings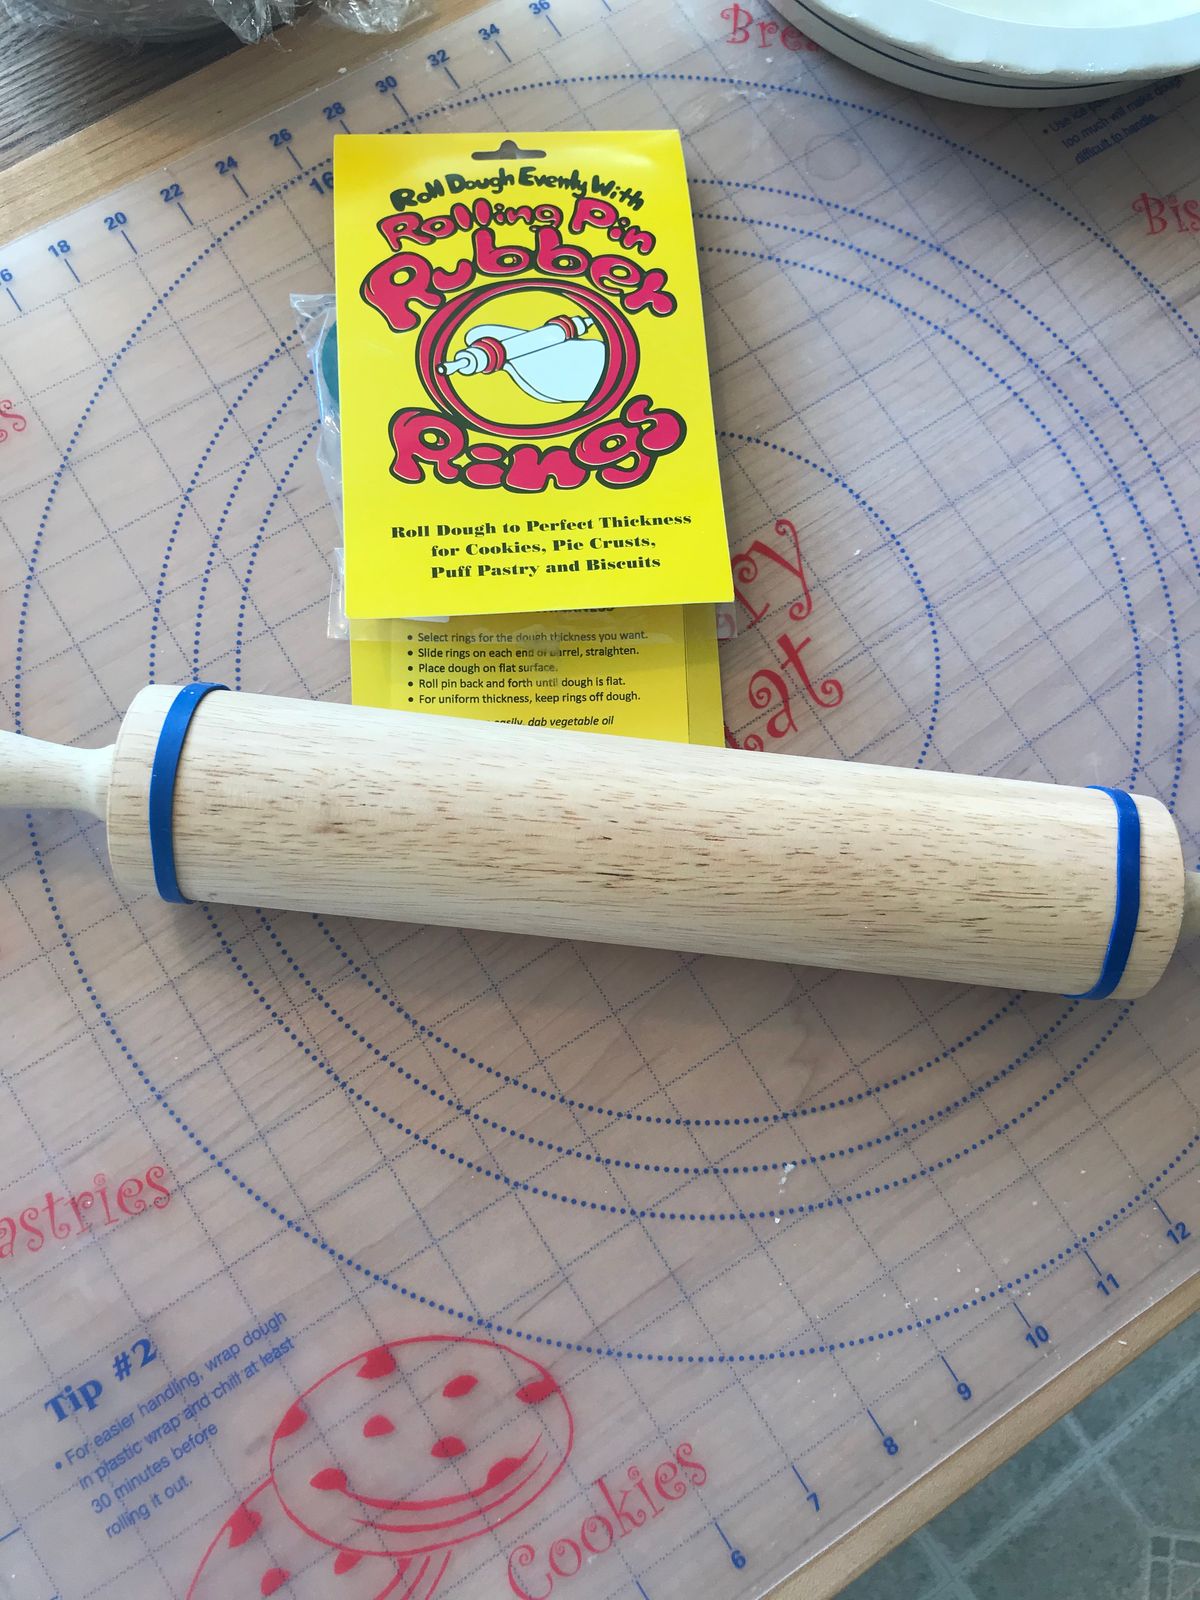 Whoever came up with this idea is a genius. The rings create an even thickness for whatever you may be baking. I like them for pie crusts and cookies. There are four sets of color-coded rings for 1/16″, 1/8″, 1/4″, 3/8″. Size instructions is also included on the packaging. I used the blue bands for this recipe.
Non-Slip Pastry Mat
Made in the USA, this clear mat includes five crust measurements and helps make flour clean-up a snap. Just hand wipe and it rolls up for easy storage.
Stainless Steel Hand Pastry Blender
If you plan on making pie crusts, scones, or biscuits, then a hand pastry blender needs to be in your kitchen. I make scones every week and I can not live without my hand pastry blender.
Stainless Steel Flour Sifter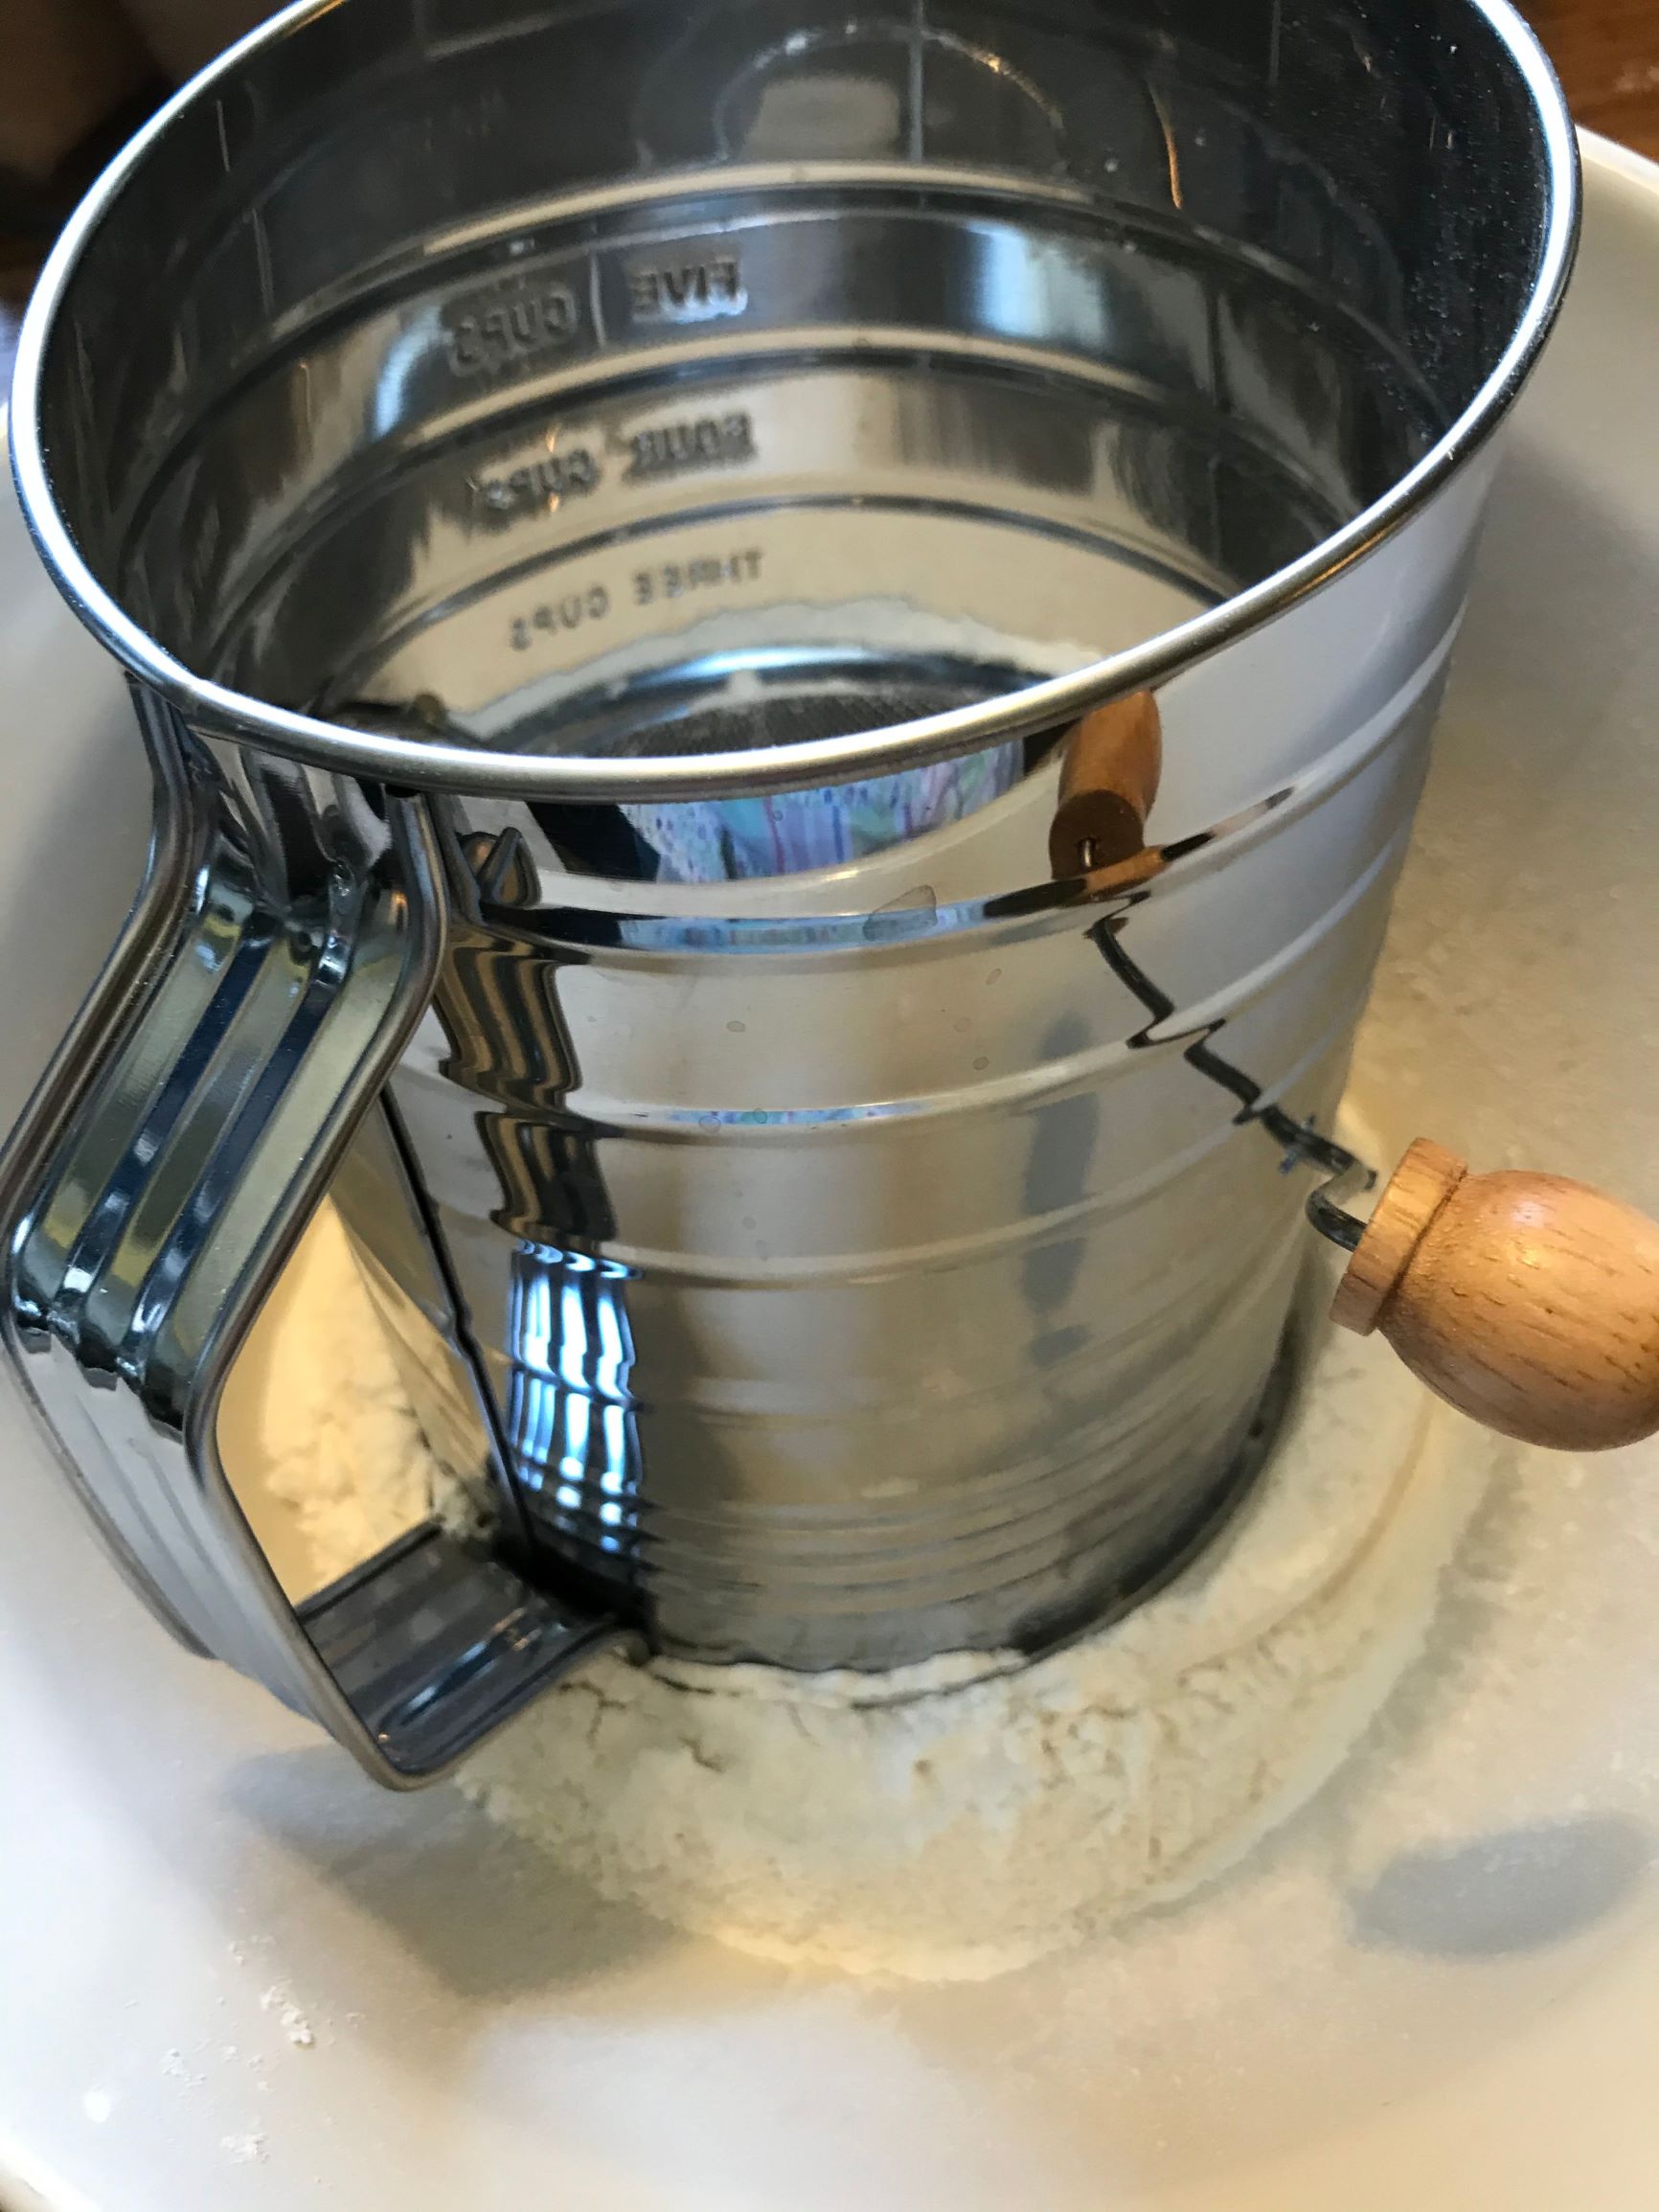 No baker should ever be without this simple tool. A hand sifter. Required for so many baking projects and sometimes not found in today’s kitchen. No electric needed here.
Parchment Rounds – available in the baking section at Lehman’s retail store in Kidron, Ohio. 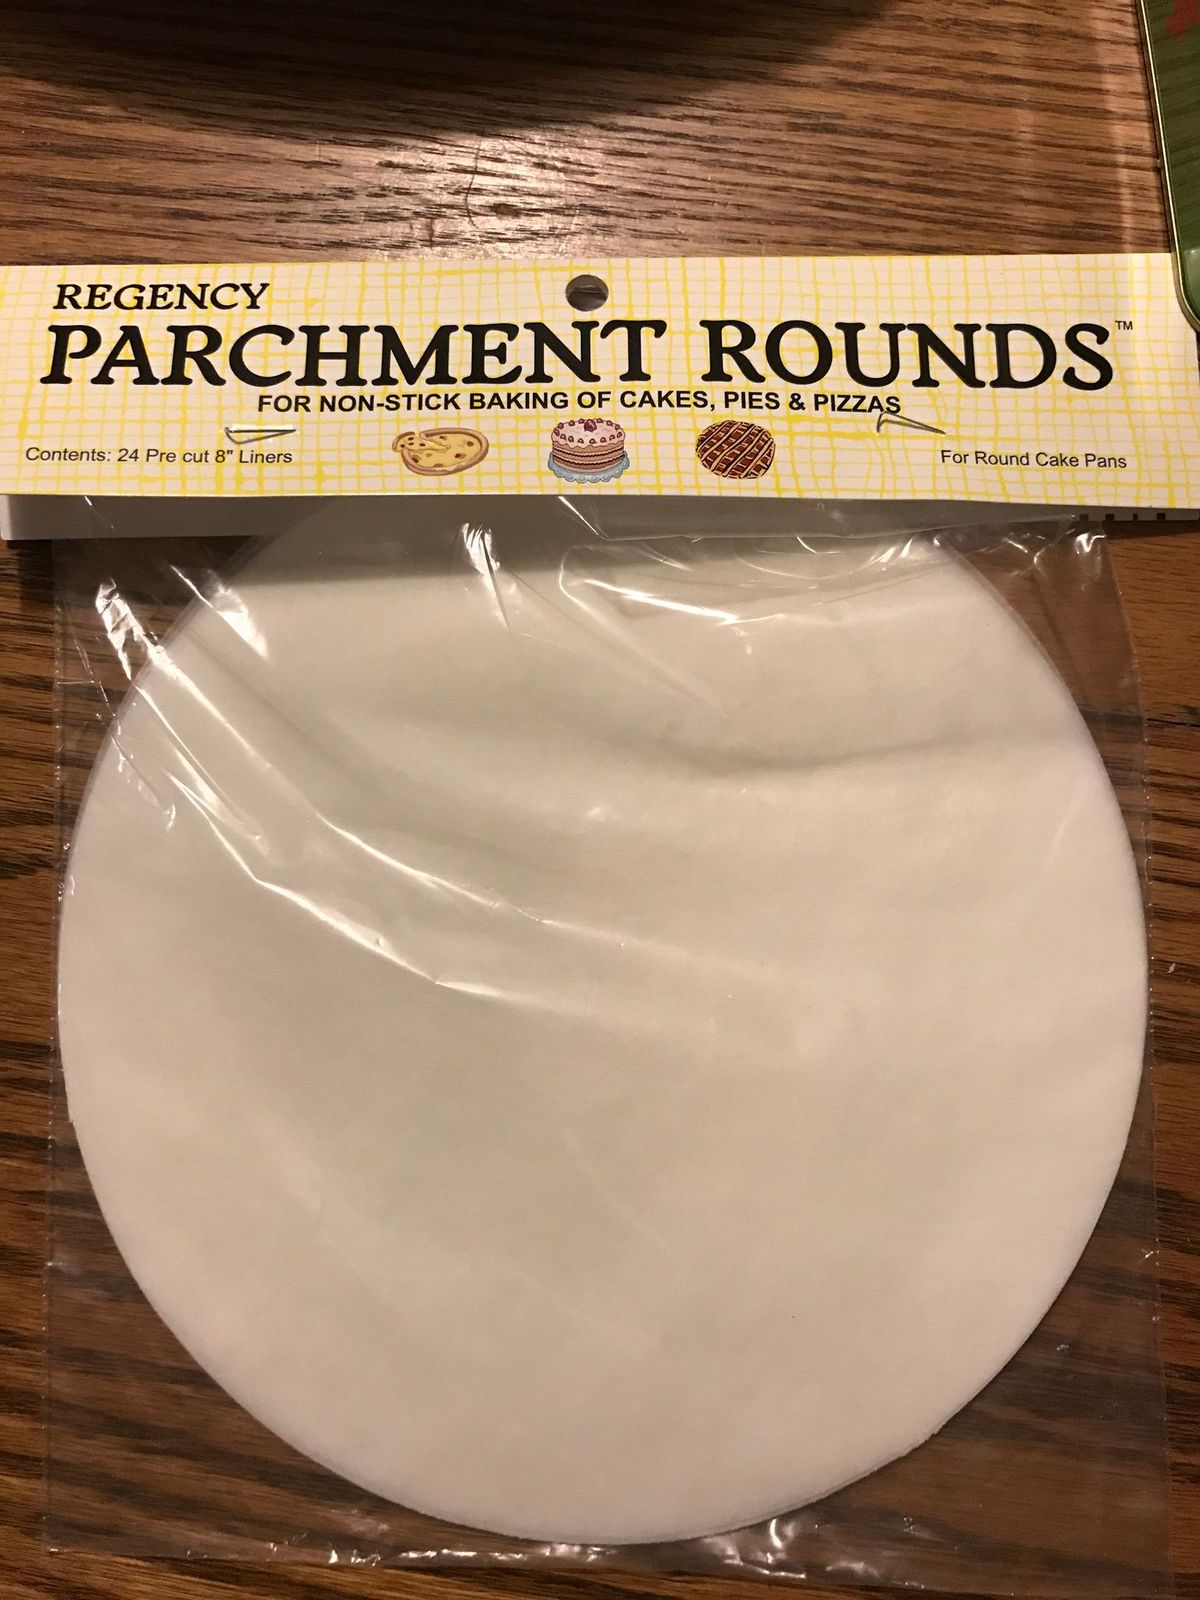 I love to use parchment sheets when baking cakes, especially my coconut sponge cakes. If you have ever cut your parchment paper to fit a cake pan you will understand how wonderful these pre-cut liners are.
Mason Cash Mixing Bowls
I just love these bowls. Why? Well because I love the forest scenes inspired by mid-19th century folk tales. But even more importantly they were featured on the Great British Baking Show and what I have heard even the Royal Family has used Mason Cash bowls??
Thanks for letting me share with you my love of baking. And please share those family recipes! If you enjoy trying new recipes, Lehman’s “The Sapphire Cookbook Collection” has a wonderful collection of recipes.
This post is sponsored by Lehman’s. As always, all opinions are mine. Thank you for continuing to support the brands that help make my love of baking possible!
PrintIce Box Butter Ring
5 Stars 4 Stars 3 Stars 2 Stars 1 Star
No reviews
- Total Time: 8 hours 35 minutes
- Yield: 2 rings 1x
Ingredients
DOUGH:
- 4 c. flour
- 1/4 c. sugar
- 1 tsp. salt
- 1 c. cold butter (cut into chunks)
- 2 eggs
- 1 c. sour cream (do not use light or fat-free)
- 1 cake loose yeast or 2 1/4 tsp. dry yeast dissolved in 1/4 c. milk (110° to 115°) Allow yeast to sit for about 5-10 minutes.
FILLING:
- 1/2 c. sugar
- I T. cinnamon
- 1 c. walnuts – chopped
- 4 T. melted butter
Instructions
- Sift all the dry ingredients into a large mixing bowl.
- Cut butter into the dough. Same as if you were making a pie crust. You will know when all the butter has been cut in when you see only small pieces mixed in the dough. The butter pieces help create the buttery goodness.
- Beat the eggs and combine with the sour cream and prepared yeast/milk mixture. Then add to flour.
- Mix all the ingredients together. If you have a dough hook attachment that works best. You can also mix by hand with a large wooden spoon and muscle power. Remove from mixer and place on a floured board. Shape into a ball. Place dough in a large mixing bowl. Cover with plastic wrap and let the dough rest in the refrigerate for 2 hrs. or overnight.
- Divide dough in half. Take half the dough and roll out in a rectangular shape on a floured board or pastry mat. Approximate 18×12-in rectangle.
- Brush the top with melted butter; sprinkle with the cinnamon & chopped nuts mixture to about a 1/2” from the edges. Roll up in jelly-roll style. Then give ring several twists before placing in bakeware.
- Place each ring, seam side down, in a lightly greased deep dish pie pan or cake pan. Pinch the ends together. Cover both pans with a towel and place in a warm area. Let rise for 2 hours.
- Preheat oven to 350 deg. Bake for 25-35 minutes, until light brown and a toothpick comes out clean. Remove from pans and cool on wire rack.
Optional: In a small bowl, combine confectioners’ sugar and just enough water or milk to achieve a consistency to drizzle over the top. Sprinkle top with additional nuts.
- Author: Diane Rock
- Prep Time: 8 hours
- Cook Time: 35 minutes
Editor’s Note: This article was first posted in April 2021.





















[…] Have you checked out my Ice Box Butter Ring recipe s on Lehman’s Blog? I was so honored to be asked to share its story. Click here to read more. […]
This recipe is on my to do list… thanks for refining the measurements & directions.
Could you please do a link to the recipe without the pictures? It would be nice to have a printable version.
The very reason I write my recipes up with stories of their history in the family. I have been compiling these into a binder that as family member gets married I give them a book. Now as my granddaughters are growing up as my children before them each birthday, Christmas or occasion calls for a gift they receive kitchen ware. By the time they are ready to start their own home they are well on their way to make a complete meal.
Your writing style is absolutely beautiful. It is so sweet that I’m going to make the recipe and start baking more. Thank you for sharing.
I just made this. It has got to be the best yeast type coffee cake I’ve ever made! Thank you for sharing it.
I’m going to try this recipe. Thank you for sharing it with us. Your writing is beautiful.
Thanks for this recipe and seems most people don’t know about a “Butter Ring” but I do because when I about 10 or 12 we had a big red Spang Bakery truck visit us weekly in the far far country suburbs of Cleveland, Ohio, and the driver of the had many many freshly baked daily sweets in pull-out sheet-trays in his truck. My and my family’s all time favorite was the Butter Ring which I’ve not had since those many years ago. As I remember it had a thin powdered sugar frosting on top….not much but just the perfect little bit. Surely nothing heavy as I remember the very tender dough and the filling perfectly after reading your wonderful prose. What great memories that I’d forgotten about. Thank you so much. I’ll be making this Butter Ring and taking me back remembering a time of my youth so many years ago.
Like you I rescued almost all of my Grandmother’s recipes after she passed back in 1988. I have recipes from all over the world some that Date back to the mid 1700s, these are some of my favorites and they are fun to make and wonder to eat and the flavors and the aromas from them are just so enticing that you just want to try them. I bake these once in a while for the church when we gave a special dinner. Cooking and baking are a passion of mine.
It seems like not enough nut mixture for two rolls? Also, you don’t say how long the dough mixes w dough hook? Until dough pulls away from sides or just mixes together? This looks and sounds delicious. Please answer my question. I want to try this. Is this anything like a European nut roll? That’s what I’m really looking for!!