Spring has sprung! Well, maybe not quite yet, but it is certainly coming. And with it comes rain and rising temperatures. During this pre-summer season, it is the perfect time to start prepping your outdoor spaces for the hot, sunny summer days. Sure, maybe it did snow recently so it’s still too early to plant our gardens and mow our yards, but that doesn’t mean there isn’t work to be done! Here are ten steps to prep your garden and outdoor space, so everything is ready to go when warm weather and gardening season begins.
1. Prepare your garden beds.
Working with your soil to get it ready is a great way to begin to acclimate yourself to being outdoors again, if you’re like me and like to stay mostly cooped up during the winter. Get your garden beds all ready for the seeds and sprouts they will be receiving soon! Weed it out completely, and work with the dirt, sifting it to remove any clumps or rocks.
If you have existing vegetation that you want to be removed so you can start your new garden, here’s a trick. Cover the soil and plant life with 5 to 6 sheets of colorless newspaper and then add 2 to 3 inches of compost. Leave the garden bed until spring has truly sprung and gardening time has arrived. During this time, the newspaper blocks out all light and kills the unwanted vegetation without harming your soil. The newspaper will disintegrate over time, leaving you will just a layer of great compost that you can then turn over into the soil.
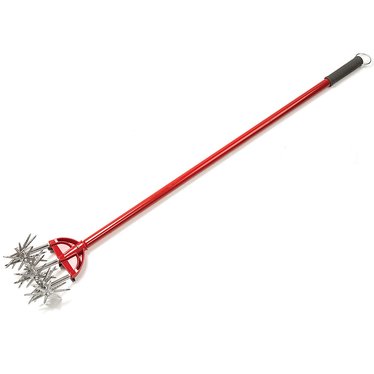
Now your garden plot is plant-free, healthy, and ready to go. Lehman’s Angle Weeder, Weedivator, and Heirloom Weeding Finger are great products to help with weed removal. The Push-Pull Hoe, Amish-Made Garden Hoe, and the Furrowing Hoe are excellent for improving soil quality.
2. Get your compost ready.
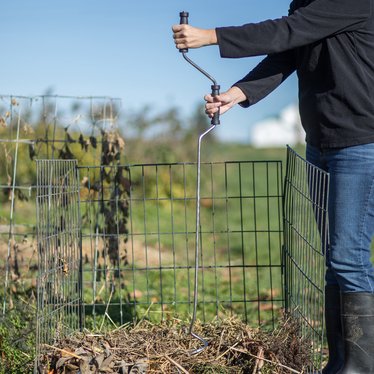
Important things to remember when starting a new compost pile are to let air regularly into its deeper pockets by digging small holes and shifting it around, as well as allowing at least 3 weeks for the compost to become usable. If you already have a compost pile that has been kept throughout the cold seasons, then remember you’ll need to keep adding new, organic material to it for the microorganisms to feed on. Once your compost is ready to be used, move some to an area near your garden so it is there for easy access once gardening time arrives. Great Lehman’s products to help with composting include the Stainless Steel Odor-Free Compost Pail, the Compost Crank, and plenty of replacement filters for your compost bin if you have one.
3. Clean outdoor flooring.
Keep your brick floors looking fresh by using a masonry cleaner, and use according to the directions. Avoid using calcium chloride on your bricks. Keep plant life away as much as possible. Clean your concrete floors by using a mixture of warm water and all-purpose household cleaner and scrub with a stiff-bristle broom or brush. Oil stains on concrete can be absorbed with cat litter, and grease stains can be cleaned with household scouring power. One part chlorine bleach mixed with 10 parts water can remove organic plant life. Clean composite flooring with a deck cleaner specific to the type of floor. Keep outdoor wood floors mold-free by scrubbing them twice with hot water and powdered oxygen bleach, and use according to directions.
4. Wax painted metal furniture.
Once a season, apply an even coat with a damp terry cloth towel to furnishings; let dry, then lightly buff with a soft cotton rag. The wax will repel water, preventing rust, and also restore luster to dull paint.
5. Get outdoor fabrics ready.
Follow the directions on the tags of your outdoor fabrics. Removable covers sometimes can be machine-washed in cold water, using mild, bleach-free laundry soap, and then air-dried. If both sides of your fabric are identical, it’s probably solution dyed. To clean mold from solution-dyed fabrics, mix 1 gallon warm water with 2 tablespoons oxygen bleach (if the care guide lists it as an approved cleaning agent). Wet the affected area, and scrub with a soft-bristle brush. Rinse, and air-dry.
6. Clean your awnings.
Simply rinse thoroughly with a hose in the off-season so it is fresh and ready to use in warm weather. Make sure your awning is totally dry before folding it up or storing it. Also remember to store it off the ground, so it doesn’t become a home for rodents.
7. Repair screening.
Your screen doors may have suffered some wear and tear over the season, and it probably wasn’t on the top of your to-do list to fix them since they aren’t really used until summer. Well, summer is coming! For nylon and fiberglass screens, cut a patch of screen that is larger, but just barely, than the hole and stick it into place with a thin layer of fast-drying glue. Use low-tack painters’ tape to avoid sticking your fingers to the screen. For metal screens, cut a patch from a length of screening. Trim edges of the hole into a neat square opening. Make sure the patch is 1/2 inch larger all around than the hole to be repaired; bend edges’ teeth into right angles. Set patch over opening so teeth penetrate the screen. Turn screen over; bend teeth flat on other side to hold in place.
8. Get the grill ready.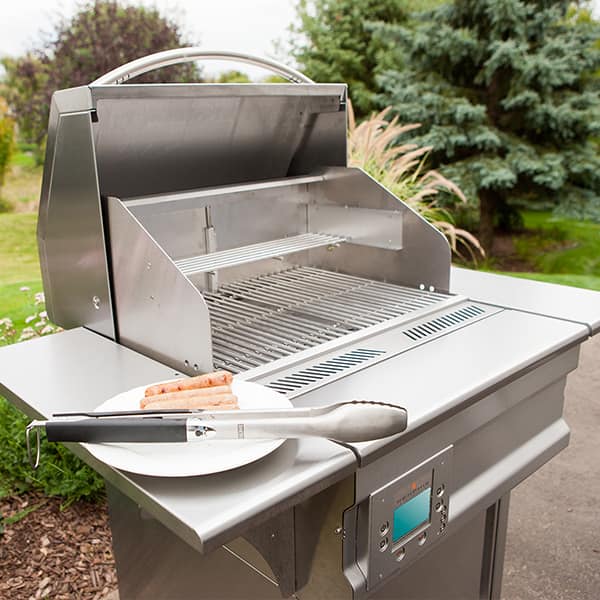
Go over the burners with a grill brush, and clear clogged burner holes with a pipe cleaner or a sewing needle. Lehman’s Double Helix Barbecue Brush and Barbecue Bristle Brush will do the job well. Another trip is to burn the grill on high for an hour or so to fully sterilize it.
9. Get organized.
Make sure your garden shed and garage are fully-stocked and correctly organized, so you don’t spend precious summer time looking for the things you need, like garden tools and summer cleaning essentials. This will help you keep things clean during the busy season as well.
10. Do preventative maintenance.
Inspect air conditioning units, lawn equipment, water tanks, fire pits, and grills to make sure they will last you during the hot season.












Awesome information