Every family has one go-to recipe dessert for family gatherings, potlucks, and picnics. For my family, it was the “Cherry Cheesecake Dessert.” Buttered down graham crackers placed in a 9×13 pan, covered with cream cheese and sugar mixture. Baked, cooled, and then topped with a can of Thank You Brand cherries and finished off with a container of Cool Whip!
Last count, I found the Cherry Cheesecake dessert recipe written on over 20+ recipe cards scattered among all the family recipes cards that I inherited. Why my mother, grandmother and aunts needed the recipe in triplicate plus I cannot explain. As many times as the dessert cropped up at family events, they should have had it imbedded into their memory. But alas, as I was looking for my next vintage recipe to share, there in my recipe box just waiting for me to find, behind the nut roll and the clothespin cookie recipes was my own handwritten recipe for the Cherry Cheesecake dessert. Three stars placed on top. Worn and stained from use.
Such a simple dessert, yet it floods so many memories for me of all the family gatherings. Memories of those who will never pass my way in this world again. Times seemed so simple then.
Enough of memory lane.
Let us get back to the task at hand. Sharing a recipe.
Although the cherry cheesecake dessert is a quick and easy dessert to prepare, I only think it’s fair that every baker should be able to make a simple cheesecake. A traditional cheesecake baked in a spring form pan.
Whenever I serve my cheesecake at gatherings, everyone tells me they would never attempt a cheesecake. I ask why and their response is mostly, they just seem so time consuming and difficult.
I am here to calm all fears. Just remember my two rules. Room temperature and go slow. No need to race. I promise your cheesecake will taste delicious.
Before we begin, do not worry, I am still happy to share with you the Cherry Cheesecake recipe, which you will find at the end of the article. I am not sure where it originated. It’s not a family recipe handed down through generations, rather I think it was a recipe shared on packaging or in a magazine.
A SIMPLE CHEESECAKE RECIPE
Ingredients
For Graham Cracker Crust:
- 1 ½ c. graham cracker crumbs (Don’t use off brand crackers, some have added oils making them too greasy tasting.)
- 2 T. sugar
- 1 T. light brown sugar
- 8 T. butter (melted)
For Cheesecake:
- 32 oz. brick style cream cheese (softened to room temperature)
- 1 c. sugar
- 2/3 c. sour cream (not low-fat)
- 1 ½ tsp. vanilla (I prefer pure vanilla, not imitation.)
- 1/8 tsp. salt
- 4 large eggs (room temperature) Once they have reached room temperature, I crack them open and place the eggs in a measuring cup, then lightly beat them.
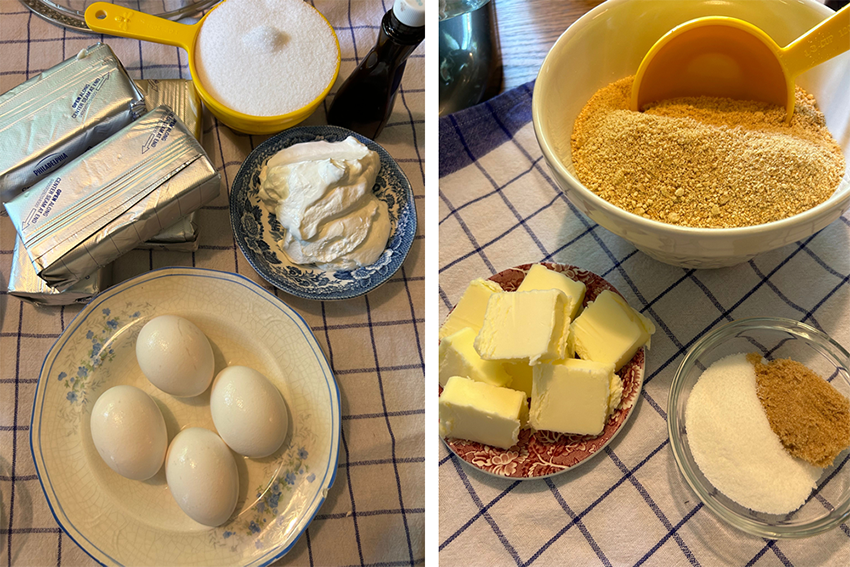
Equipment:
- 9” springform pan (I love the “Glass Bottom Springform Pan” because it creates its own serving dish)
- Measuring spoons
- Measuring cups
- Mixing bowls (If you use a hand mixer, I suggest you use a batter bowl for easy pouring. Minimum 2qt.)
- A good spatula
- A cookie sheet or jelly roll pan
- Preferably an electric mixer
- Foil
- A sharp knife
Preheat oven to 325 deg. Make sure your rack is in the center.
Step 1: Cheesecake base.
In a bowl combine the graham cracker crumbs, sugar and light brown sugar. Blend all the ingredients well. Then, using a fork, gradually add the melted butter to the mixture. Once combined add the graham cracker base to the ungreased spring form pan.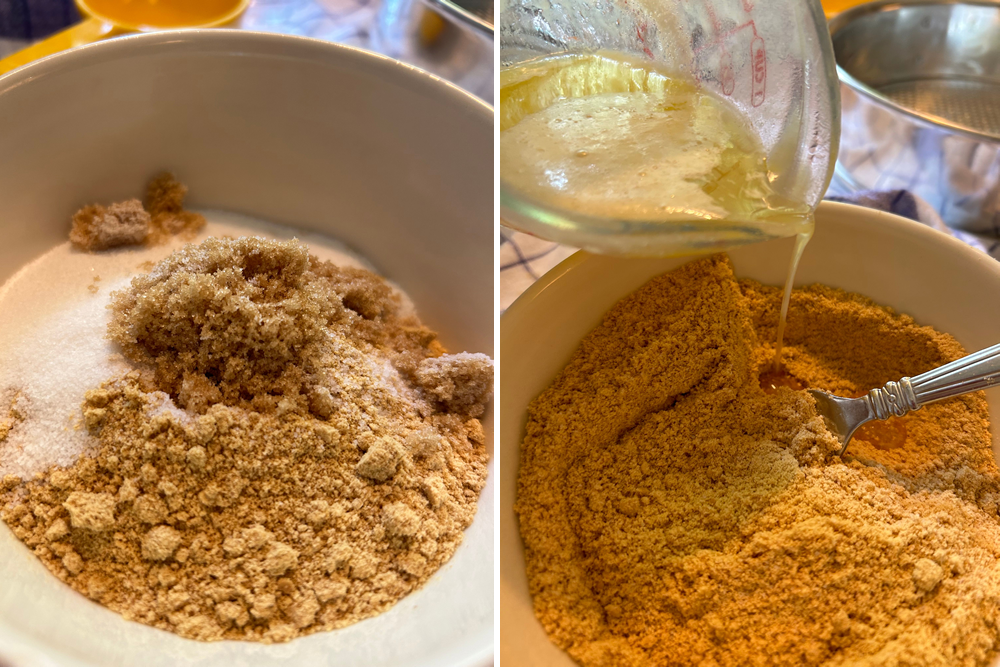
Firmly press the crumbs on the bottom of the pan, as well as about ½ up the sides. Tip: I like to use the bottom of a metal measuring cup to press the crumb base in the pan and then use a spatula to press along the side. I then set the filled spring form pan on a foil-lined cookie sheet. (Just in case there is any leakage.)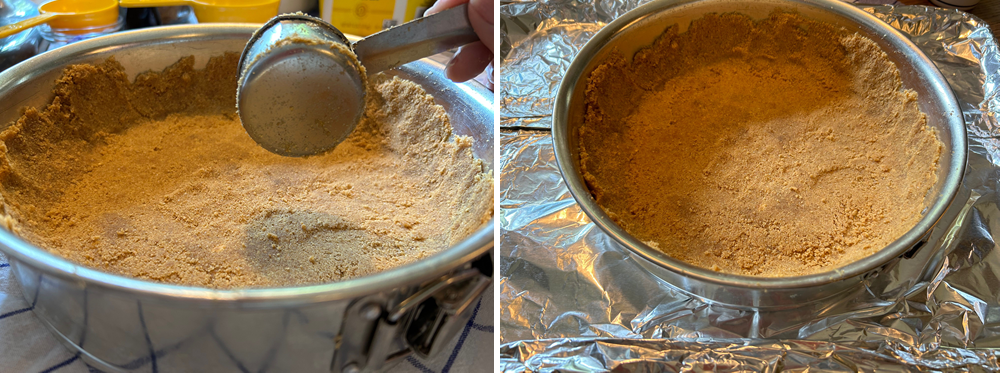
Set the pan aside.
Step 2: Cheesecake.
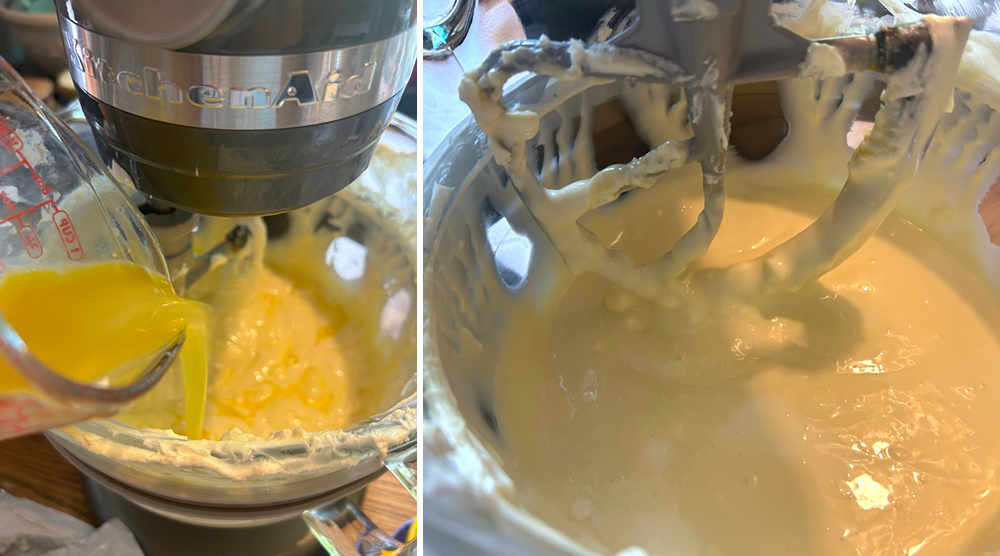
Tip: As you get ready to combine all the ingredients, please remember you want to use the “low” speed on your mixer. Mix long enough just to combine the ingredients. The more mixing, the more air, the more bubbles.
In your bowl, add the room temperature cream cheese. Mix until smooth.
Next incorporate the sugar into the cream cheese. Again, mix on low speed.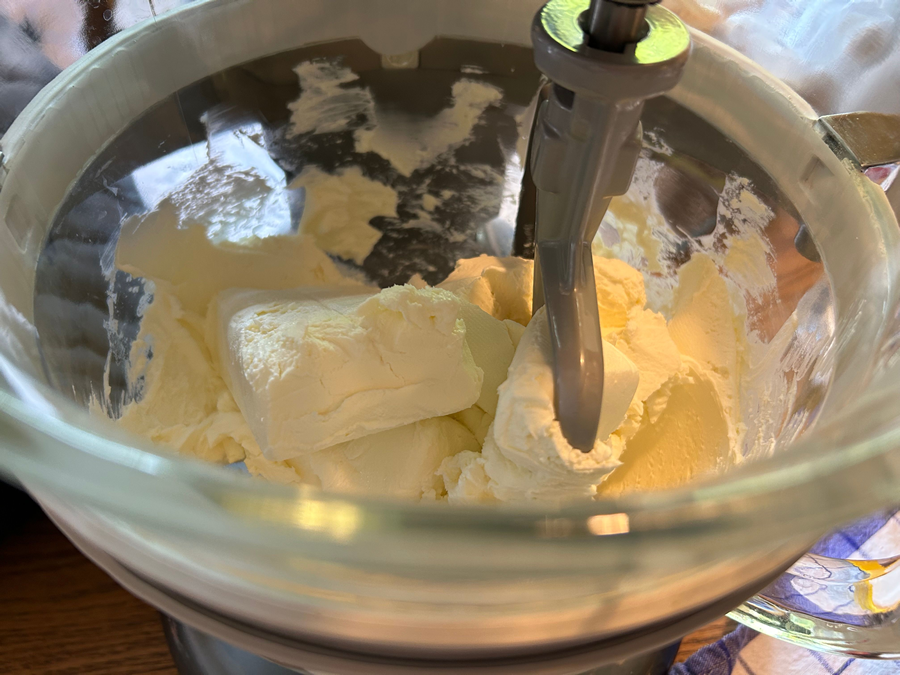
Add the sour cream, salt, and vanilla. Here is where I will get my spatula and scrap down the sides of the bowl, making sure everything continues to mix.
For this last part, turn your mixer on low and add the eggs, one at a time, allowing each egg to just start to be incorporated into the batter before adding the next egg. Scrap the bowl down as needed.
Once the last egg has been added and allowed to blend into the mixture, turn your mixer off. OVER MIXING is not your friend.
Step 3: Baking.
Time to pour the cheesecake mixture into the prepared crust. Bake in the center of your oven at 325 deg. For about 75 minutes.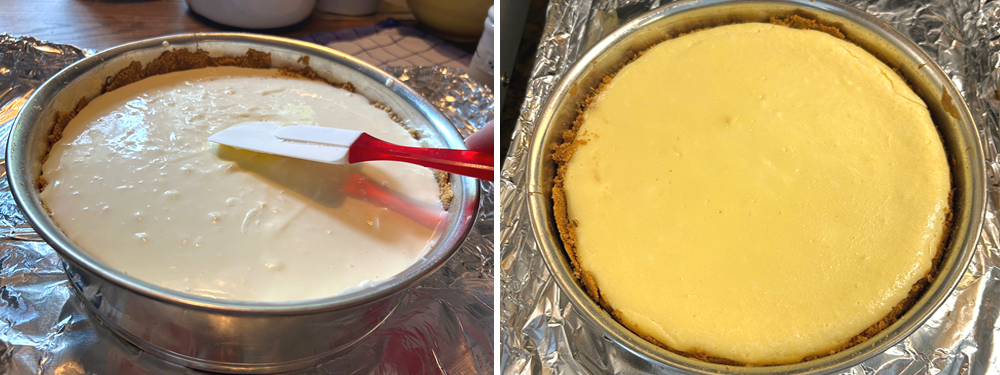
How do you know when it’s done? The edges of your cheesecake should be a bit light brown. When you touch the center of the cheesecake, it should spring back. If the center seems over jiggly, bake for a couple of minutes longer. But please do not overbake. The cheesecake will continue to stiffen up after it is out of the oven and begins to cool.
Once your cheesecake bounces back, remove from the oven, and set on top of the stove. Allow to cool for about 10-15 minutes. No more. Do not remove or loosen the ring from the pan. Instead, take a sharp knife and gently loosen the crust from all around the pan. This will allow the cheesecake to shrink away from the sides of the pan as it cools.
Allow your cheesecake to cool another 2 hours at room temperature before placing it in your refrigerator. Leave the ring on until you are ready to serve. For the best taste, I like to let my cheesecake sit overnight in the refrigerator. If you are in a pinch, you can serve after 8 hours, but the cheesecake tastes much better the next day. Carefully, remove the ring before serving.
I like to serve my cheesecake with fresh fruit and a flavorful jam or a fudgy or caramel syrup.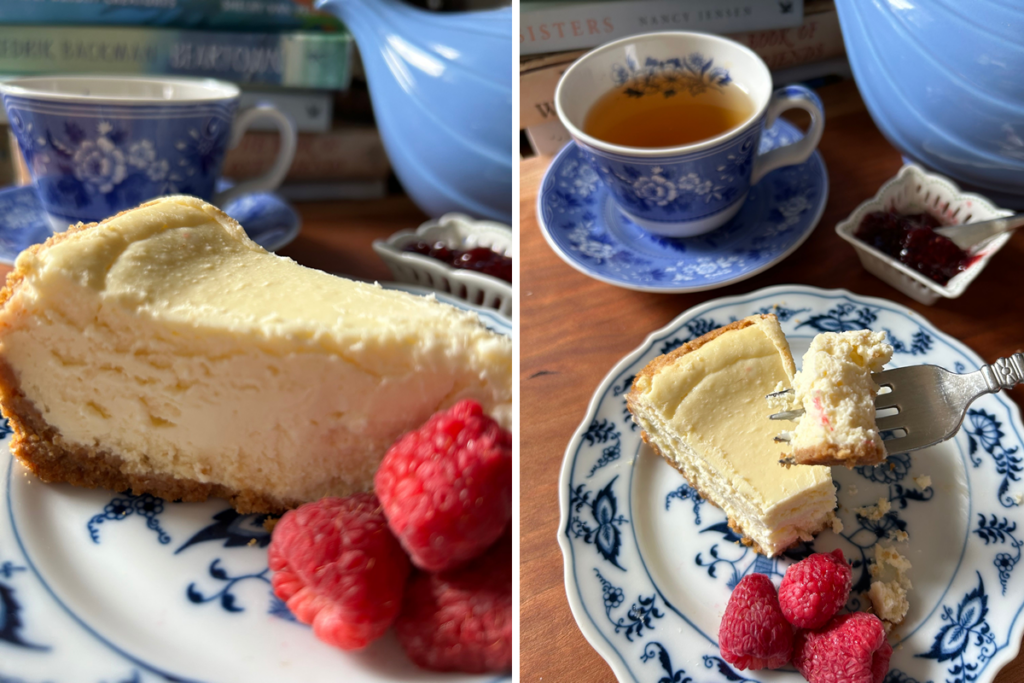
I PROMISED.
Now that you have mastered a cheesecake, as promised below you will find my family’s great Cherry Cheesecake recipe.
PrintCherry Cheesecake Dessert
5 Stars 4 Stars 3 Stars 2 Stars 1 Star
No reviews
Ingredients
Crust:
- 20 crushed graham crackers
- 1/4 c. melted butter.
Filling:
- 1 – 8oz. cream cheese (softened)
- 1/2 c. sugar
- 2 eggs
- 1/2 tsp. vanilla
Toppings:
- 1 – Can of Thank You Brand Cherries
- 1 – 12 oz. Cool Whip Topping
Instructions
- Preheat oven – 350 deg.
- Add the melted butter to the graham crackers. Place it in the bottom of the 9×13 dish. Pat down. Set it aside.
- Beat cream cheese and sugar together. Beat in eggs and vanilla until blended.
- Pour over graham crackers and bake for 20 minutes or until top bounces back. Cool.
- Top with the can of cherries and then add the whip topping. Refrigerate for 2-3 hours. Serve.
Notes
Equipment you’ll need:
- 9×13 casserole dish
- Measuring cups
- Measuring spoons
- Mixing bowl
- Spatula
- Electric mixer




















What size piece of graham cracker are you calling one cracker? Do you mean a square piece or a rectangular size as one cracker? Thank you.
Thanks for questioning the size of the graham crackers. I should have been more specific. A graham cracker sleeve usually has 9 sheets. For the Cherry Cheesecake recipe, I used 20 of the rectangular sheets.
I made this for Thanksgiving dinner and it was so well received that I had to make two for Christmas dinner. It is the easiest cheesecake recipe I have ever used. Our family is quite well known for making delicious cheesecakes
Thank you for sharing, Diane and we are glad you loved the recipe!