Here in Ohio, there will still be snow on the ground for many weeks (or at least chances of snow), but already visions of a green garden are swirling in my head.
It will be at least a few months till the ground is fit for working outdoors, but I can get a head start by planning my garden now, and getting ready to plant some seeds indoors.
Planting indoors is helpful in many ways: it fulfills my urge to start digging in the soil and saves dollars at the greenhouse, plus it allows me to start varieties that are not available at the greenhouse.
Starting Seeds Indoors
Indoor seed starting can work well with simple recycled supplies or you can go with a convenient purchased system.
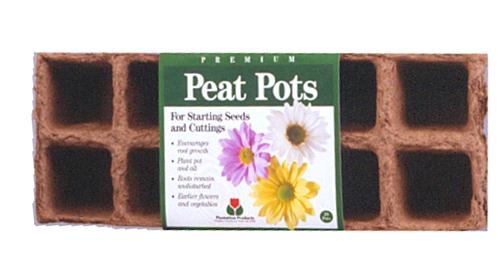
Plastic take-out containers make wonderful mini greenhouses for seed starting and you can make use of your collection of used yogurt cups and cottage cheese containers.
My mother always cut waxed half gallon milk or juice containers in half length wise for her tomato seedlings. Another green option is to use a newspaper pot maker, which I am hoping to experiment with this season.
For the planting medium, I use a soil-less seed starter composed of peat moss and perlite and I’ll mix in a scoop of finished compost for an extra nutritional boost. Garden soil can work also, but it is wise to sterilize it first in the oven so you don’t invite unwanted fungus or disease to attack your tender seedlings.
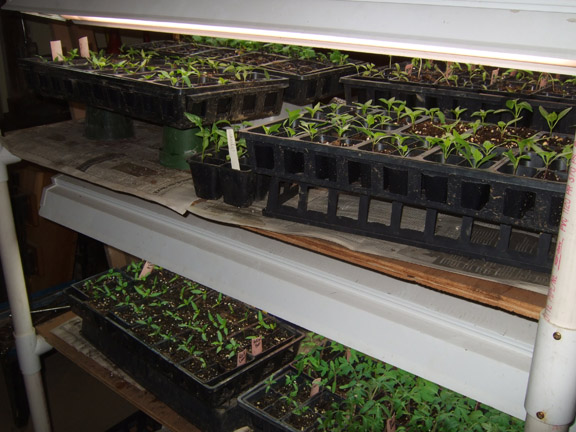
For just a few seedlings, a good south facing window will do the trick, but if you will be growing a large quantity, you will want fluorescent lights as your substitute sunshine. Since I’m growing for a market garden, I have a four tiered stand with fluorescent lights on each level but I also have a couple containers in my south window so I can enjoy watching my plants during the day.
When to Start
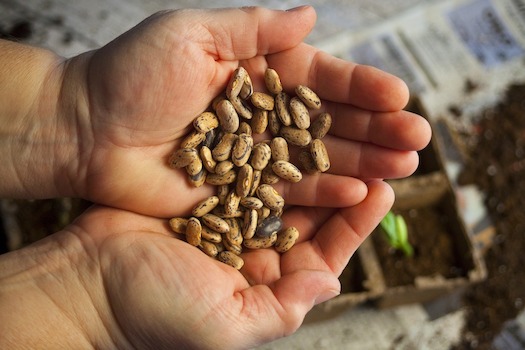
My seed starting calendar begins in mid-February when I plant a small batch of my earliest tomatoes and peppers, some slow growing flowers like snapdragons, parsley and several alliums like onions and leeks.
I start lettuce, kale, broccoli, cabbage, basil, marigolds and other flowers plus my main crop of peppers and tomatoes in March. In April: more lettuce, summer broccoli, celery and others. In May, it is time to plant any squash, cukes or melons that only need a three week head start before going outdoors.
Read your seed packets for how long before frost you want to get your seeds started. It may be a temptation to start your cucumbers when you do your tomatoes, but they will be far too large before it is time to put them out in the ground — cukes and other vine veggies grow very quickly!
Seedling Care
Most seeds are sprinkled on the growing medium, covered lightly and gently watered (I like to use a spray bottle) but always read the seed packages since some flowers require light to germinate and don’t get covered. To germinate, I always put the containers in a warm place, next to the radiator or on top of the fridge. Peppers and tomatoes especially need the warmth to emerge.
Keep a close eye on your plants and when you first see glimpses of green, move them quickly to your light source. Without adequate light, your plants will quickly become leggy. In the window, you may need to turn them regularly to get adequate light. With the fluorescent lights, I have them on a timer to receive 16 hours of light and keep the plants about an inch away from the bulbs.
It is better to water thoroughly every couple days than to flood them daily which can lead to damping off disease. I also make sure to feed my plants once a week by adding fish emulsion or other plant food to their water. The seedlings quickly use up the nutrients in their small soil region and to look lush and healthy, your plants need extra nutrients. In one of my frugal years, I ran out of fish emulsion and didn’t purchase more, and ended up with very wimpy looking seedlings. We wouldn’t think of forgetting to feed our children, so don’t neglect your plants either.
Transplanting
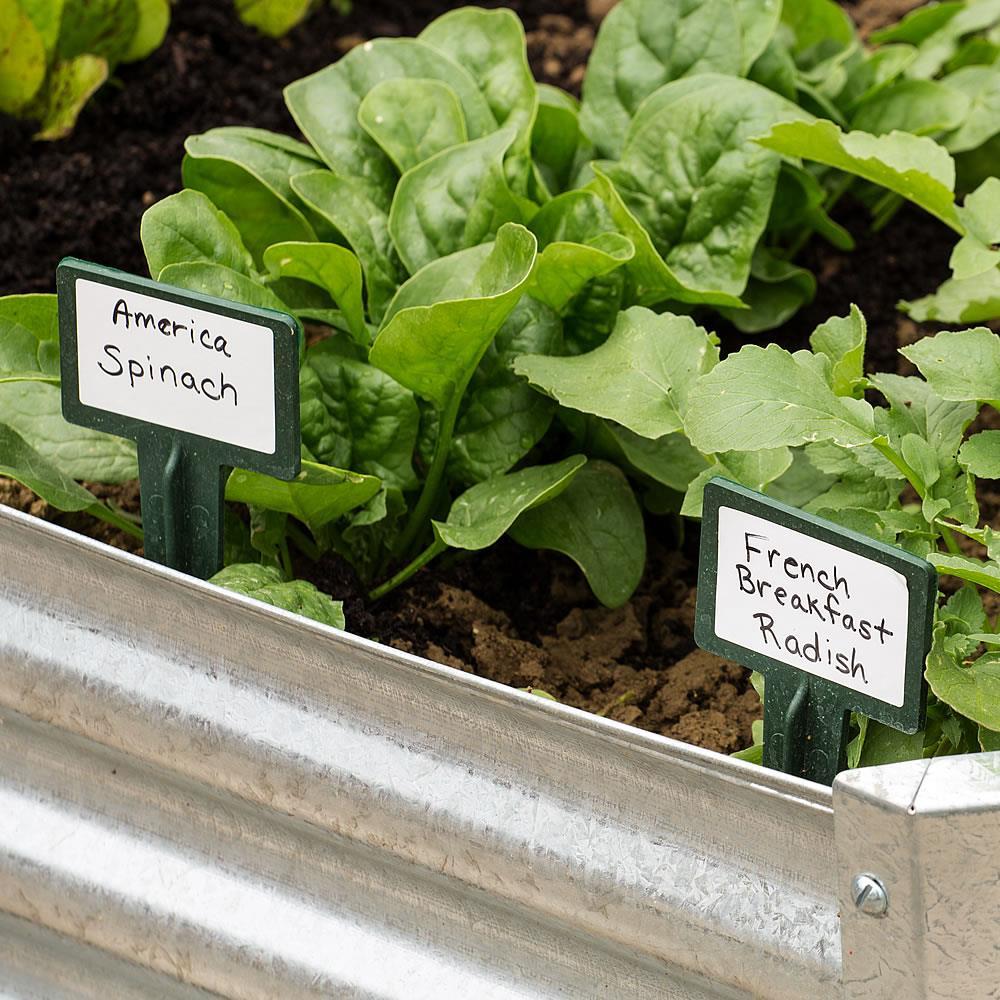
When your seedlings show their “true leaves,” the second set of leaves to appear, it is time to transplant them to larger living quarters. I save four and six packs from the greenhouse and sterilize them in dilute bleach water to use for repotting. You can go to your stash of used plastic cups too. When handling seedlings, avoid grabbing the tender stems and instead, lift them by their leaves. A baby’s spoon is handy for lifting them from the soil and a pencil is a helpful for making transplanting holes. To label plants, pieces of old window blinds make great markers.
Hardening Off
The next step to getting your plants to the garden is one that is tempting to skip but after all your hard work and nurturing, you don’t want to shock your plants to their death. Hardening off simply means getting them used to the real world. After living in posh circumstances for their first weeks, gently introduce your seedling to the outdoors by setting them outside on a mild day for a couple hours. Continue increasing their outdoor time on days that aren’t overly windy or harsh. If you have a greenhouse or cold frame, this is an ideal place as long as you are careful to ventilate on warm days and cover on cold nights.
Finally, move your seedlings to their new home in the garden. You can continue to give them a bit of protection with milk jugs, plant protectors or water walls as they adjust to the outdoors. If all has gone well in your seed starting, there might be the bonus of extra seedlings to share with friends.
And don’t worry: if something went awry, be grateful for your local greenhouse and get a copy of a good gardening book so you’re ready for next season.
Editor’s Note: First published in March 2013.