Two of my favorite antiques sit prominently near my kitchen. A large wooden butter churn was one that my Mama bought on a trip to New England in her teenage years. In its productive days, it held several gallons of cream while an up-and-down paddle movement was used to produce butter. The other item is a glass butter Dazey churn that belonged to my grandmother. It would have held closer to a gallon of cream and produced butter by way of a crank which turned the wooden paddles.
We’ve come a long way in the kitchen tools department, but our modern interest in the simple process of butter making remains. June Dairy Month has me thinking about the simplicity of butter making. Perhaps you have been thinking of trying this at home. May I assure you that doing so is both fun, easy and satisfying for all ages? Anytime the whole family can be involved in home or farm projects is a win-win situation in my book.
More user-friendly and less labor-intensive kitchen tools have been designed since those early pieces, allowing the homemaker and homesteader to produce butter in a variety of ways. Simply consider the desired levels of effort and cost. No matter which method or tool is used, the process remains the same. By agitation, the fat solids of cream separate from the liquid, or “buttermilk.” The solid butter is removed from the buttermilk, washed, salted and ready to enjoy, refrigerate or freeze.
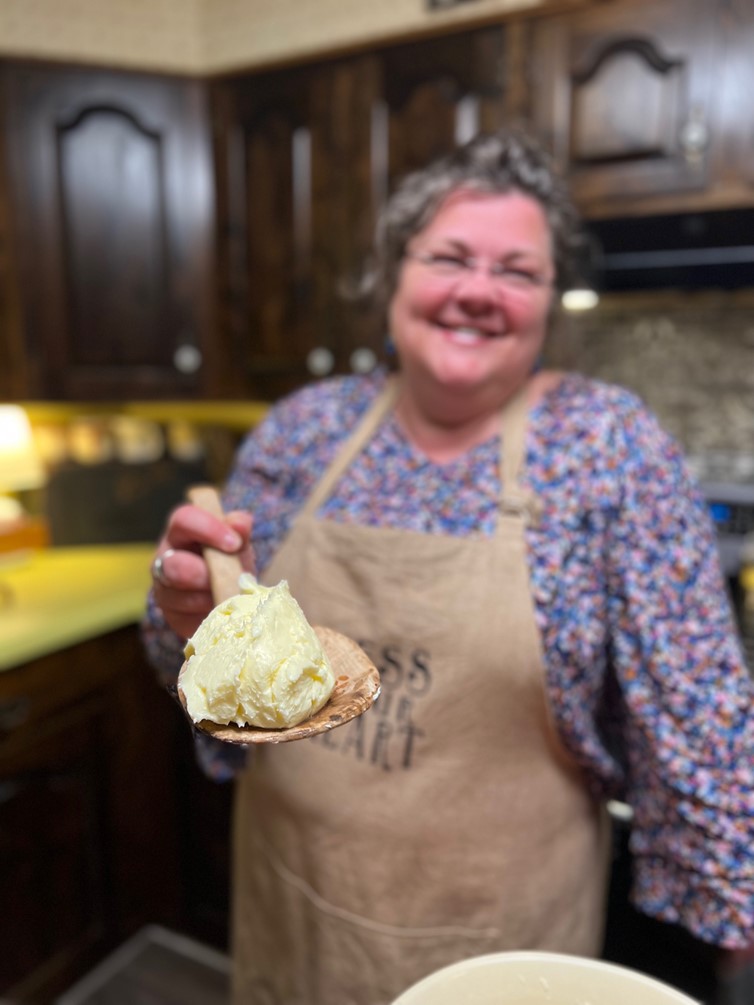
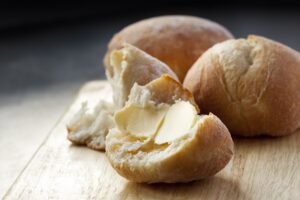
Butter making is a time-honored skill that can bring us back to a simpler time and Lehman’s helps us master that skill by offering a variety of tools to use. Even better is that the process uses only one, easily obtainable ingredient. In no time flat, you’ll be slathering that creamy goodness on your favorite homemade bread or steamed broccoli.
Butter By-Product
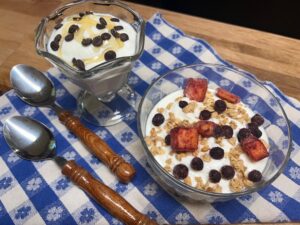
The buttermilk produced from butter-making is not the same type of buttermilk that is sold in stores. The store product is one which has undergone a factory process to result in the thick buttermilk we pour from jugs. The resulting buttermilk from home butter production is the same that our ancestors used for biscuit and bread making and we can, too! A little added acidity such as lemon juice or vinegar may be necessary when using homemade buttermilk in biscuit- or bread-making.
What Cream to Use
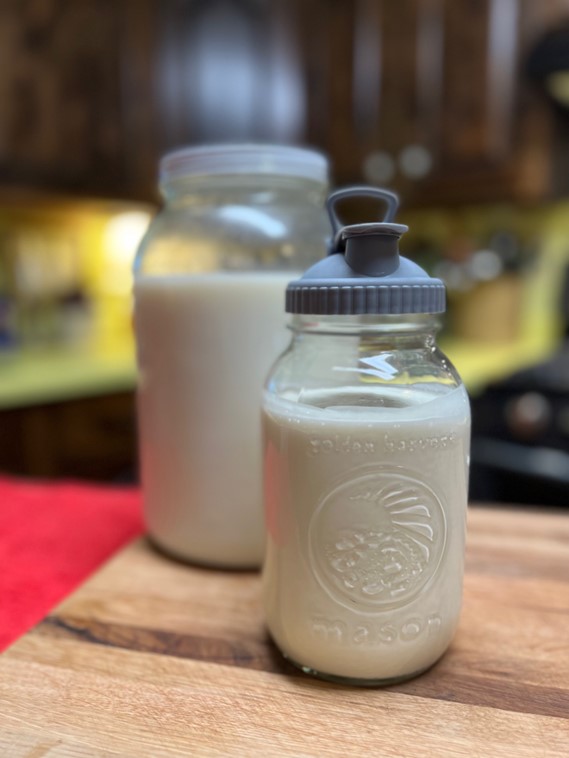
Begin with whipping cream, or heavy cream, from the grocery store or raw cream from your farm cow. A fat content of 36% or more is best. Try to avoid purchasing cream that contains added stabilizers or preservatives as these will cause the cream to take longer to make butter.
How to Make Butter
Allow the cream to set out of the refrigerator for a few hours, or until it reaches room temperature. Whichever vessel you use to make butter, only fill the container no more than ¾ full, allowing room for the cream to move. The cream is then churned or whipped. The first delightful product to form is whipped cream. Continue to whip, or churn, the cream until the fat solids have combined and separated from the liquid, or “buttermilk.”
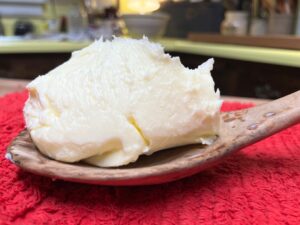
Remove the solids, reserving the buttermilk for other uses. Into a bowl of ice-cold water, press the butter against the sides of the bowl to remove more of the buttermilk. The water will be cloudy as the butter is washed. The cold water prevents softening. Another way to prevent softening of the butter is to use a wooden spoon or butter paddle. Warmth from hands may soften it too much. Pour the cold water from the washed butter and repeat the process a few times, or until the butter has released all of its buttermilk and the water is clear. Crocks and stoneware bring a warm feeling to a country kitchen and I love using these Ohio made bowls.
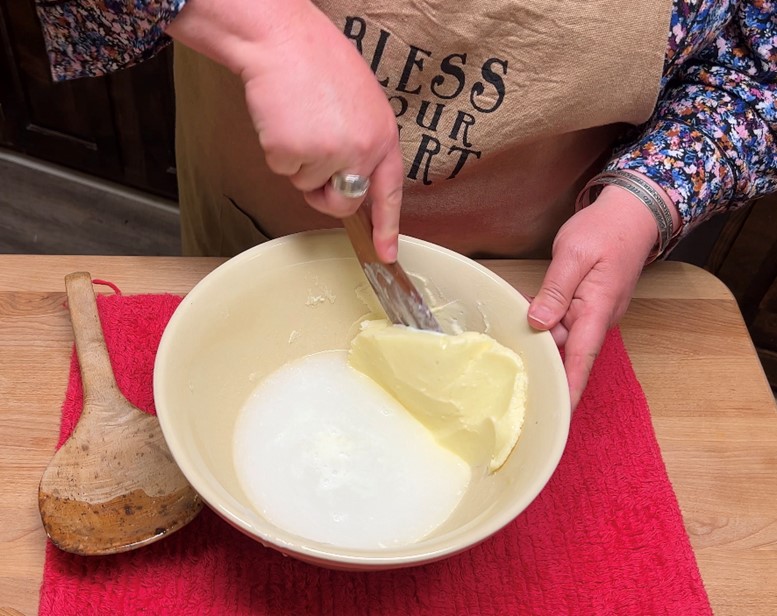
At this point, salt may be added. Redmond Real Salt is the one I use for all of my cooking, baking and preserving needs. If desired, mix up to one teaspoon of salt into a pound of butter. Salt is used as a preservative as well as for flavor.
Vessels for Butter Making
Ball Jar Method: Add a pint of cream to a quart canning jar. Apply lid tightly and shake vigorously until the solids and buttermilk have separated. Butter can be made with no special tools but it is rather helpful to have a few folks who are willing to help with the task. Arm workout alert!
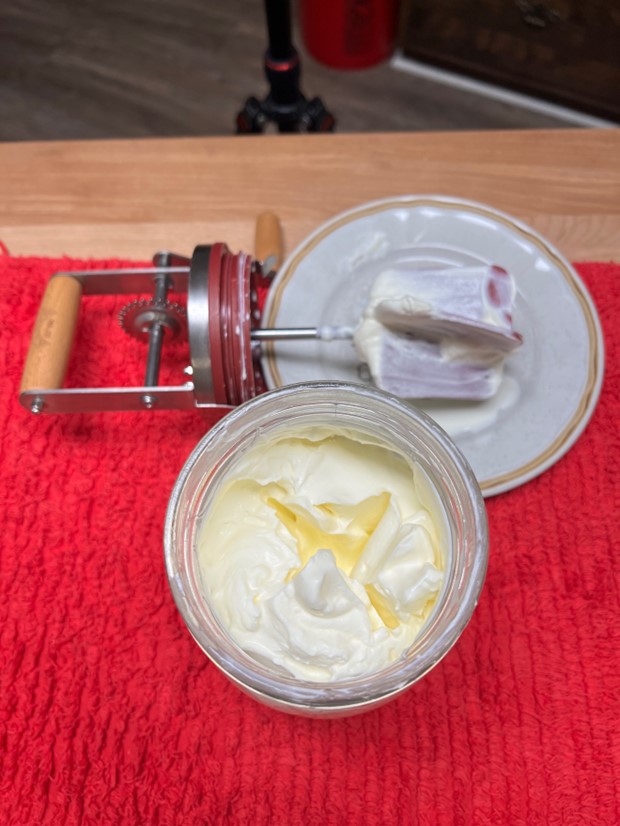
Small Glass Dazey Hand Churn: Hand churn cream until separation occurs.
Large Glass Hand Churn: Hand churn cream until separation occurs.
Stand Mixer: Add cream to a large stand mixer. Using whisk attachment, increase speed from slow to medium-fast. Use a large bar towel to cover the mixer as this will surely decorate the kitchen with cream and buttermilk if uncovered. (Don’t ask me how I know!) Proceed with washing the butter after separation occurs.
Butter Making Facts
- One quart of cream should yield a pound of butter plus buttermilk.
- One pound of butter equals two cups.
- Butter may be frozen.
- Homemade butter does not need to be washed if it is to be used same day.
- The washing and salting help to preserve homemade butter.
- Milk may not be used. The high fat content of cream is necessary to make butter.
- Cream that has been pasteurized or ultra-pasteurized may be used but using the least processed cream is the best bet for butter making.
- Herbs, spices or honey may be added to butter to spice it up and add a kick to breads, rolls, veggies and more.
Watch our butter making video with Mrs. Katie to learn more.
First posted in June 2023


Who knew it was that easy. I get heavy whipping cream for my friend but she’s just using it in her coffee. Since I already have the main ingredient we might try to make butter just for fun. Either way the article was both fun and informative. Especially the tip about the towel. Wish I was there.
This doesn’t sound too hard. I think I’ll try it. Will let you know how it goes. Thank you for all the information.
Thanks for your kind comment, Thomas!
I’ve been making homemade butter for a while now using a 100+ year old Dazey butter churn. Nothing beats the taste of homemade butter, and its so easy to make.
Go get ‘em, Katie! You’re always cooking up something good.
We used a food processor to make butter. It worked great and much faster than churning. The trick to making good butter is to not let the cream get off flavors from wild onions, etc. and not to let it sit around too long before making butter. Washing the butter until the water runs clear is important and so is cleanliness with all the utensils used.
Reach out to your local extension agency for the 4-H project book Science Fun With Dairy Foods. It is a great resource to teach kids how to make basic dairy products such as butter, cheese and yogurt and it teaches the science behind the products! My daughter liked it so well she took the project three times!
[…] the countertop; this is the only way it will produce cultured cream for butter making. Proceed with butter making when cream has […]
[…] by folks who are reviving those abandoned home dairy arts to create all sorts of products like butter, yogurt and […]
[…] you wish to study extra, take a look at Butter Fundamentals 101: Easy methods to Make Butter from […]