One of my favorite products is our food mill & strainer. It turns any soft fruit into a smooth puree’ with no seeds or skins. Making apple sauce, tomato sauce and jam is as simple as pouring in the fruit and turning the crank.
With optional attachments, it can even turn pumpkins into pie filling and vegetables into even diced salsa. There’s also an attachment to make jam that is seed-free.
It was one of the first Lehman’s products we bought when we set up our household almost 30 years ago. But, someone borrowed it two years ago and they liked it so much that it never came back! (Read on for a full review of the strainer by Galen Lehman.)

So, now that we ran out of apple sauce, we took the plunge and bought a new one.
I opened the box and found it well packed, with a good owner’s manual. There are about 10 parts to this strainer. The manual is important to help you assemble it.
In fact, if you only make small amounts of puree’, one of the simpler Foley mills may be a better buy for you. Read on to learn about the amazing amount of apple sauce we made in a short time with this one!
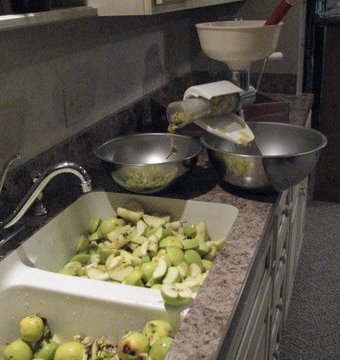
We started with a bushel of Yellow Delicious apples from our own trees (mentioned in my last post). We’ve also tried Yellow Transparent, but since they are a lot more sour, you have to add a lot of sugar. Cortland is our favorite red apple to use, which makes a fun pink-colored apple sauce. We washed them in the left sink and put the cut apples in the right sink). Since we’re “almost organic”, there were a lot of worms to cut out!
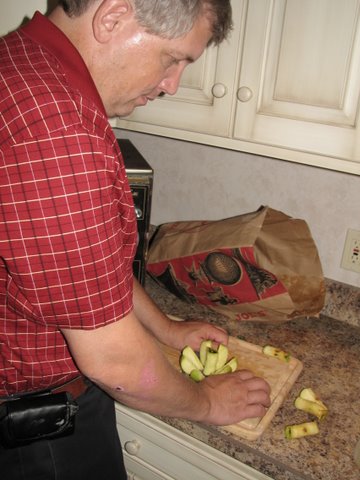
When you put fruit through this strainer (or any other food mill) it must be cut into pieces first. I used a Apple Slicer to cut up my share of the apples. My wife, who was helping, used a Lehman’s paring knife. Naturally, we had to race each other. I have to admit that despite my technological advantage, she could almost keep up with me. (But, I didn’t cut myself and she did. Thankfully, it was just a nick.)
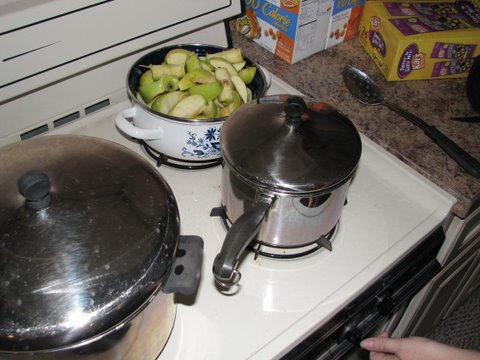
After cutting, we cooked the apples on our Brown range. The apples don’t have to spend long on the heat, just enough time to soften them. Add a little water and stir occasionally to prevent scorching. (We’ve found that most fruits go through the strainer easier if cooked first. But, with soft fruit like ripe tomatoes and berries, it’s definitely optional.)
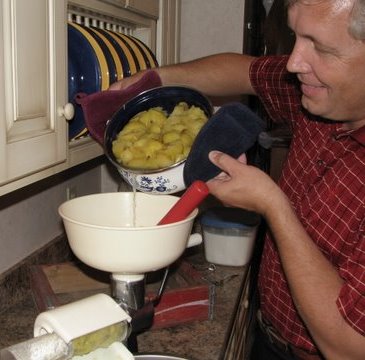
After cooking, we poured the fruit into the hopper. If you want thick sauce, you should drain some of the water off first. Make sure you put pans under the spout of the strainer before you start pouring, because the juice starts running through immediately. And, pour slowly (to avoid the pain of getting splattered by hot fruit)! You can add sugar any time, but we usually added it to the puree’ after straining. We added about two cups of sugar for one bushel.
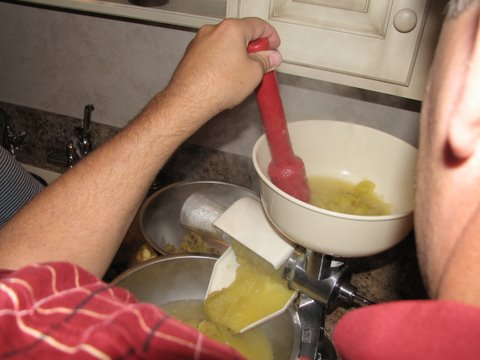
Running the apples through the strainer was quick and easy. Turning was effortless. I had to plunge the apples through to keep them feeding, but that didn’t take much effort either. There was some squirting, mostly when we strained under-cooked apples. (Cooking makes them strain easier and makes the sauce more consistent; it doesn’t affect the flavor.)
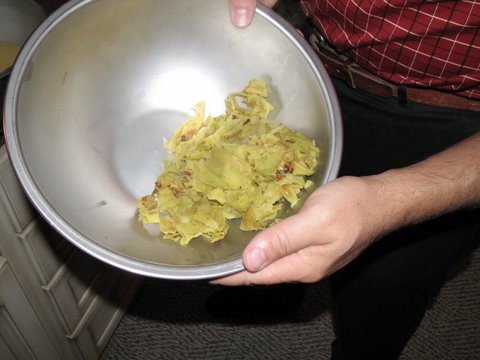
There was very little waste, and it was almost pure skin with very little fruit and no juice. (Our Best Strainer will remove seeds, but we cut them out because we think they flavor the sauce a little.)
A couple other comments:
We made 18 quarts of apple sauce in two hours’ time from a bushel of apples. The two hours includes washing the strainer, setting it up and all the clean up afterwards. I thought this was great performance. While making the sauce, we even took frequent breaks while the apples were cooking.
The strainer has a powerful suction cup mount that held well to our Formica countertops. It comes with a clamp if you prefer that or if you need to use it on a wooden surface where the suction cup doesn’t work so well. We also had about 8-10 tablespoons of juice leak onto the countertop from around the handle shaft. It wasn’t a major problem for us but we have had customers complain about this.


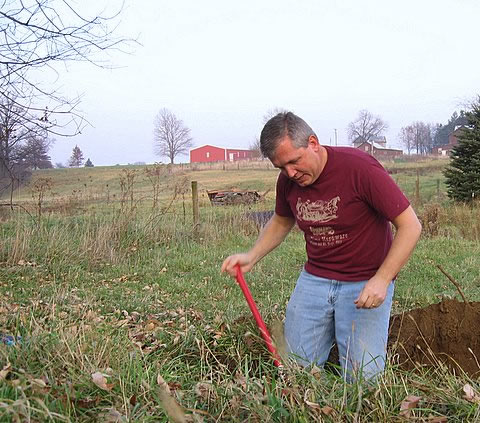


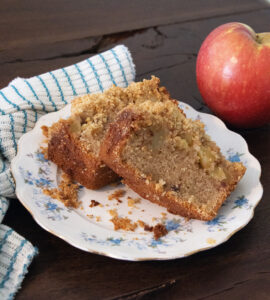













Wow, 2 hours pretty much trumps my applesauce-making experience (see MY last post :). It took Grandma and me more than twice as long to do a bushel of apples. But on the positive side, I think my arms got a little bit of a workout with the even more old-fashioned mill we used.
Sarah N – It looks like you had a great experience with your grandma, but the way you did it is definitely not for the faint of heart! When I wrote my post, I thought about talking about your mill as well, but instead settled for mentioning the Foley mill, which is the next step down from Lehman’s Best Food Mill. The mill you used is by far the most primitive of the three.
I have the “old fashioned” mill and I love it. It IS hard work, but I’ve tried the Foley Mill and didn’t like it at all – got rid of it and went back to the funnel shaped one. With our yellos apples (old tree) we needed no sugar. With our red ones (we think they are Connell Red) I use just a tiny bit of sugar. I have so much applesauce it’s going to take a billion years to use all of it!
I just finished canning 4 bushels of applesauce with this mill.
Positives: WAY faster than my Foley! Saved me hours and that alone made it well worth it regardless of the negatives below. Also, very little waste…I cook my apples with the skin minus the seeds.
Negatives: the white plastic “shoot” did leak until I readjusted up a little higher and the leaking stopped. The suction cup comes loose about every 3 minutes on our formica counter and the clamp is poorly designed. It didn’t fit over the edge of the formica so we couldn’t use it. It may work on a table wher it would have more space to grab onto but I didn’t try it.
On a side note, the left over cooked skins were finely chopped in a processer, frozen in 2 cup batches and used to make applesauce cake.