 A couple of years ago I got fired up about making my own maple syrup. It was late winter then, and I was not prepared for my venture into syrup making at that point. But the following year I was ready. And I was fortunate enough to get me some of that sweet, golden nectar.
Yes indeed, there was some work involved, but the results far outweigh the effort. I was in it not to sell bottles of syrup, but to just make enough for my family and even a few friends to enjoy.
With just a few maple trees, you too can have your own sugary sweetness. It doesn’t take a lot of fancy equipment; in fact, about the most expensive thing you will need is time.
1. The Right Trees. While many species of trees will produce sap for making syrup, I stick with maples as they make the sweetest syrup. Of all the maples, the  Sugar Maple has the highest content of sugar, thus making it the sweetest. On my property I have only Silver Maples and I find them to produce a sweet syrup as well. You might have Red Maples on your property and they will work just fine, too.
2. The Right Time. Last year I began my sugarin’ in the last week of February, but this will vary from year to year depending upon where you live. When daytime temperatures are well above freezing, followed by below freezing nights, the sap will begin to flow. You want this time only because weather can be fairly consistent during this time of year. Most of the big cold spells are past and big warm-ups are few, and you don’t want either one of these.
3. The Right Way to Tap. All my trees are fairly large so I am able to tap (drill) three holes in each. I would make sure the tree you are tapping is at least twenty inches in diameter. If you can’t drill at least two holes, then do not tap the tree. The heaviest running of the sap
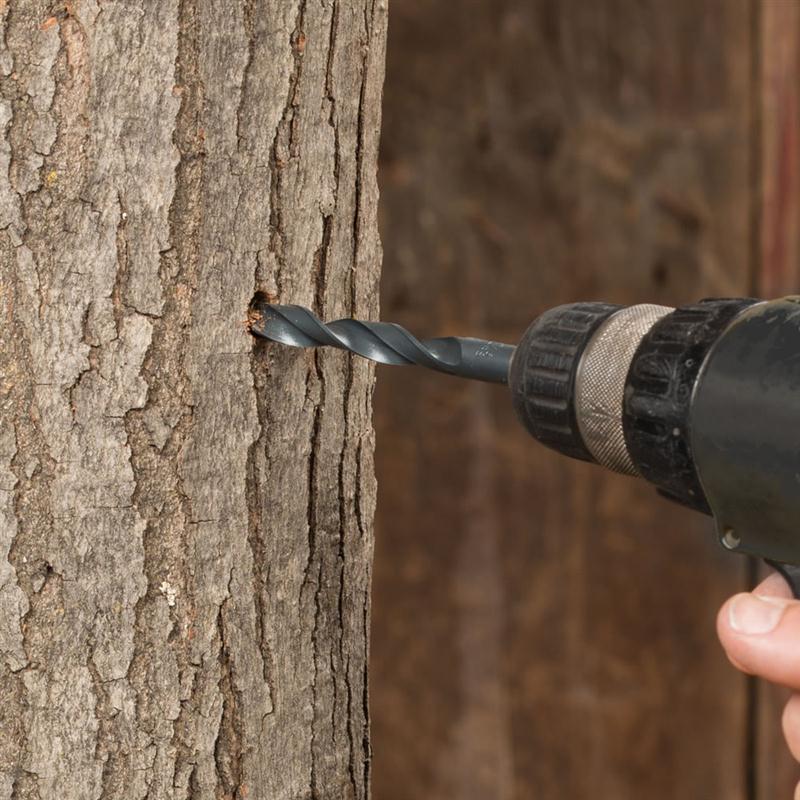
will be on the south to southeast side of the tree (the warm morning sun tends to speed up the running of the sap).
Once you have picked your tree you will want to drill the holes. They should be at least three to five feet off the bare ground. Drill at a slightly upward angle as this will help the sap run more freely from the tree. You will be putting a spiel or spout in this hole. The hole should be drilled with a 7/16″ bit. You then take your spout and tap it into the hole. The sap will drain from the spout into your container.
I save all my family’s plastic milk cartons and this is what I use for collection of the sap. Keep the lids though. While many folks like to set their container right on the spout, I prefer to use plastic tubing and run it from the spou t to a tiny opening that I have cut in the side of the carton. If you have no trouble with critters getting into your cartons you can just set them on the ground. I rope mine around the tree and keep them a few feet off the ground. Either way will work just fine. The tiny holes also keep the sap cleaner.
When the sap is running well you can empty your cartons a couple times a day. When I do this, I put the clear sap into several covered buckets where I hold it until it’s time to cook the sap down. I store the buckets in a cool, shady area. As long as the weather stays cool the sap holds for some time. Once the sap appears to be cloudy or off-colored, I discard it.
4. The Right Way to Cook. Plan for a full day or two of cooking if you have a lot of sap. Keep in mind that much of that sap is water. Let’s say you are using five-gallon buckets for storage. About 98% of that bucket will be boiled away as steam. That leaves very little in the way of syrup- but it is worth it!
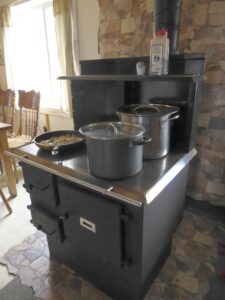
You will want to get a hot fire going, and keep it hot. The idea is to boil away the moisture, and it will take some time. Since my operation is small I just use an extra large roasting pan as my evaporator. I also use a large coffee can to keep sap hot as I keep adding to the pan.
Soon enough you will notice that your liquid is getting golden, but it is not ready yet.
Bubbles from the sap are quite large in the beginning, but as the sap gets closer to getting finished you will notice the bubbles getting smaller. This is about the time that I remove the sap from the open fire and take it in the house to finish it off. But wait, why didn’t I just do it all on the stove inside? If you did this, your house and everything in it would be soaked from all the steam. Your fancy wallpaper might even begin to fall off. No, it is best to cook over an open fire and finish off in the house on the stove.
It pays to have a good candy thermometer at this point, as your sap will be ready when it reaches about 7 degrees over whatever point of boiling water is in your area.
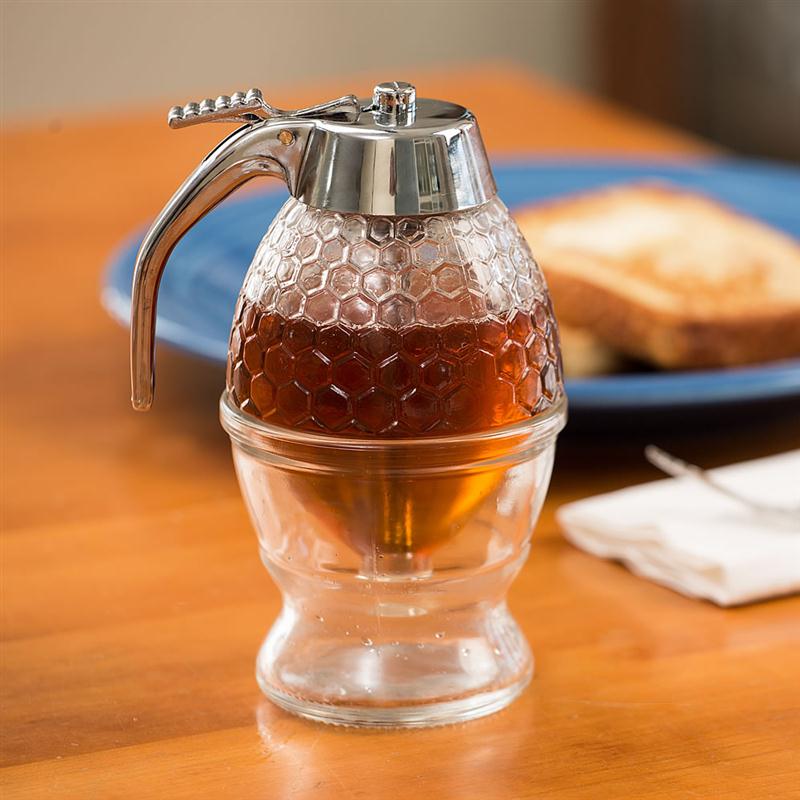
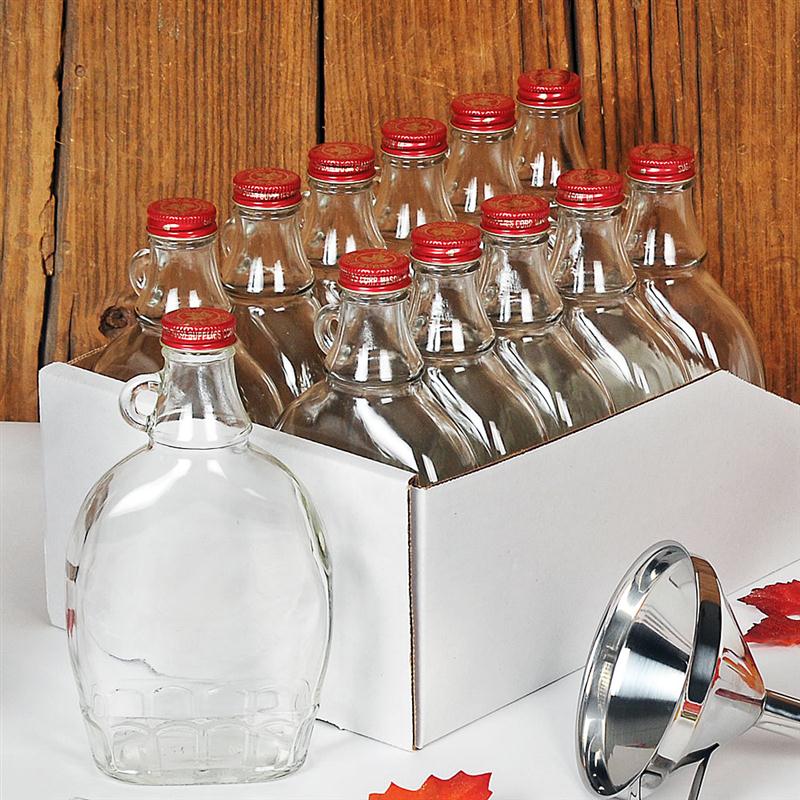
Once finished, you will need to pour the finished sap through some type of filter to get rid of the tiny granules that accumulate in the sap. Your finished product will be a golden, sugary treat!
Get the few supplies you’ll need and make your plan, because sugarin’ time is almost here!
Editor’s Note: This post was originally published in February 2009.


I am excited about this post because I have been planning on planting sugar maples for just this reason! One thing I’ve been wondering is how far apart do you have to plant the trees? Also, on an average season, how much syrup will 15-20 trees produce? I think that’s about how many I’ll be planting. Thanks
Sugar Maples of course have the highest sugar content which means less boiling time. Sugar Maples can grow to well over 75 feet tall. and two to four feet in diameter. Trees planted close togehter will not allow the foilage to be bushy. Give them some room by planting several feet apart.Good choice.
You will want to wait until the trees are nearly twelve inches in diameter before you tap them at which only one hole at that time. As the trees approach the 18 to 20 inch mark you can put two taps in them, once over the 26 inch mark you can safely drill three tap holes.
On a good flow season one tap hole should yield nearly a quart of syrup by seasons end, give or take a few teaspoons.