Homemade soap. It’s something that’s always been on my radar, but nothing I ever thought I’d try myself. My grandmother and at least two great-grandmothers made their own soap (one of their handwritten recipes is now a family heirloom) using three simple ingredients: rainwater, lard and lye.
But me? I live in the 21st century. I have the means to go to the store and buy whatever kind of soap I want, even a case of it. Why would I want to make it at home?
For those living in the Great Depression (like my grandmothers), it was all about thrift. For me, the decision to make my own soap was much more about quality, and all-natural ingredients. My friend Karrie, a veteran home soapmaker, says it best:
Karrie came over to my house this summer, and together we made a big ole batch of cold process soap with rich coconut, palm and olive oils, and aromatic peppermint essential oil for scent. It was such an enjoyable experience, I learned a ton, my house smelled amazing for days afterward AND my family and I get to use my homemade peppermint soap for months (and give some away as gifts).
So, let’s walk through our simple cold process soap recipe, and the soapmaking process:
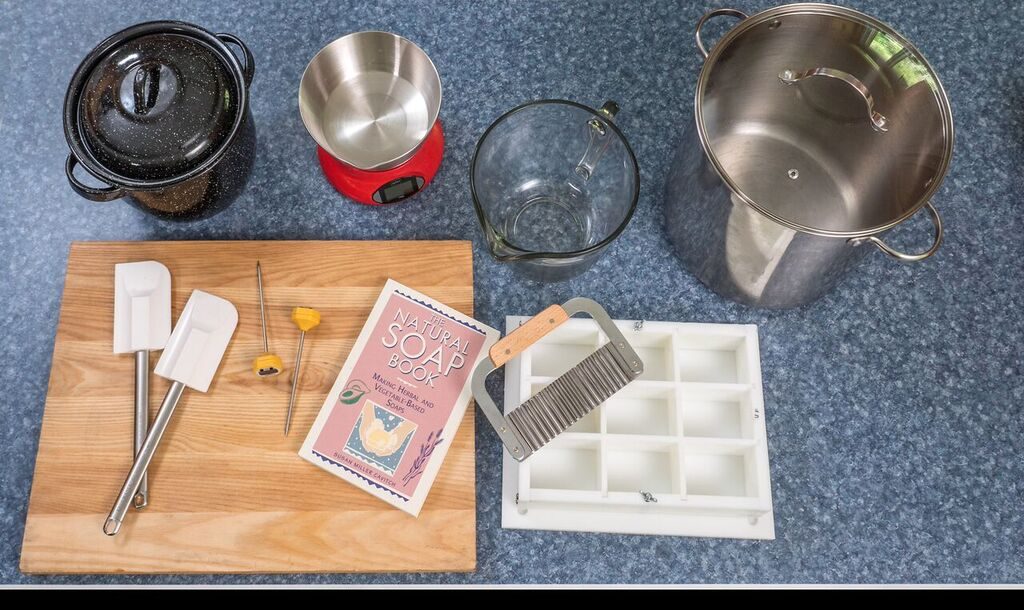
Step by Step Guide on How to Make Cold Press Soap
Equipment you will need:
- Large heavy metal stockpot (pots and pans should ONLY be used as your soapmaking pots)
- Smaller metal pot for mixing oils (same thing: this pot needs to be dedicated only to soapmaking
- A good digital kitchen scale with ounces – all ingredients in soapmaking are by weight, not volume
- Heat-proof glass batter bowl
- Digital kitchen thermometer
- Soap molds
- Heat-proof spatulas or wooden spoons for mixing
- Immersion blender
- Old blankets or towels for covering soap molds
- Cardboard box for curing finished soap
- Cutter for trimming finished bars of soap (optional)
Ingredients:
- 3 pounds distilled water (does not need to be refrigerated)
- 473 grams sodium hydroxide (lye)
- 4 pounds olive oil
- 2 pounds 8 ounces coconut oil
- 1 pound 8 ounces palm oil
- Essential oil for scent, optional (we used peppermint)
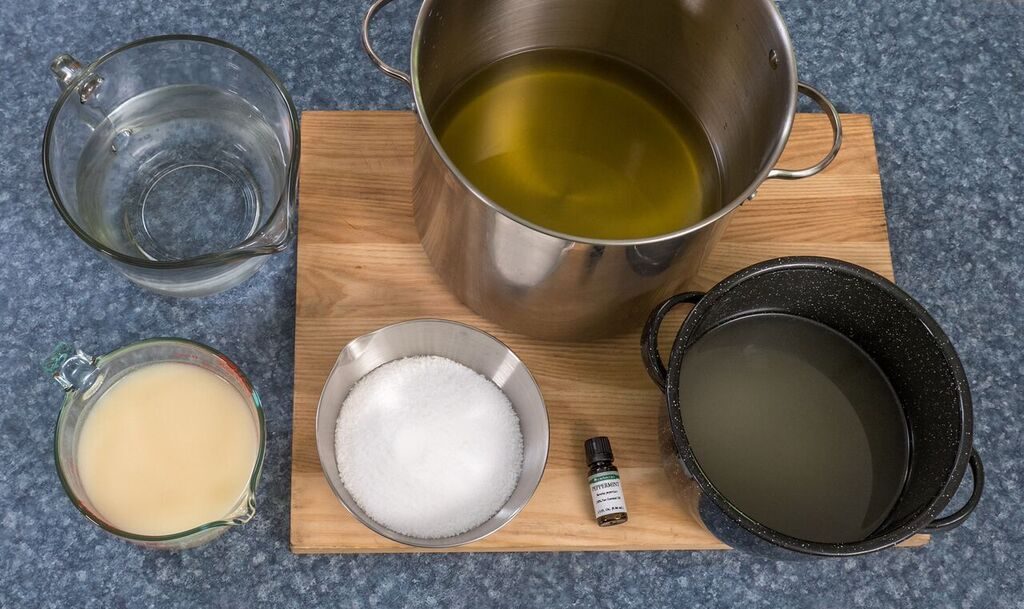
Step by Step Instructions
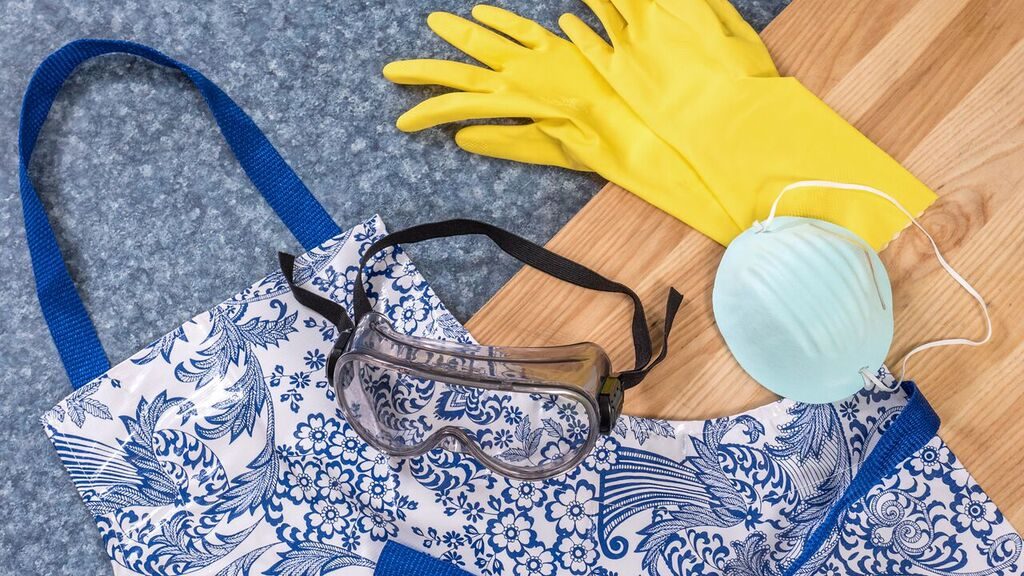
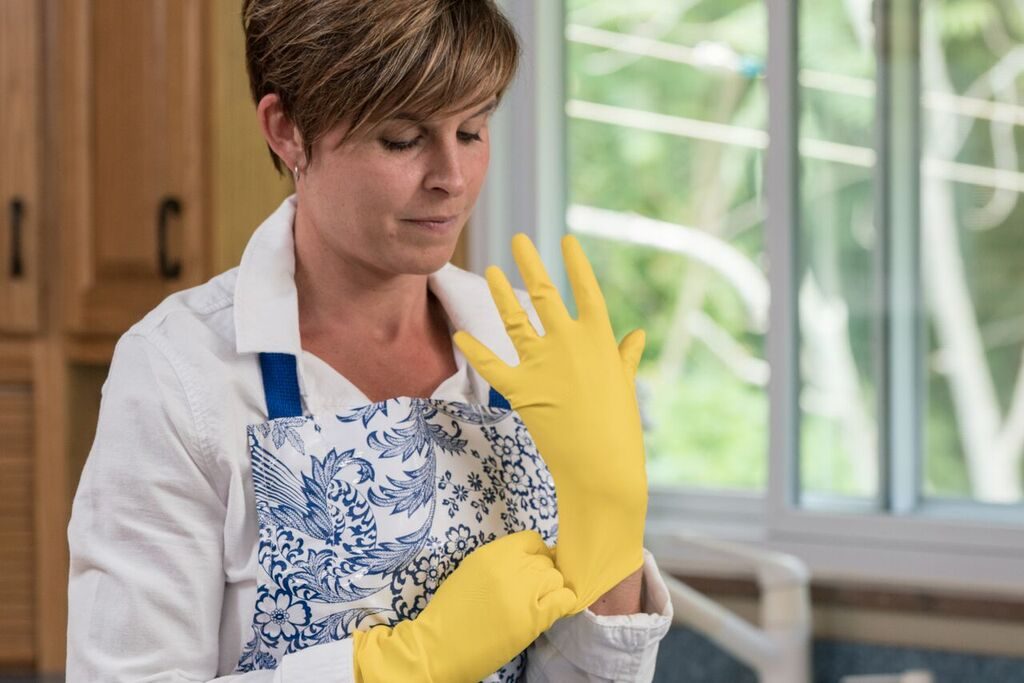
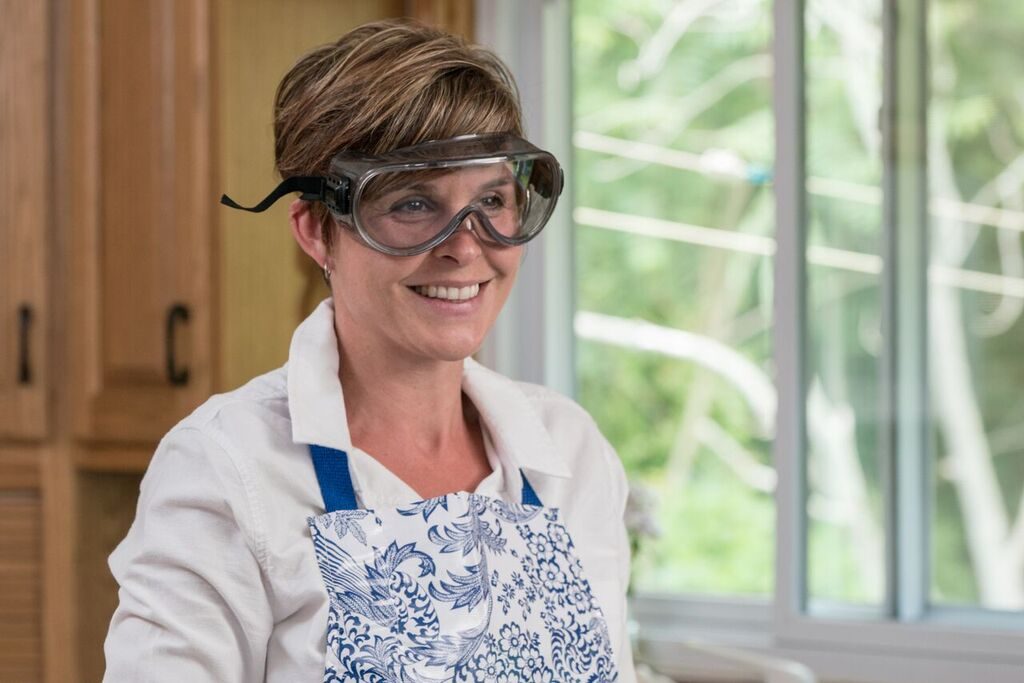
- Step 1: Put on safety gear. Soapmaking does not need to be intimidating or scary, but lye is also nothing to mess around with. Even a little tiny grain of it on your skin will burn, so you need to know what you’re doing and be careful. We recommend a good apron, long sleeves and pants, shoes (no flip flops or sandals – cover your toes!), safety goggles and gloves (dishwashing gloves are fine). A mask for your nose and mouth is optional, but may be helpful if you absolutely cannot do a couple of the steps outside (you’ll see what we mean).
 |
|
 |
 |
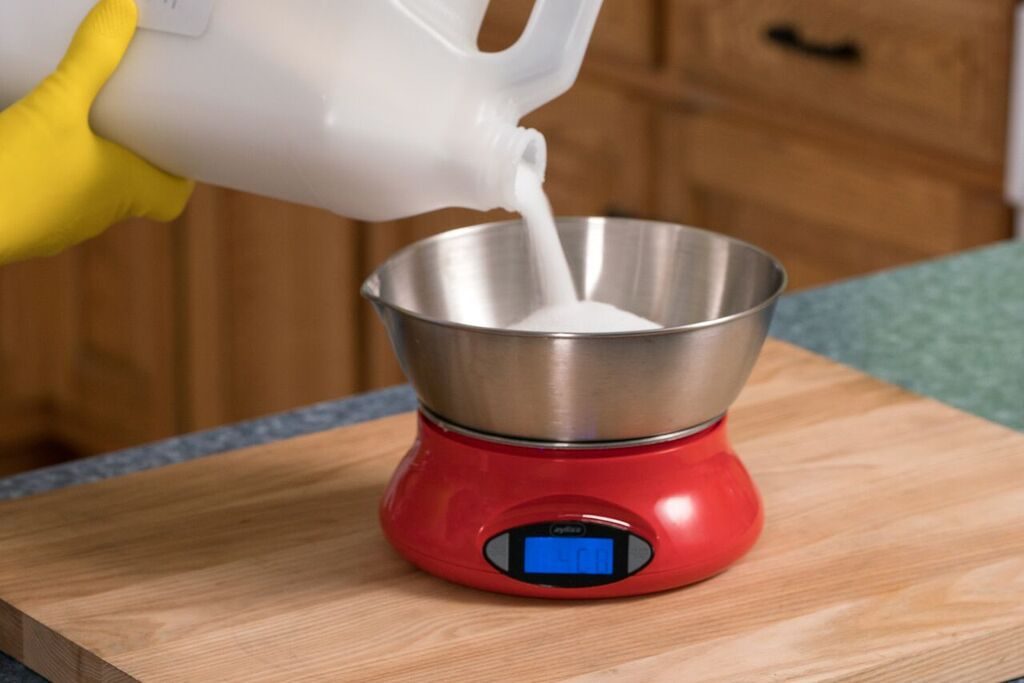
- Step 2: Measure 473 grams of lye (sodium hydroxide). Set aside.
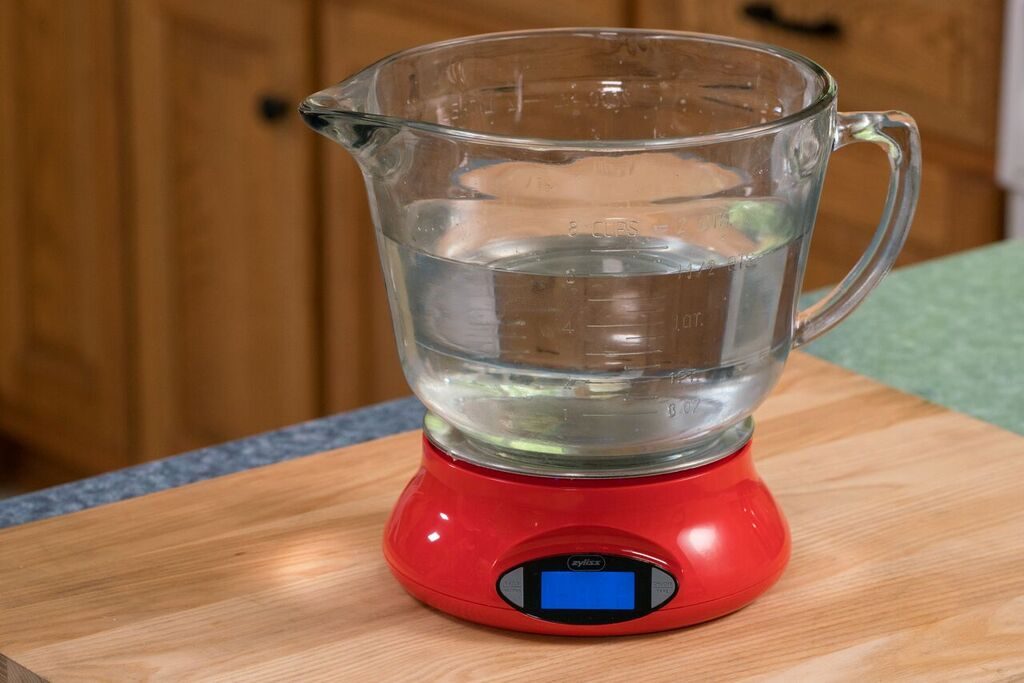
- Step 3: Measure 3 lb of distilled water in a heat-proof glass bowl.
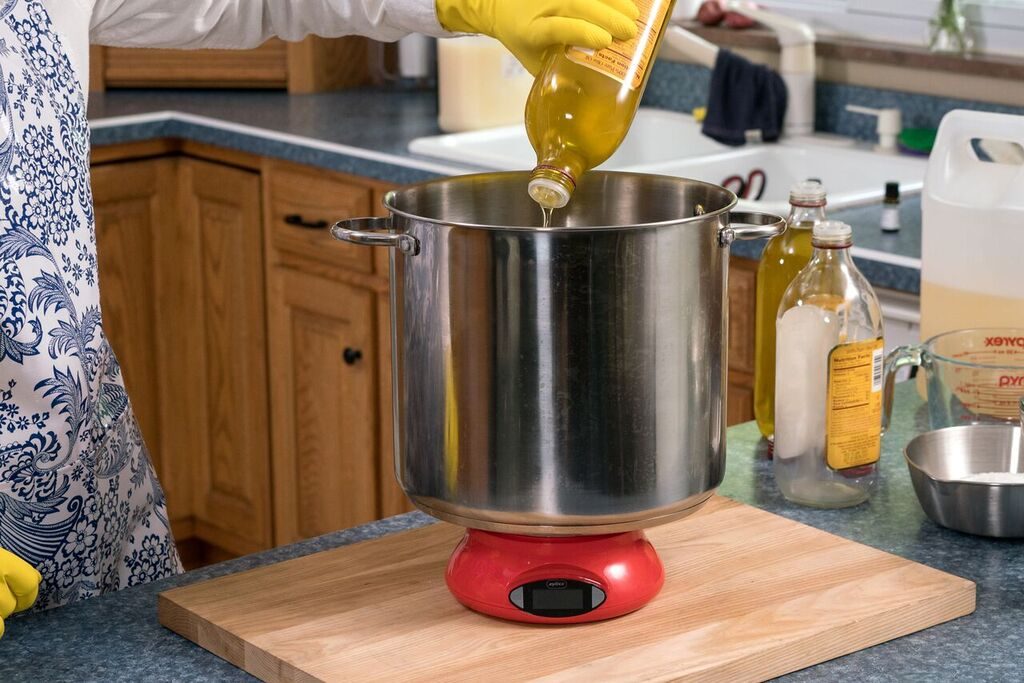
- Step 4: Measure your oils into your large stockpot (olive oil) and smaller pot (coconut and palm oils). Set aside.
- Step 5: We recommend performing this step outside or in a VERY well-ventilated area. Lye fumes are caustic and can quickly overwhelm you. As I said before, it’s very necessary to know what you are doing and be aware when working with lye. Carefully and slowly pour lye into distilled water and stir briskly with a rubber spatula until completely dissolved. The chemical reaction will cause the water to heat up very quickly, so use caution. *Important: ALWAYS mix lye into water, NEVER water into lye! You don’t want any chance of splashback or creating a “lye volcano” from the chemical reaction. Let the lye water cool to 80 degrees F.
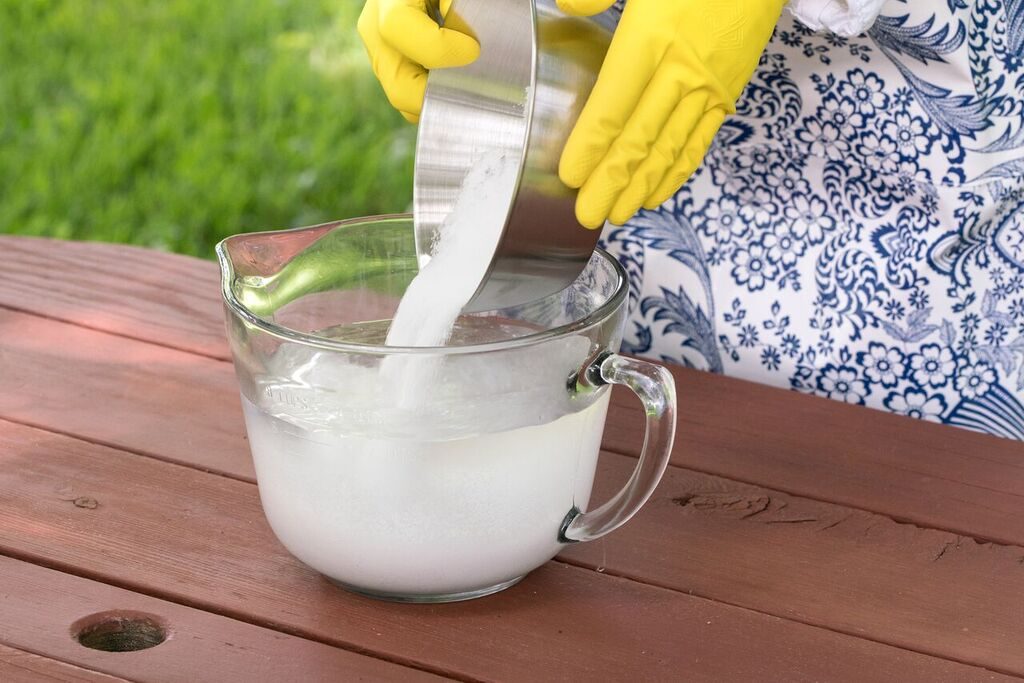
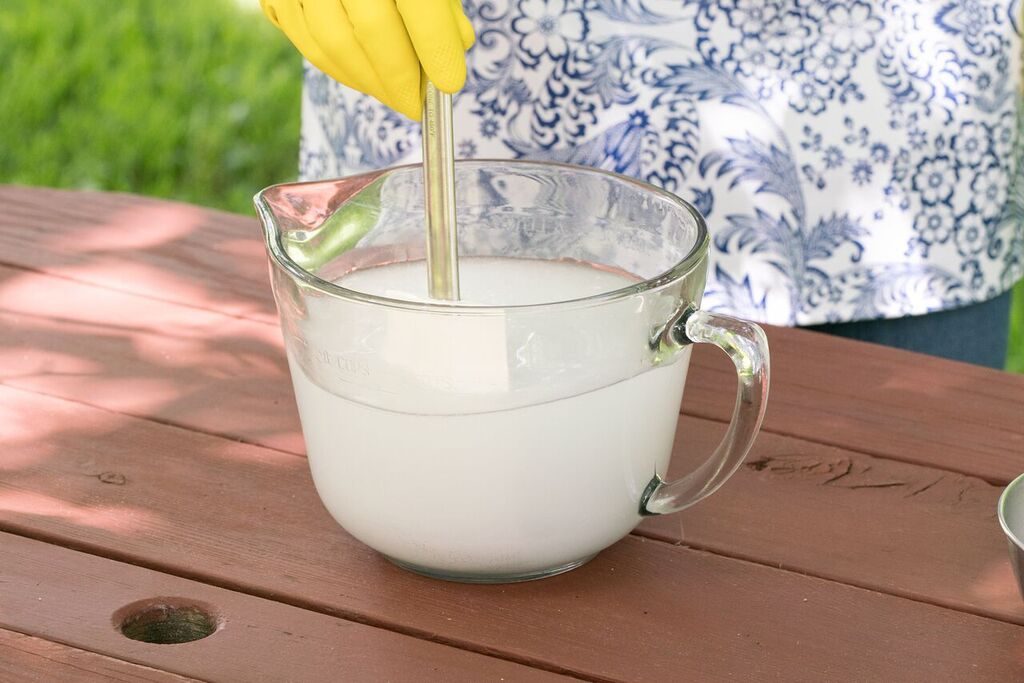
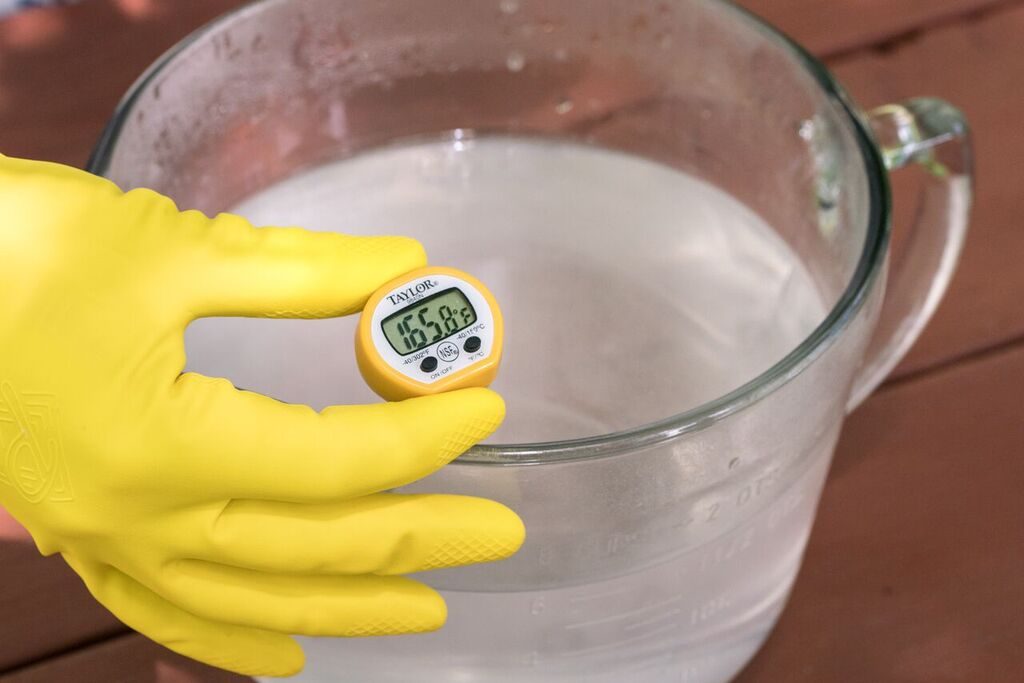
- Step 6: (You can go back inside now.) Mix all the oils, except the essential oils, together in a large pot and heat to 80 degrees F.
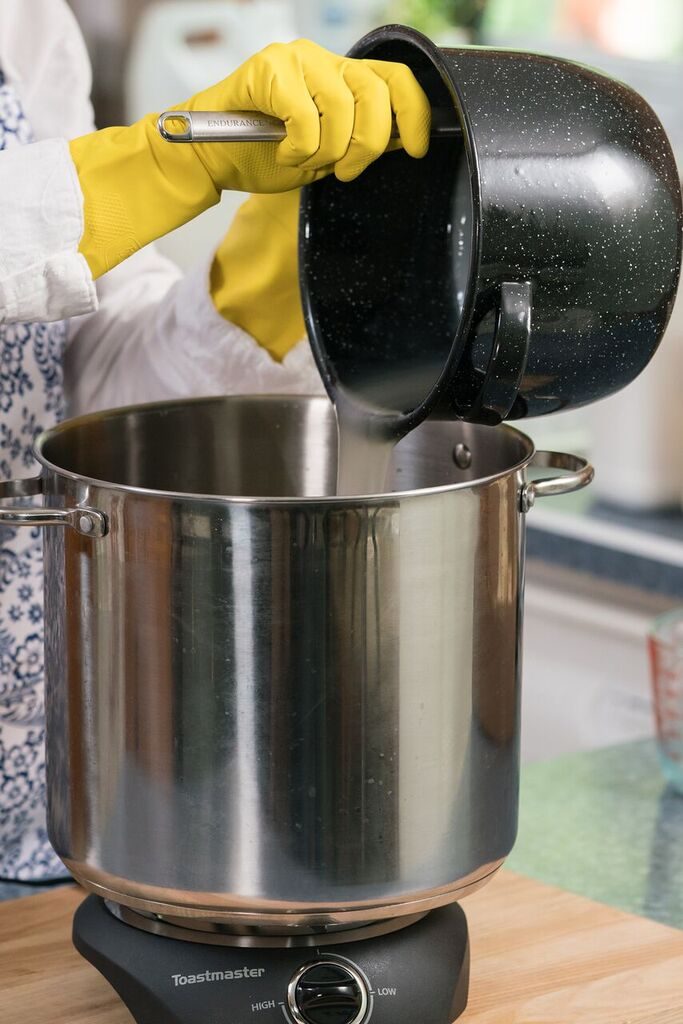
- Step 7: Carefully add the lye water to oils. Again, use caution – you don’t want any splashes on you!
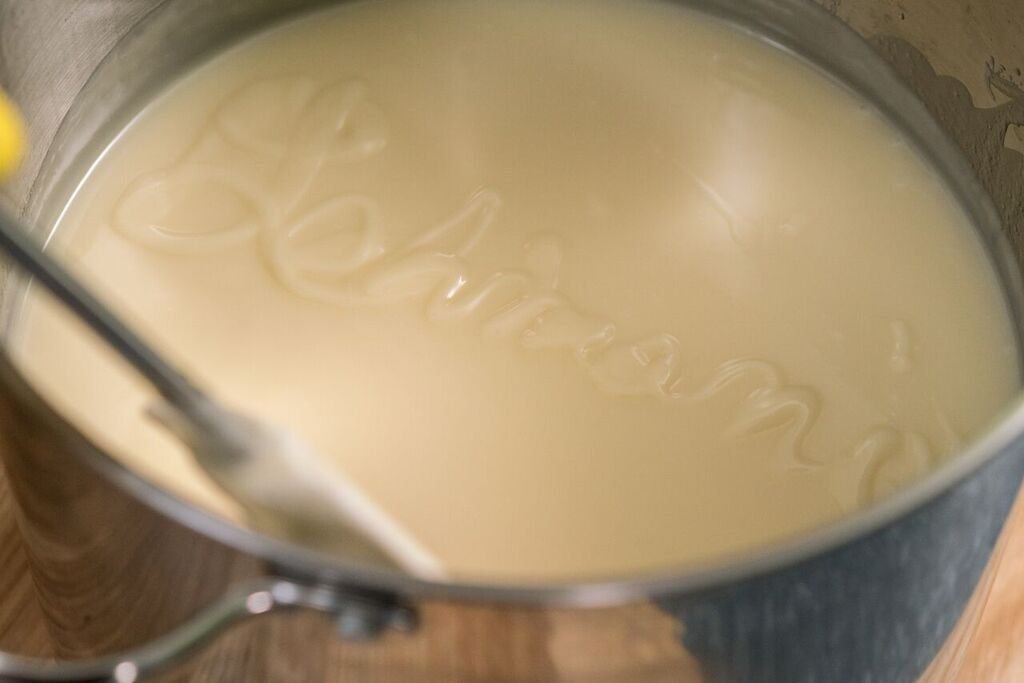
- Step 8: You can use a spatula for this entire step, but an immersion blender saves time. (If you use a blender, make sure it is ONLY dedicated to soapmaking.) Blend the soap, circling the pan and cutting through the middle to keep as much of the solution as possible in constant motion. Do this until trace forms. “Trace” is a term soapmakers use to describe the consistency of soap batter when it’s ready to pour into molds. You know you have reached “trace” when your spatula or immersion blender leaves a “trace” of soap across the surface. It’s a little like pudding.
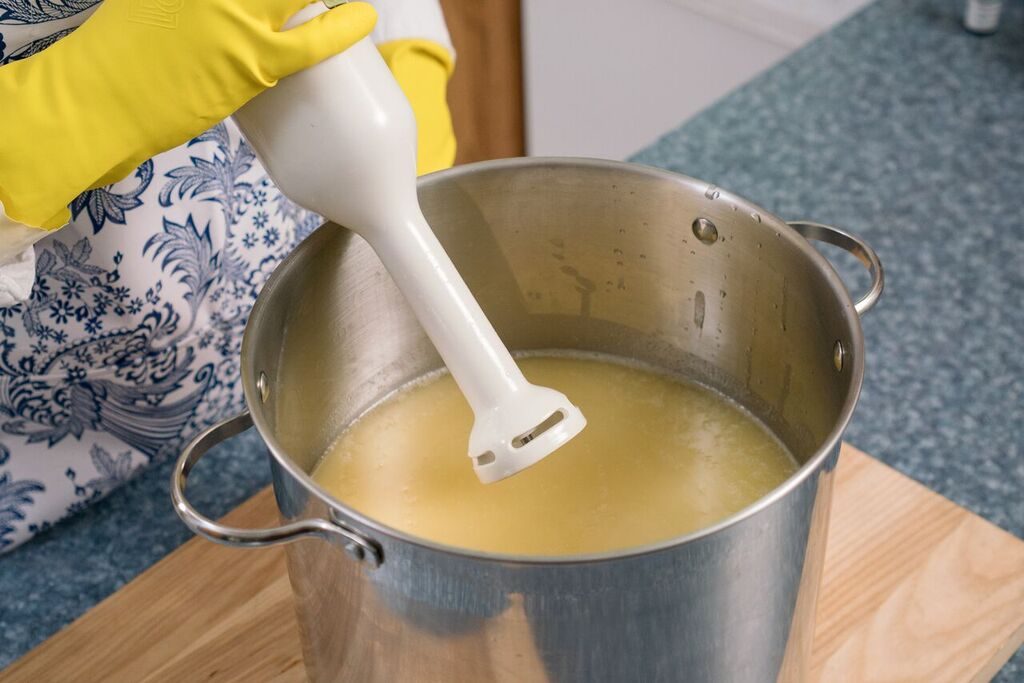
This is what “trace” looks like:
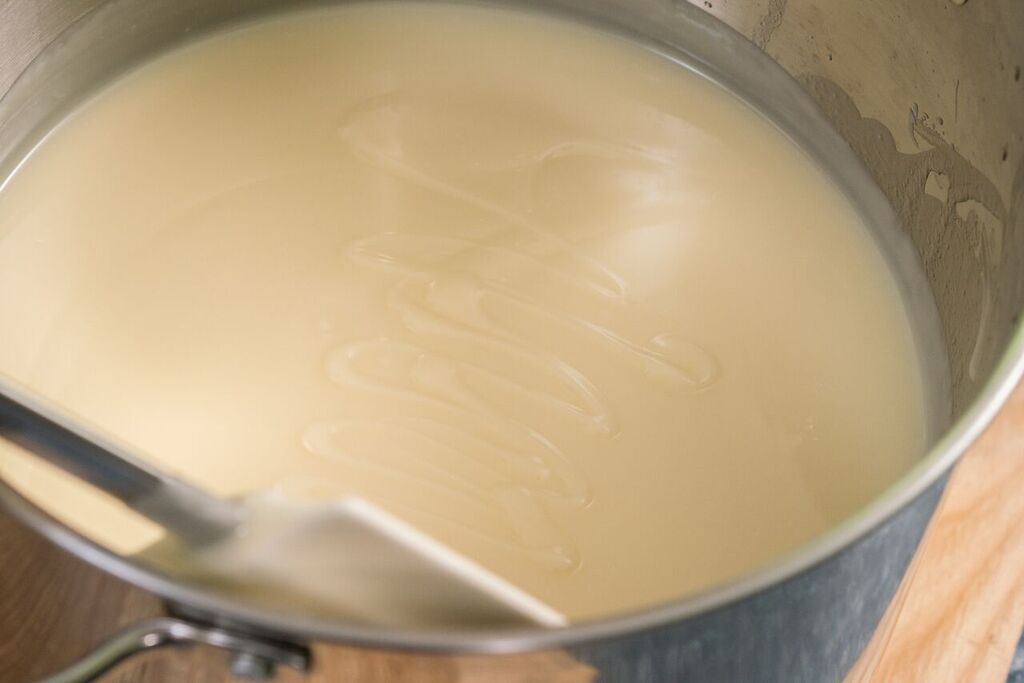
And of course, we had a little fun and wrote “Lehman’s” to FULLY demonstrate trace.
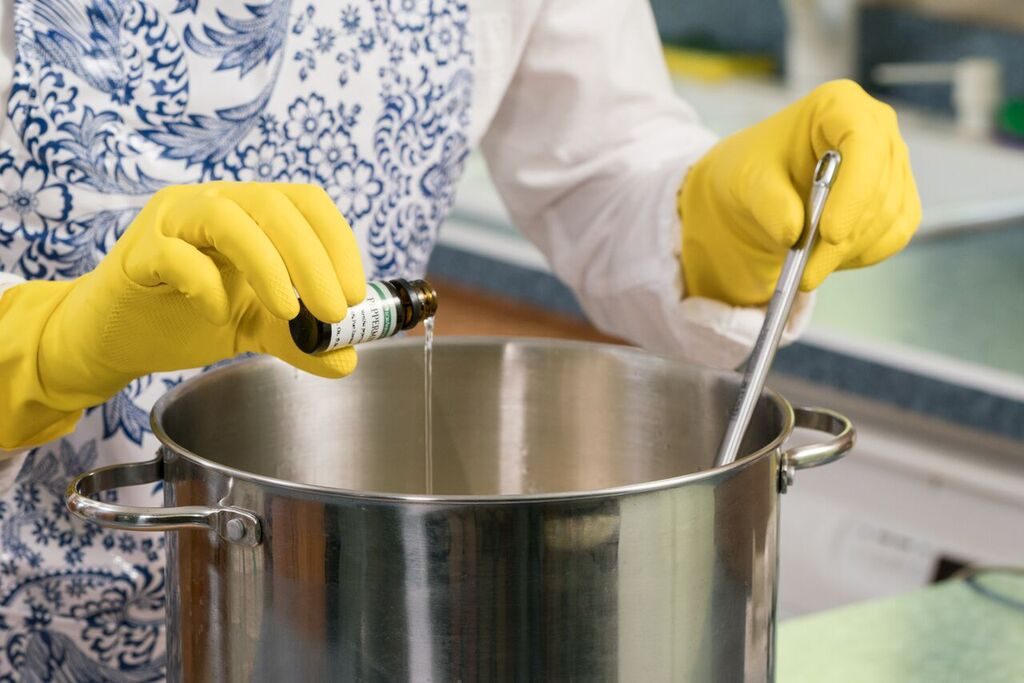
- Step 9: Add essential oil for scent, stirring briskly with your spatula until the essential oil is incorporated (don’t use the blender anymore).
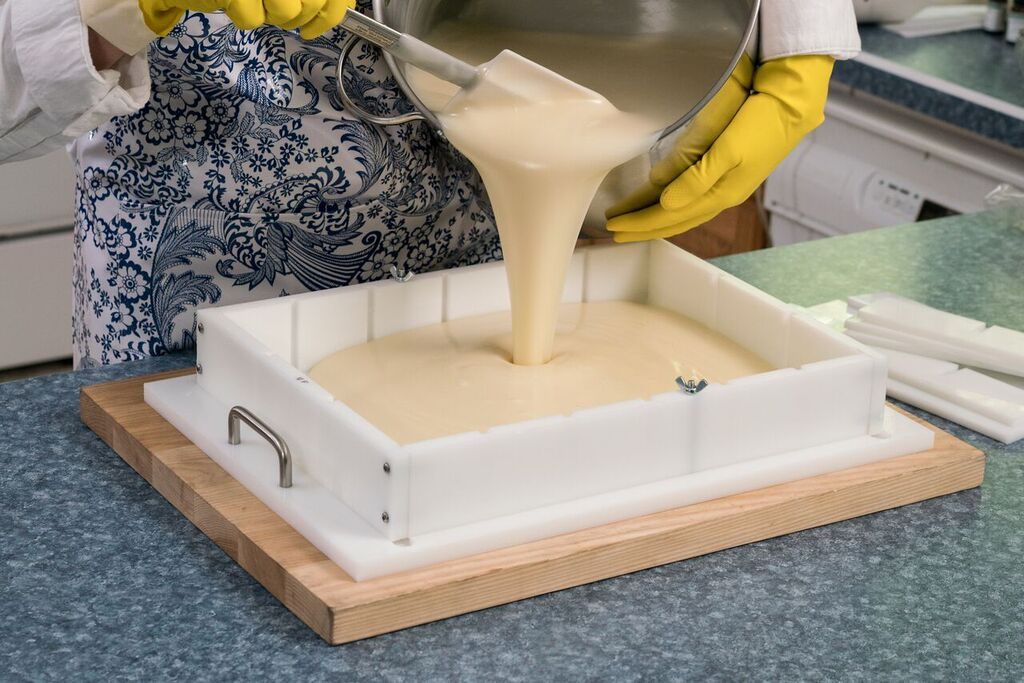
- Step 10: Pour the soap into molds…
…place the dividers in…
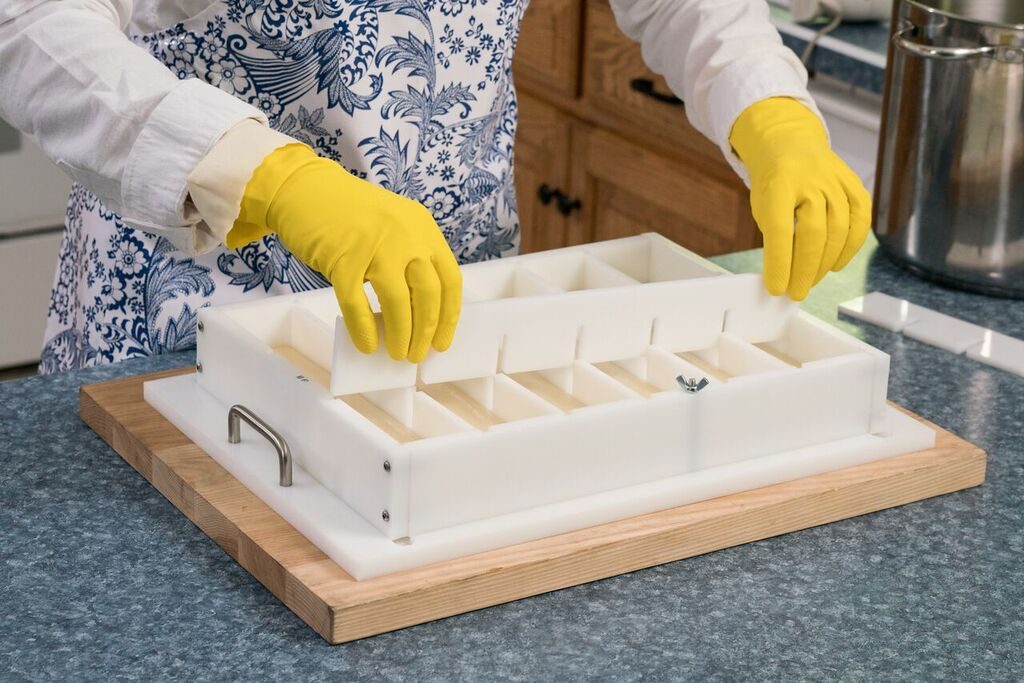
…then place the molds in a safe place where they won’t be disturbed and cover them tightly with old blankets or towels. This is to keep them warm while the saponification process completes. (If you prefer, you can use a sheet of cardboard or even plywood first to avoid getting soap on your towels.)
- Step 11: After 24 hours, the soap should be “set.” Remove the bars from the molds and lay them out on cardboard or brown paper (grocery bags work great). Let your soap cure for 30 days before using. (Tip: If your soap develops a powdery white finish on the top or sides, you can simply slice it off with a sharp knife. It’s just part of the saponification process, but that part could be harsher and irritating to skin.)
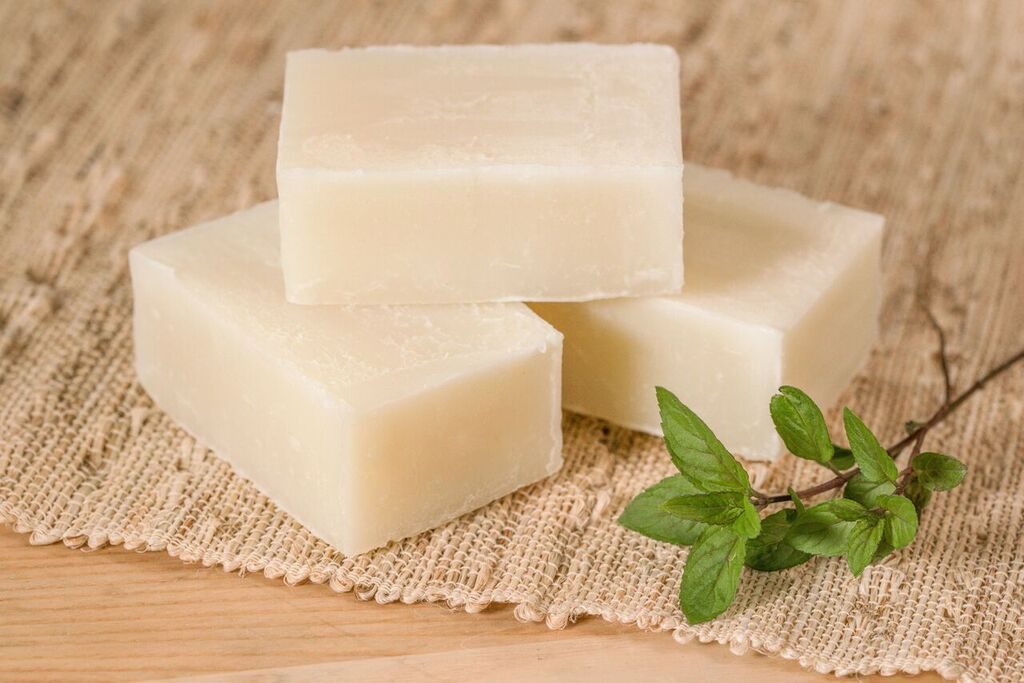
This is my finished homemade soap, and I love it! My whole family has enjoyed using it, and when I gift someone with a bar and tell them I made it, they are duly impressed.
What about you? Have you ever tried making homemade soap? It’s a skill I found is not difficult to master – and I’ll be enjoying my homemade peppermint soap for months to come!
Here’s the full video of our soapmaking adventure:
Find high-quality, trusted supplies, equipment at ingredients at Lehmans.com/diysoap.
Editor’s Note: This post was first published in June 2016.








[…] process is a bit complex to cover in a blog post (here’s the full tutorial along with a getting-started recipe) but the basics are just chemistry. You measure your lye and water, pour the lye into the water […]
I like to use beef fats and pork fats. Can I substitute those for the coconut and palm oils? And if so, what are the weights used?
Hubby makes soaps,he doesn’t use palm oil though..we sometimes sell our soaps,salt scrubs,and sugar scrubs at the local farmers market.
“Rebekah’s basket”
Yes! I have made soap at our local berry and wild rice camps. Using buffalo, deer, or beef tallow, and infusing cedar into olive oil. Everyone loves it, i swear by it!! As does my son, when he skinned 3 skunk, and needed something to take skunk smell off, my soap worked like a charm!! Love experimenting & making various soaps using Plants to infuse their healing properties into various soaps!
What kind of molds must you use with this recipe? where did you get mold shown in video and what kind of scale or what is it called? Can you use silicon molds? What different types of soaps are there? What is a lotion soap? What type of soap would this be considered I know it’s a cold press but is there also another name for it? Sorry for all the questions, I want to make my own soaps but am a little lost, still researching. Last question, last question what do you use if you want soap a different color?
How many bars or how many oz is this recipe? How much does this recipe make? I didn’t see info anywhere
Do you have a recipe using beef and or pork fats, instead of coconut oil? And where can i get that mold?
Please let us know where to buy soap mold.
TKU
Hi there, Karen! Here is a link to a soap mold: https://www.lehmans.com/product/bar-soap-mold-for-soapmaking/
If you are going to give a tutorial please inform of safety protocols first. Always wear protective clothing, gloves, and most importantly eye protection. You should also specify to only use stainless steel as lye and aluminum will cause a bad reaction. It’s also not a good idea to use glass of any kind. Even Pyrex will eventually etch from lye and crack.
Please caution folks to not use aluminum pots or utensils when making soap. It can cause some very strong and dangerous reactions. Use stainless steel.
Where can we buy the exact soap mold used in this tutorial? If not from Lehman’s??
I can’t have soap with olive oil in it, it makes my skin itchy and raspy. What other kind of oil could I use? Thank you
Lori, You can use rice bran oil instead of olive oil. I buy it st Tractor Supply in the equine section.
Hello, I would like to inquire where to purchase lye.
Hi Michelle! You can find our Lye beads here: https://www.lehmans.com/product/lehmans-sodium-hydroxide-lye-beads-for-soap-making/
[…] seeking deeper truths, or simply appreciating the art of this craft, the spiritual meanings of making soap offer rich insights and […]
[…] DIY: How To Make Cold Process Soap, Step By Step […]
How much essential oil for this recipe?
[…] Here are two recipes, each detailing the different processes, to get you started: a hot process recipe and a cold process recipe. […]
[…] DIY: How To Make Cold Process Soap, Step By Step – Lehman’s Simpler Living Blog – https://blog.lehmans.com/homemade-cold-process-soap/ […]
Thank you so much
[…] to wear proper safety gear including gloves, goggles, and an apron to protect yourself from the caustic […]
Where can you get the soap mold that you’re using, it’s cool and simple size
Hi Roo! While we do not carry the same mold anymore, here is one that is close to it: https://www.lehmans.com/product/lehmans-soap-loaf-mold-wooden/