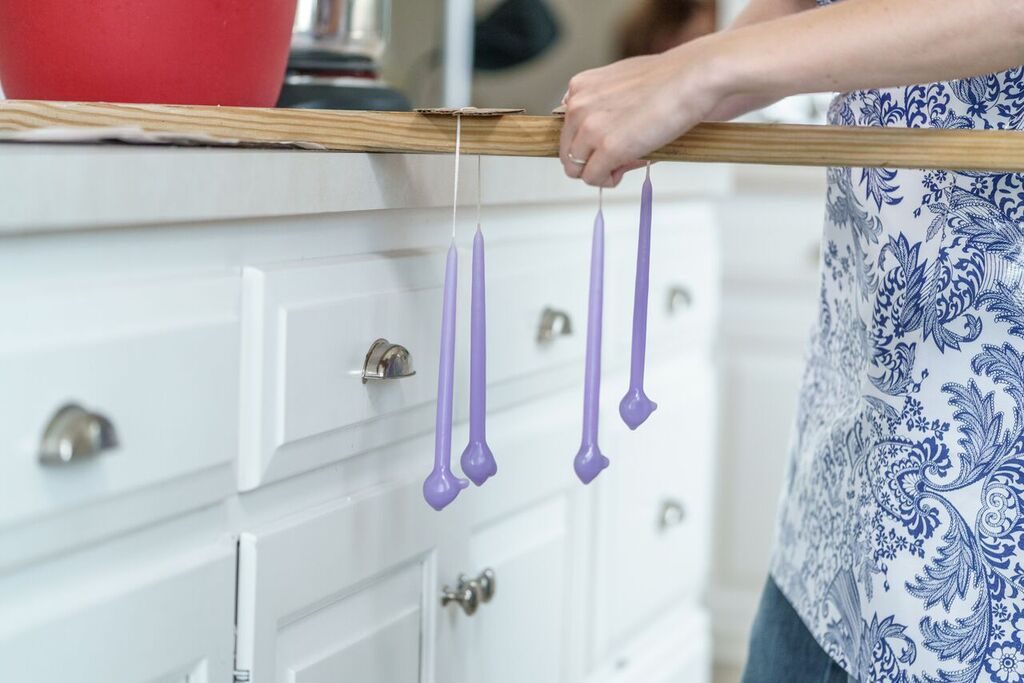
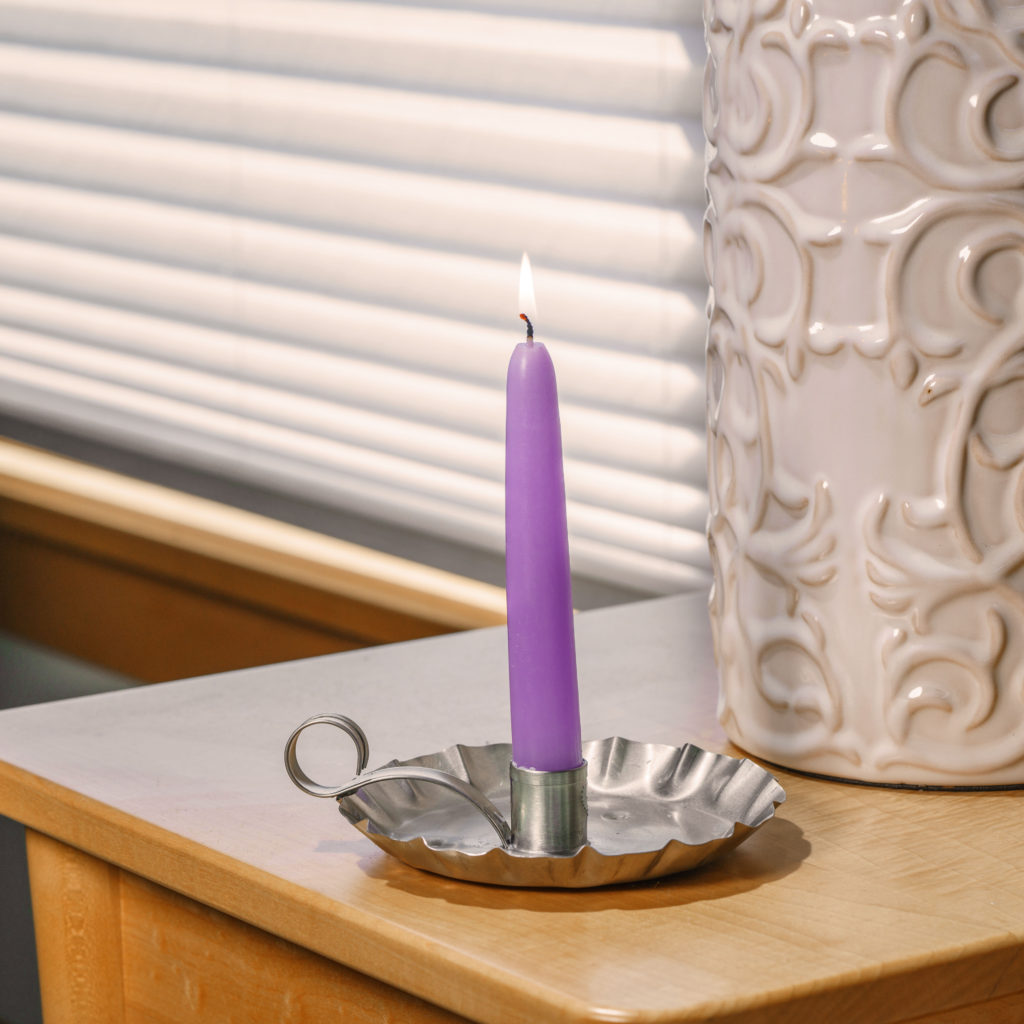
Making hand-dipped tapers is one of the oldest ways to make candles, and also the most hands-on. But, like anything, once you go through the process it becomes simpler each time you repeat it. Dipping candles is the process of building up layers of wax on a wick. This process naturally creates slender taper candles. Historically, this task was a familiar one to Colonial American homemakers. Today, hand-dipped tapers make great table candles, emergency lighting and fantastic gifts. My daughter and I even made our own birthday candles to grace the top of some lucky family member’s cake!
I was amazed at the simple supplies needed to create scented taper candles. In fact, I found everything I needed around my house except for the melting pot and the actual candle ingredients. Here’s how I made homemade, lilac-scented taper candles. You can color and scent yours any which way you like! (I’m thinking of burnt-orange, pumpkin scented for fall, but that’s just me.)
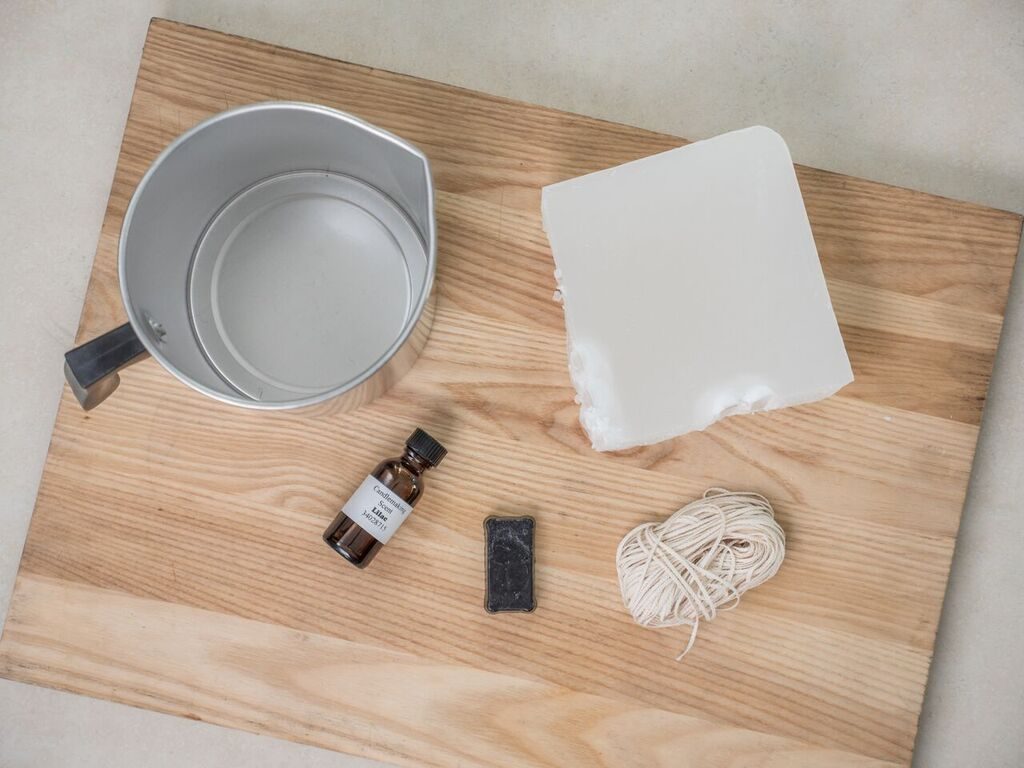
What You Will Need to Make Your Candles:
- Seamless Melting Pot (or dipping can, at least 2″ taller than the desired length of your finished candles
- Dipping Wax
- Candy thermometer
- Wicking
- Coloring
- Essential Oil or Candle Scent (optional)
- Bucket of cool water
- Scissors
- Washers or small weights to tie on ends of wick (washers work best because they’re easiest to tie on)
- 2 pieces of cardboard, about 2″ square or 2″x4″
- 2×4 or other board or dowel for hanging candles as they dry
- Knife to cut off weights (any sharp kitchen knife works fine)
Step 1:
Prepare your work surface by covering it with newspaper. Then use a sharp knife or a hammer and screwdriver to break up big blocks of wax. (I did this on top of a cutting board.)
Step 2:
Add water to a medium saucepan and place over medium heat.
Step 3:
Add pieces of wax to the seamless melting pot.
Step 4: Melt the wax. This takes a little while, and you can prepare your wicks while the wax is melting, but watch it closely – wax that gets too hot can boil over or even start a fire. The ideal temperature for dipping candles is around 150 degrees F. Use a candy thermometer to make sure your wax remains at this point once it is completely melted. Any hotter and it won’t stick to your wick. Any cooler and your wax will be lumpy and too thick to make pretty candles. (I found this out the hard way by removing my wax from the burner and letting it sit too long. When I tried to dip my candles they were a complete FAIL.) Once wax is melted and 150 degrees has been reached, you can turn the burner to low and monitor the temperature with your thermometer.
Step 5: Add dye or coloring to melted wax. Remember, a little bit of dye goes a LONG way. You can always add more, but you can’t remove once it’s in the hot wax!
Step 6: Add scent if desired. Essential oils are fantastic scents, as are the bottled scents made specifically for candlemaking. Both are available at Lehmans.com.
Step 7:
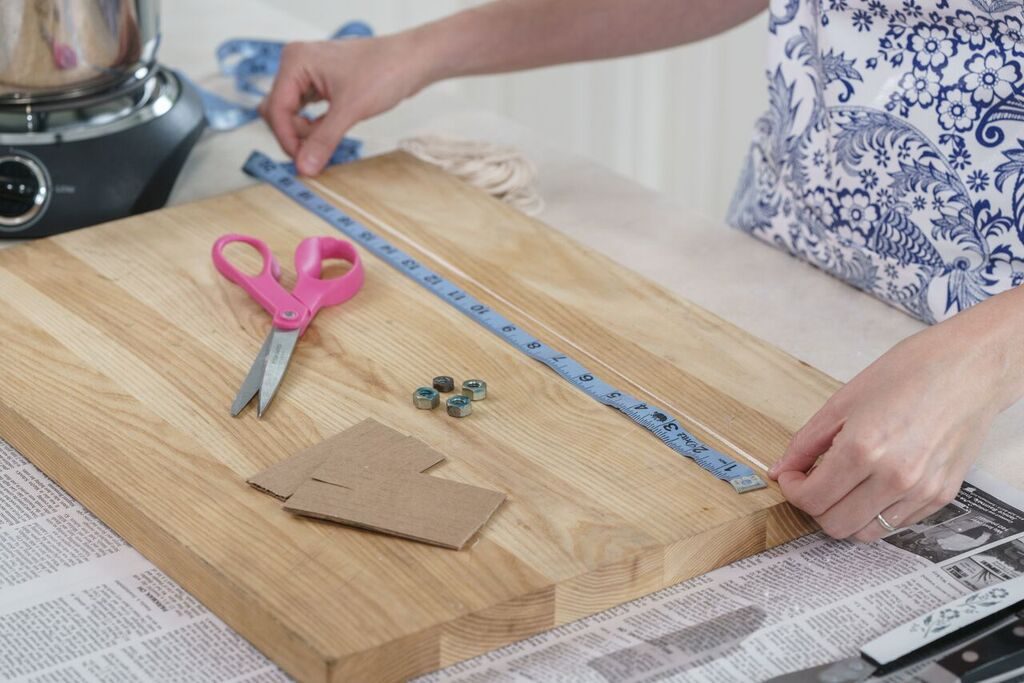
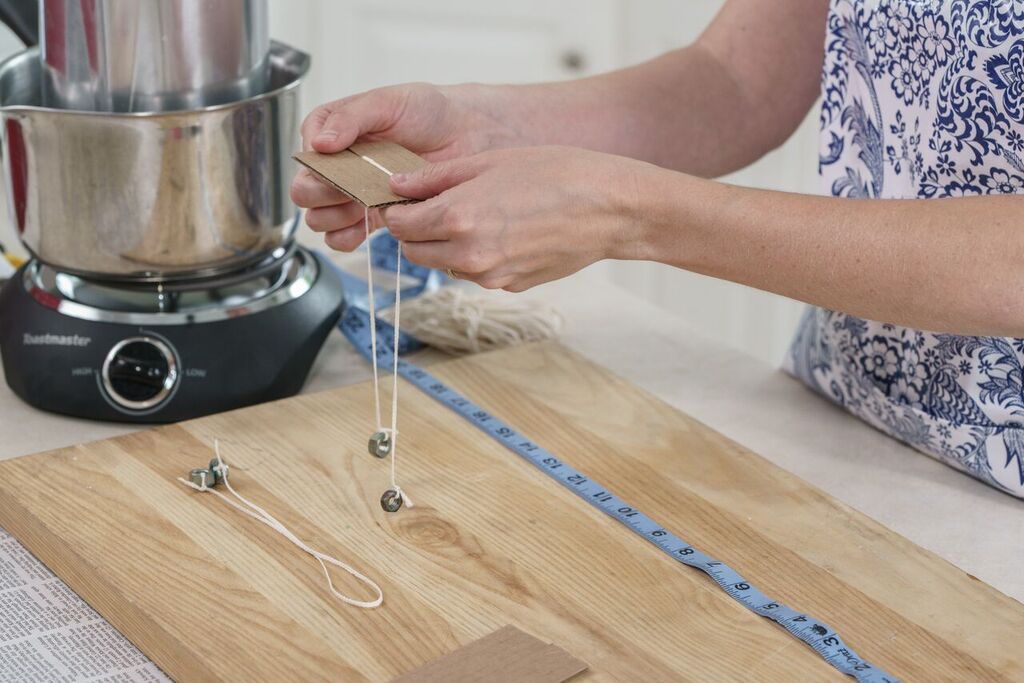
Prepare your wicks. Measure a length of wick that’s equal to twice the desired candle length plus 4 inches. (Ex: if you want to make 8-inch candles, make the wick 16 + 4 = 20 inches long) Cut this length, then tie a washer or small weight onto each end. Next, cut a 2″ square or 2″x4″ rectangle (see photos) of sturdy cardboard and cut slits at each end, about 1/2″ to 1″ in.
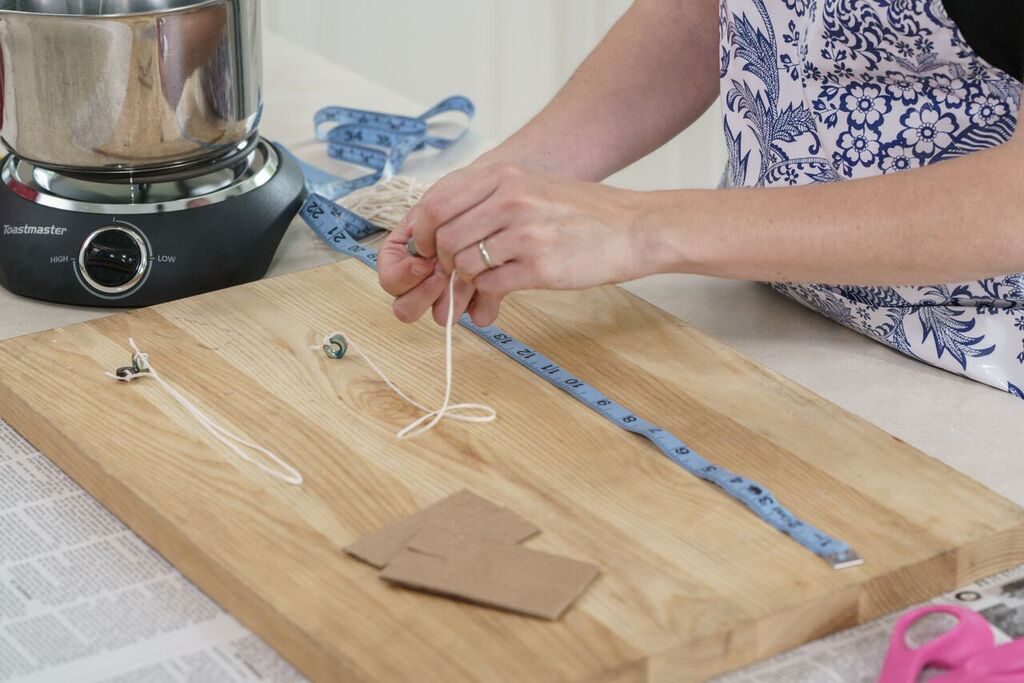
Fold your wick in half and align the center in the middle of your cardboard piece, then place the wicks into the slats you cut (as shown in photo below). The two pieces of wick should be hanging evenly below the cardboard.
Step 8:
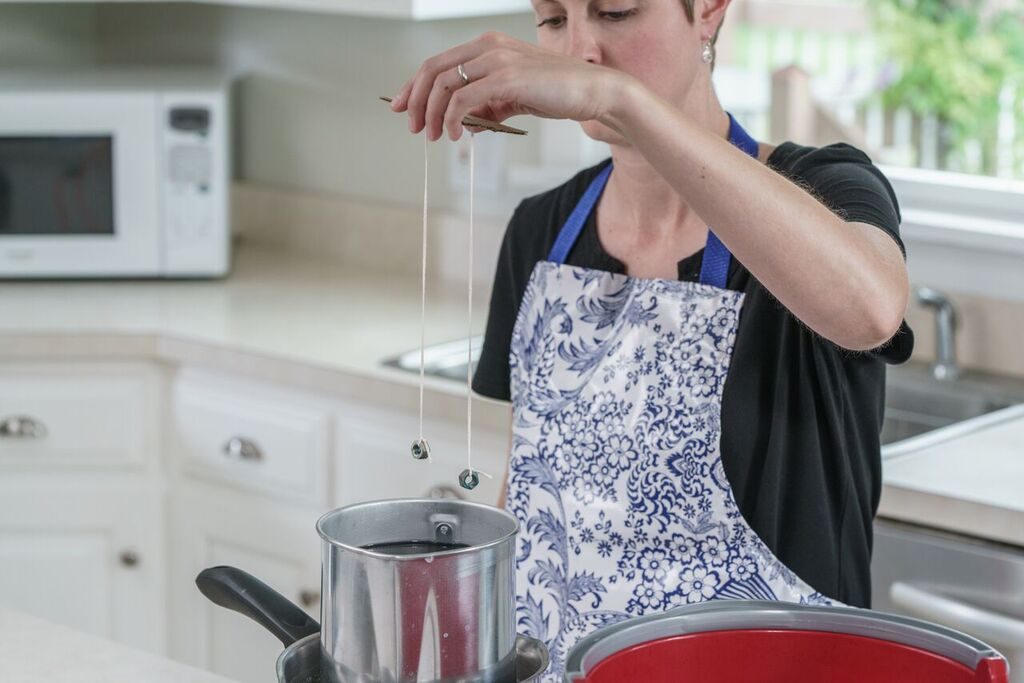
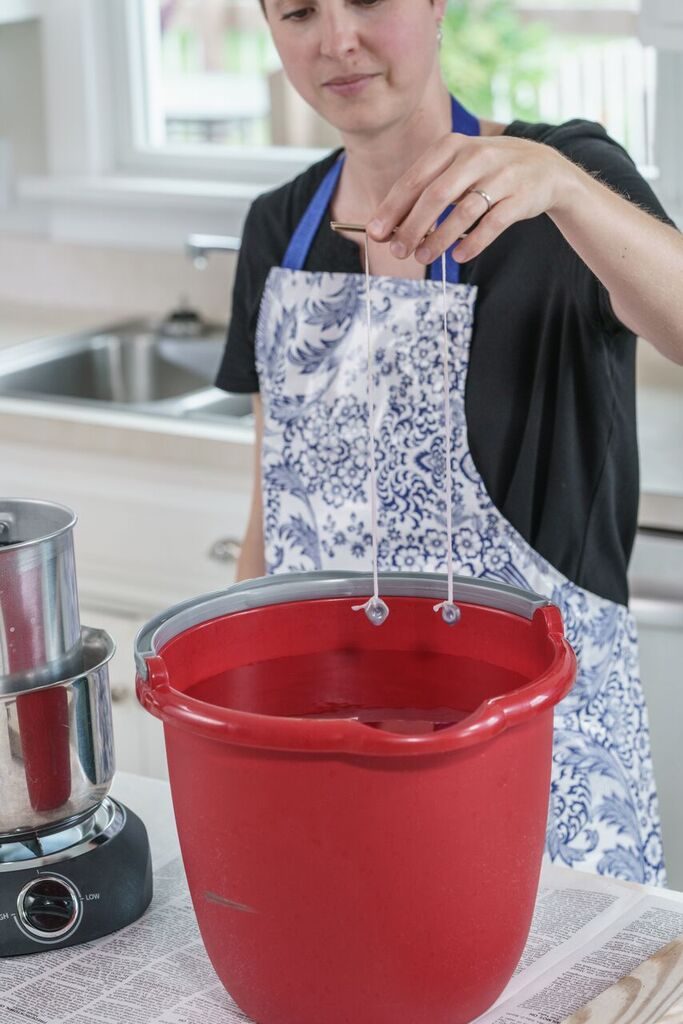
Dip the wick in the melted wax. Do this in a smooth, slow motion. When you feel the washers hit the bottom of your container, stop and hold the wicks in the wax for 30 seconds. This allows the wax to completely soak the wick.
Step 9:
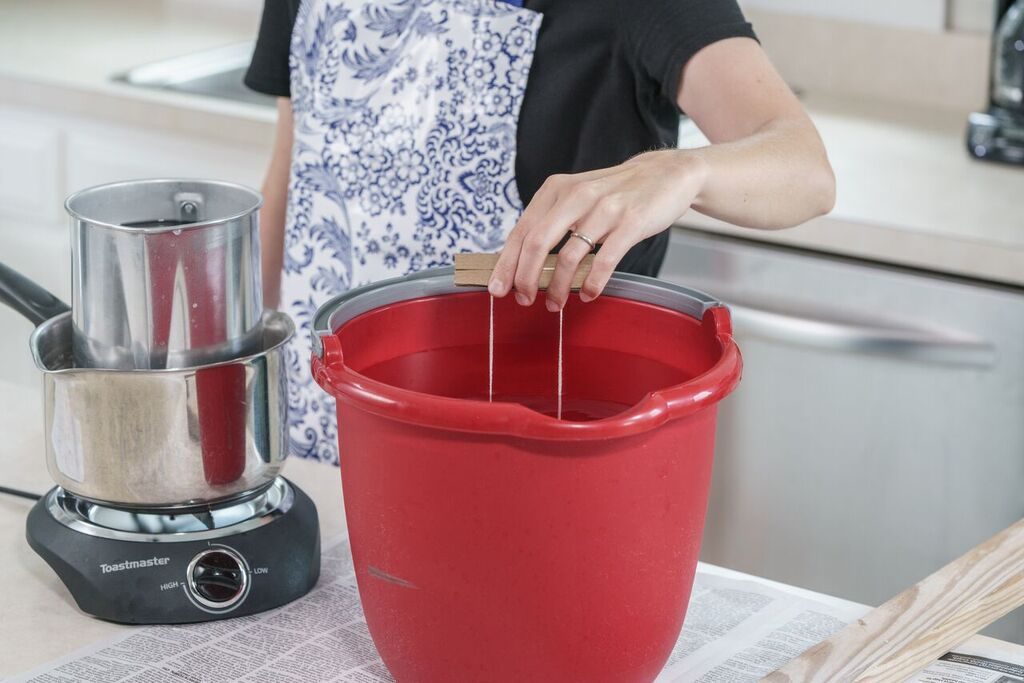
Smoothly and slowly pull the wick out of the wax and dip in the bucket of cool water. Doing this step in between dips saves an ENORMOUS amount of time. If you don’t have a bucket of cool water, you will need to wait until the wax is completely dry on the wick before you dip it again. This can take up to 30 minutes. I highly recommend the cool water method.
Step 10:
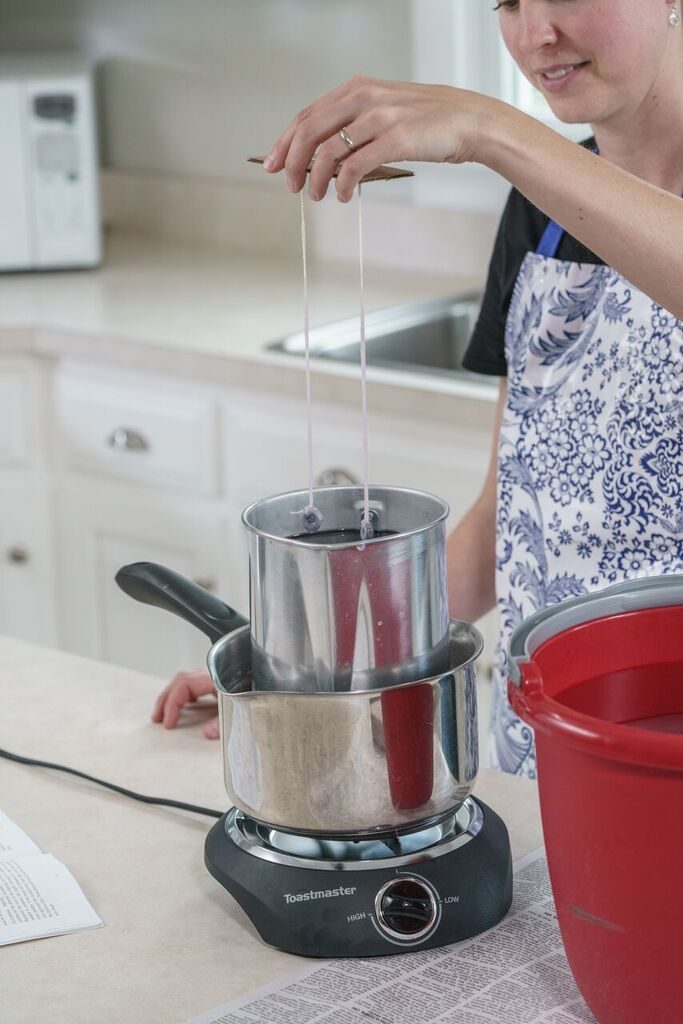
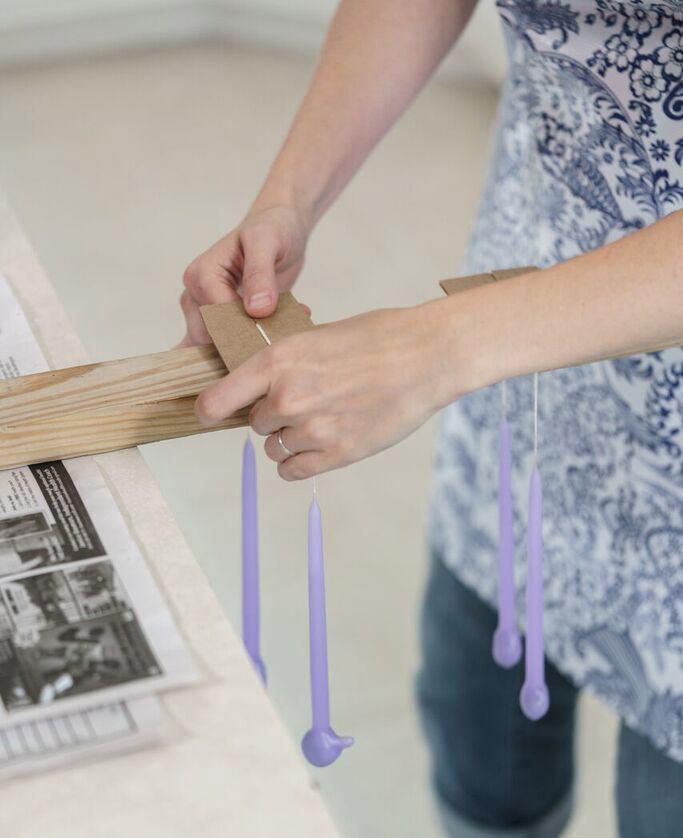
If you’re dipping more than one set of candles, you can hang them to cool and dry between dips. I used a 2×4 which worked well. A tried broom handles and dowels, but it’s difficult to get your piece of cardboard to balance on a rounded surface, and you don’t want your wicks to fall, bend or touch each other.
Repeat Steps 8, 9 and 10
until your candles reach the desired thickness – many taper holders hold 7/8″ candles, so measure your candleholders before you start. If yours end up a little too large at the bottom, you can easily shave them down to fit. If they’re a little too small, my mom’s trick was to use a small piece of waxed paper or aluminum foil wrapped around the end of the candle to get a snug fit in the holder.
See how they start to take shape? This is when the rewarding part starts.
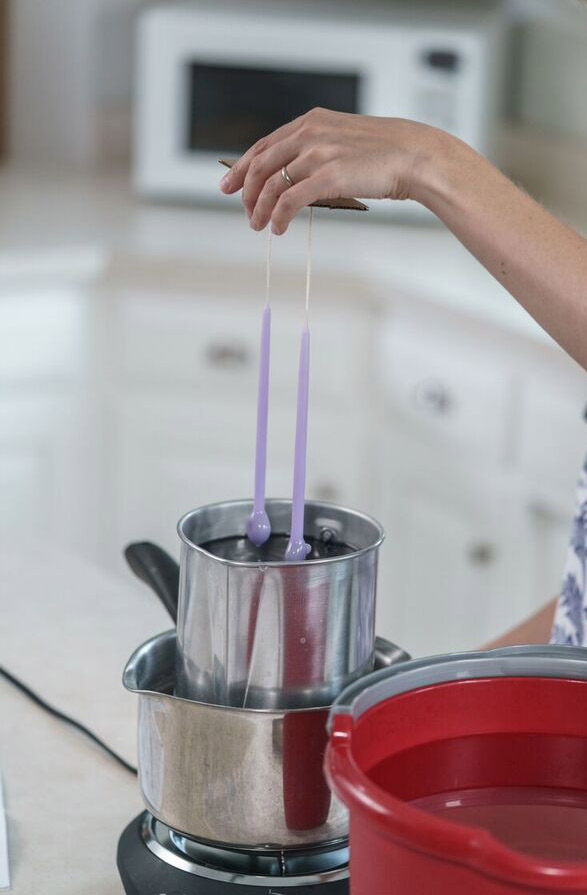
You may need to replenish the wax in your melting pot or dipping container as you continue dipping. You want to make sure you have enough wax to completely cover the candle each time you dip. For the candles I made, I didn’t need to do this. But if you are dipping a lot of candles, you probably will. Simply add more pieces of wax (and a bit more coloring or scent if you feel it’s needed) and wait for it to melt to 150 degrees. (This could be a time for a snack or coffee break.)
Step 11:
Trim off the weights. When you feel like your candles are almost to the size you want, you can gently slice off the weights with a knife. (You can drop them in melted wax to clean them for reuse.) Then repeat a final few dips for a smooth finish on the ends of your candles.
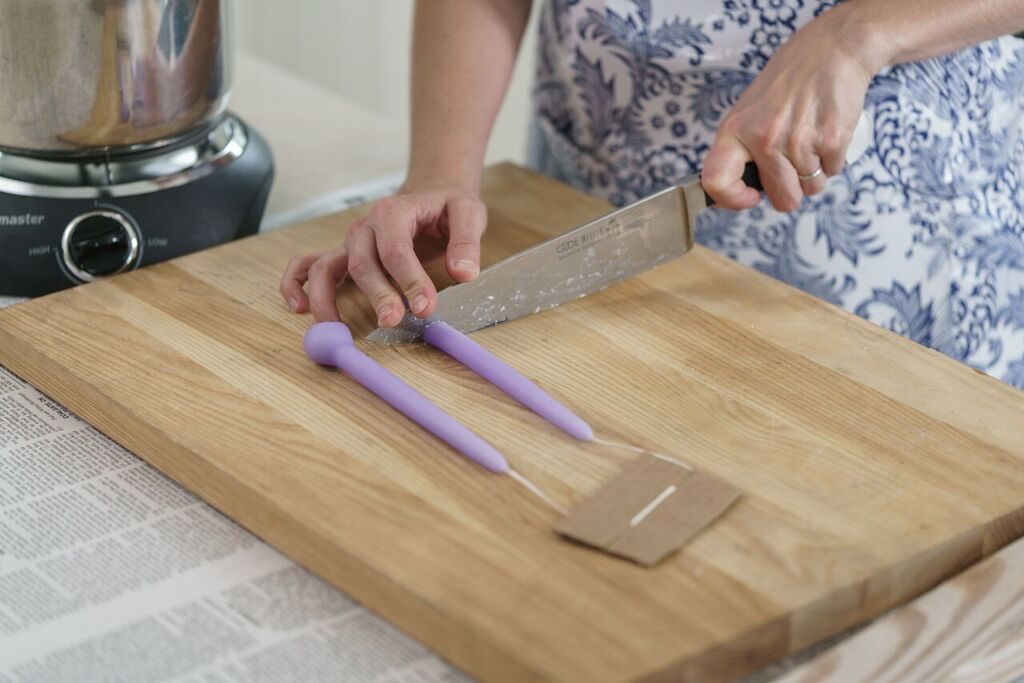
Hang your finished candles to completely cool, then store flat in a cool-dry place.
Here’s the full video of the process:
Instructions adapted from The Candlemaker’s Companion by Betty Oppenheimer. Also see Guide to Early Lighting and Colonial Candlemaking.
Find the tools and ingredients needed for this project at Lehmans.com/diycandles. Enjoy!
Editor’s Note: Want to make your own holiday gifts this season? Candles make great gifts – just be sure to start early to give yourself plenty of time.
Article was first published in August 2016.
















[…] – How to Make Hand-Dipped Candles Making hand-dipped tapers is one of the oldest ways to make candles, and also the most hands-on. […]
Can I use soy wax?
I LOVE that you’re making them for friends as gifts! Time and talent is INVALUABLE-you can’t buy what you’ve PERSONALLY made!
Debbie-I wanted to use something natural, I so I’m using soy, bc beeswax is not in my budget. I used to live near a farm with hives. The honey AND wax was collected, and the wife would melt, dye (separate batches), and roll out. She even had neighborhood kids over at Christmas and cut green triangles with glitter added, so they’d roll them to make Christmas trees of different sizes—were beautiful! A WONDERFUL couple.
Excellent article. Thank you now my daughter and granddaughters feel comfortable to give this a try! I now know what to get them all for a Christmas activity for them to enjoy this experience together!
We hope you and your family have a wonderful time making your candles, Emily!